Never miss an opportunity with Dialpad's native ServiceNow integration.
Our ServiceNow Integration is designed for your Contact centers and Coaching Teams, allowing them to:
Connect to ServiceNow
Create records
Create tickets
Log calls
Log notes
Log call dispositions
Let's take a look at how this integration works.
Who can use this
Dialpad’s ServiceNow integration is currently available to Dialpad Support and Dialpad Sell customers, as well as Dialpad Connect users on a Pro or Enterprise plan.
Enable ServiceNow
To enable the ServiceNow integration, head to your Company Settings.
Select Integrations
Navigate to ServiceNow
Select Options
Select Manage Settings
Select Enable this feature
Enter your ServiceNow instance name
Enter your ServiceNow instance ID
Enter your ServiceNow client secret number
Select Save
To obtain your ServiceNow instance and secret number information, you’ll need to head to your ServiceNow portal.
Search OAuth
Select System OAuth
Click New
Select Create an OAuth API endpoint for external clients
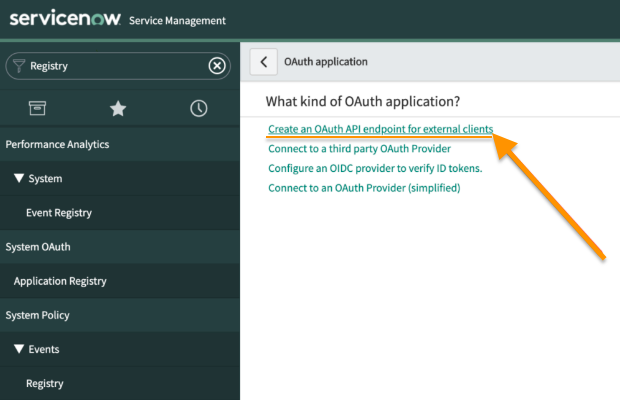
Complete the following fields:
Title: Description
Name: Desired Name (ie. ‘Aerolabs for ServiceNow’)
Client ID: Auto Generated
Client Secret: Leave this field blank — ServiceNow will automatically generate a random password when the form is saved
Redirect URL: https://dialpad-integrations.uc.r.appspot.com/oauth/callback/servicenow
Select Submit
Write down your Client ID and Client Secret
Select the lock icon to see the client secret

Configure ServiceNow settings
Once ServiceNow is enabled, it's time to configure your settings.
ServiceNow settings can be enabled for the entire company, or per office.
Configure company settings
To set company settings, head to your Dialpad Admin Settings.
Select My Company
Select Integrations
Navigate to ServiceNow
Select Options
Select Manage Settings
Navigate to Call Logging
Select the desired preferences
Select Save
Configure office settings
To set ServiceNow settings specific to an individual office, head to your Dialpad Admin Settings.
Select the desired office
Select Integrations
Navigate to ServiceNow
Select Options
Select Manage Settings
Select Customize for this office
Navigate to Call Logging
Select the desired preferences
Select Save
Manage Exceptions
Customize access and manage exceptions for the entire Company or across all Offices.
Tip
Selecting Active Exception applies the specific settings you made to the chosen target group.
Selecting Inactive Exception ignores any specific settings you made for the target group and applies the default Company settings.
Manage Exception - Company
To add an exception at the Company level, head to your Company Settings.
Select Integrations
Navigate to ServiceNow
Select Options
Select Manage Exceptions
Select Add Exception
Navigate to Assign Groups
Select a group from the drop-down
Select a single or multiple target within the group
Select the desired preference
Select Save
Note
You can Edit an exception to adjust settings for the target group, or Remove an exception to delete custom settings and revert to default settings from the Company, Office, or Group.
Manage Exception - Office
To add an exception at the Office level, head to your Dialpad Admin Settings.
Navigate to Office Settings
Select Integrations
Navigate to ServiceNow
Select Options
Select Manage Exceptions
Select Add Exception
Navigate to Assign Groups
Select a group from the drop-down
Select a single or multiple target within the group
Select the desired preference
Select Save
Note
You can Edit an exception to adjust settings for the target group as needed, or Remove an exception to delete custom settings for the group and revert to default settings from the Company, Office, or Group.
Connect to ServiceNow
Once ServiceNow has been enabled, agents will need to connect to their Dialpad account to ServiceNow.
Navigate to any Contact
Select the Contact profile
Navigate to ServiceNow
Select Connect to ServiceNow
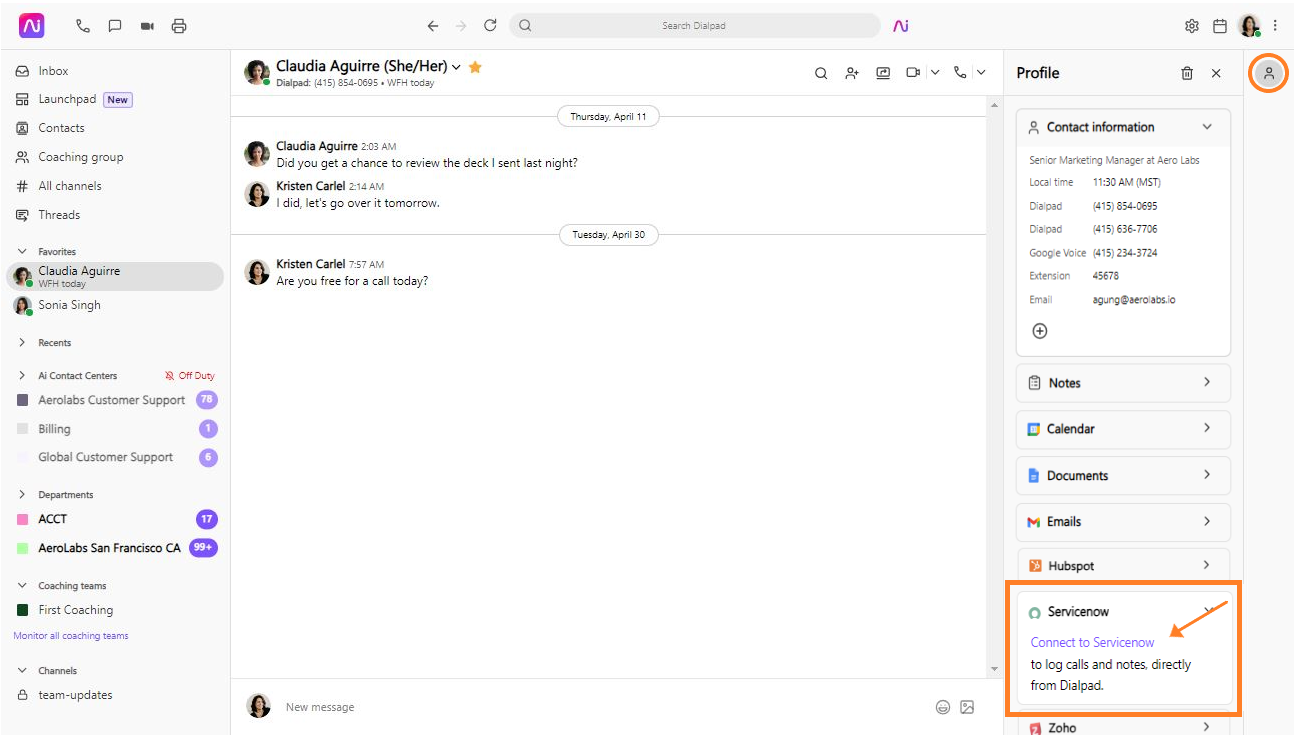
Follow the two-factor authorization process
Select Allow
Contact matching
Match your Dialpad contacts with ServiceNow to easily access the contact’s call history, work notes, and ticket details from within Dialpad. Let’s take a look at a few of common contact-matching scenarios.
No match - connect to a record
When speaking to a client who is not already a ServiceNow contact, you’ll need to create a new record or connect to an existing record.
To connect to an existing record:
Select Connect to a record

Type the contact name in the text field
Select Connect
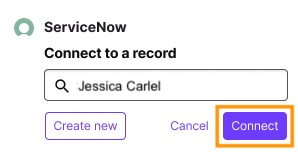
No match - create record
When speaking to a client who is not already a ServiceNow contact, you’ll need to create a new record or connect to an existing record.
To create a new record:
Select Connect to a record

Select Create New
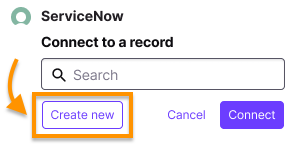
Enter the contact information
Select Create
Confirmed match
Once a client record has already been created, you’ll see the confirmed match in the ServiceNow section of the contact’s profile.
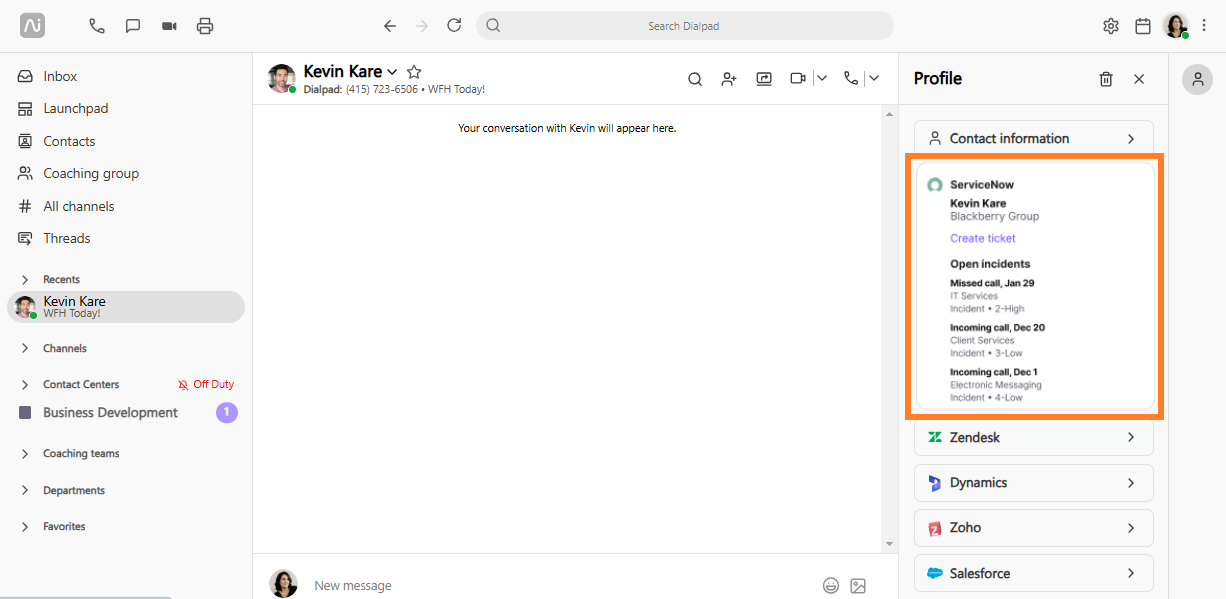
Here, you can:
View open incidents
View call history
Update incident work notes
Create a ticket
Select the incident to open in ServiceNow
Rematch existing match
People change roles and contacts sometimes need to be rematched.
To rematch a contact:
Navigate to the conversation sidebar
Open ServiceNow
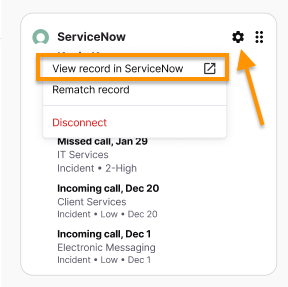
Select the gear icon
Select the More menu
Select Rematch record
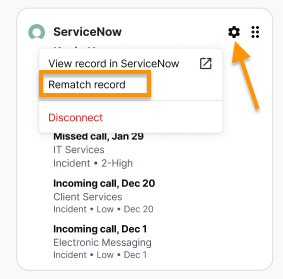
Enter the contact name in the text field
Select Connect
Multiple matches
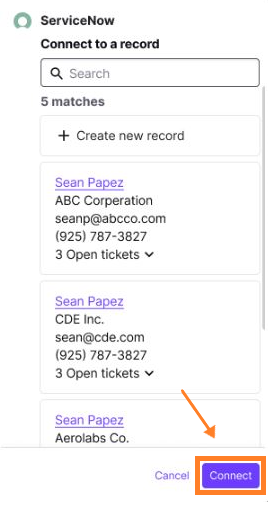
If there are multiple contact matches, Dialpad will display the variable contacts and ask you to select the correct one. The call will not be logged to any contact until you select the correct contact.
Select Connect to a record
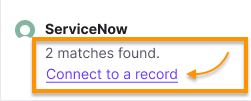
Select the correct contact
Select Connect
Create a ticket
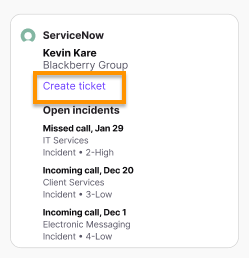
Create a ServiceNow ticket from within your Dialpad conversation.
Select Create ticket
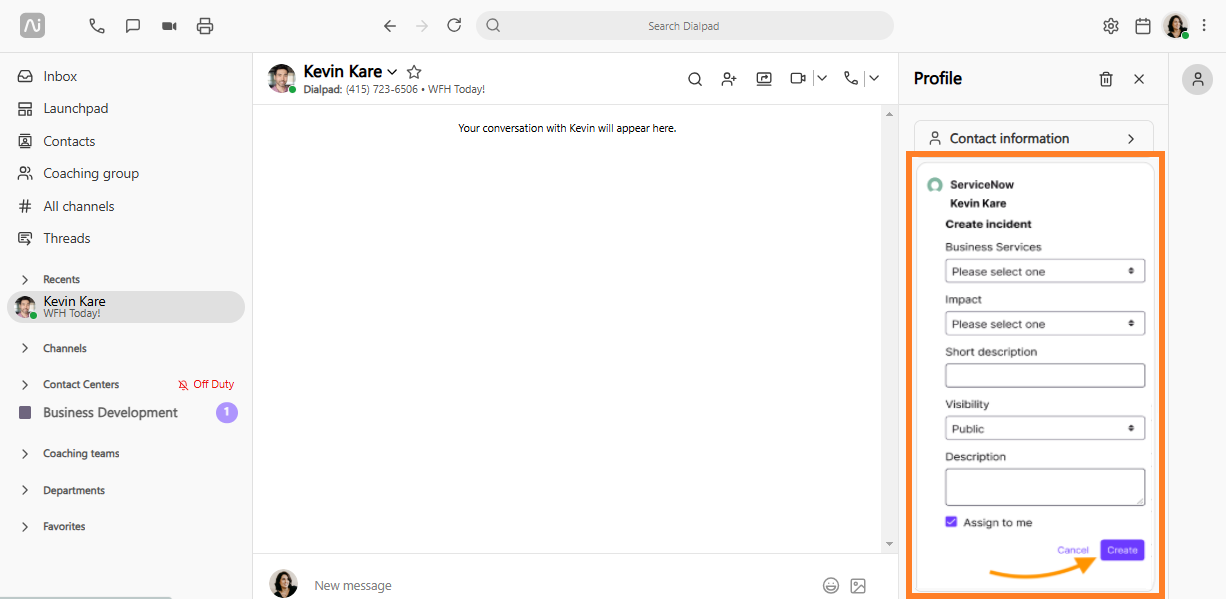
Enter the required details:
Impact
Visibility
Description
Assignee (assign to yourself)
Select Create
Incident review and update
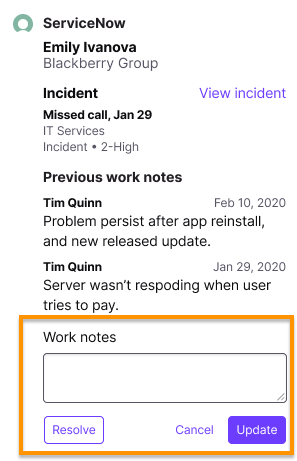
Dialpad calls are logged as incidents in ServiceNow — one call represents one logged incident. Agents can add notes to the incidents as the call progresses. Not only that, but agents can also collate the same information with any existing open incident for the contact.
View and update work notes directly in Dialpad, these will be visible to yourself and your team the next time the contact calls.
Navigate to the conversation sidebar
Select ServiceNow
Enter the new work notes
Select Update to save the details
View incident in ServiceNow
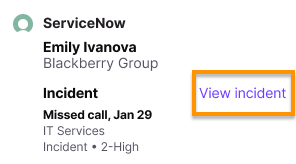
Need to view an incident in ServiceNow? No problem! Move from Dialpad to ServiceNow in just one click!
Navigate to the conversation sidebar
Select ServiceNow
Select View incident to open the full details in your ServiceNow account
You can also access ServiceNow directly from within the More menu.
Supported Ai Fields
Dialpad Ai tracks recaps, action items, call tags, and outcomes, so follow-ups aren’t missed. If you use Ai CSAT or Playbooks, you’ll also see agent’s performance and CSAT scores.
Let's look at at which AI features are logged to, and supported, in ServiceNow.
Field label | Data type | Description |
|---|---|---|
Rich Text | Ai Recap of a call with 255 character limit. | |
Rich Text | The Action Items that were detected in the call, as generated in the Ai Recap. | |
Ai Outcome | Text | The AI-detected outcome of the call. Accessible in the Ai Recap object. |
Text | The AI-detected Call Purpose category assigned to the call. Accessible in the Ai Recap object. | |
Percentage | Numeric value that explains how much a person adheres to the Ai Playbook. | |
Number | AI-generated CSAT score. |
Frequently asked questions
Can I connect SMS messages?
No, not at this time.
Can I create a contact or Incident when the call is not active?
Yes, you can create a contact or an incident when the call is inactive.
Can I log missed calls as incidents?
Not currently, but we are working on it.
If we have multiple ServiceNow contacts, which contact will the call will log to?
The call will be associated with the ServiceNow contact once the user has mapped the Dialpad contact to a ServiceNow contact. You’ll need to select Connect to a record and manually select the correct contact from the available options.

Does this integration cost money?
Nope! This is a native Dialpad integration, currently available to Dialpad Support and Diapad Sell customers, as well as Dialpad Connect users on a Pro or Enterprise plan.
Are Dialpad call dispositions logged?
Yes. Call disposition codes entered in Dialpad are synchronized with ServiceNow.
Disposition codes appear in the "Resolution Notes" section of the activity field.
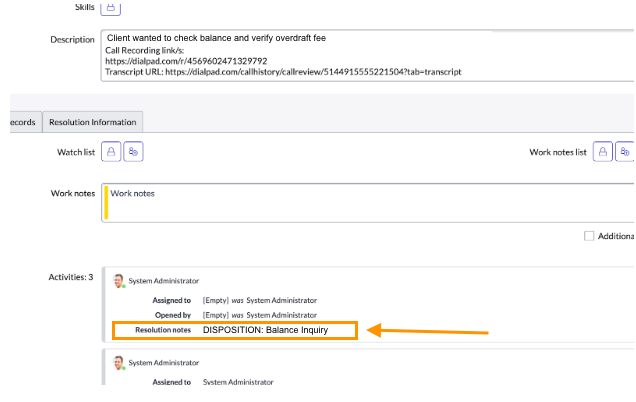
*Your Office or Company Admin must enable Call Dispositions before you will see them appear in Resolution Notes.
What is ITSM?
ITSM is an IT Service Management plugin that supports several ServiceNow modules, including incident management.