During meetings, it’s often necessary to collaborate on visual aspects like notes, timelines, and organizing topics. While doing so in a physical meeting room whiteboard is easy enough, video meetings require a different tool.
That’s why Dialpad offers Miro integration allowing you to create an online collaborative whiteboard inside Dialpad Meetings where you can create notes with all the meeting participants. Miro boards are automatically saved so that you can continue the work after the meeting is over.
Let's get into the details of using this Miro with Dialpad Meetings.
Who can use this
Dialpad's Miro integration is available to all Dialpad Connect and Dialpad Meetings users.
Enable Miro
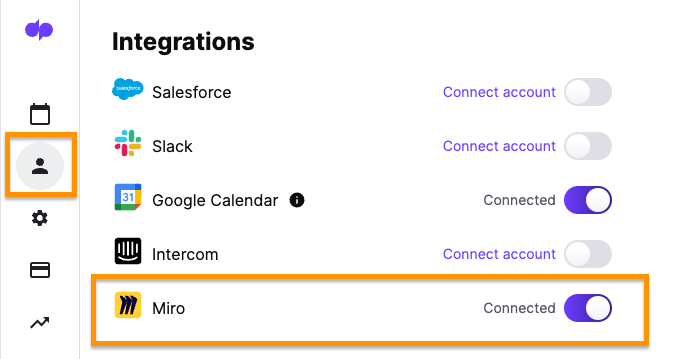
To enable Miro, head to your Settings from the Dialpad Meetings dashboard.
Select Account
Navigate to Integrations
Toggle the slider beside Miro
Note
For Dialpad Meetings Free users, Miro is enabled by default.
For Dialpad Meetings Business users, Miro is disabled by default and will need to be enabled by the account administrator in Account Settings.
Launch Miro
Launching Miro from a meeting is a piece of cake.
Click the More button from the bottom bar
Select Start Miro whiteboard
Select one of the following:
Create a board as a guest user (no registration required)
Sign in using your Miro account to choose and work from an existing board
Choose to embed a board you have already created, or to create a new board
By default, your screen is shared. To stop sharing select Stop Sharing from the top right prompt.
Using Miro
When you launch a Miro board, you have access to the following Miro features:
Pre-made templates
Document and image attachment
Sticky notes, text boxes, comments and tables creation
...and more!
For more information on Miro's features, check out the Miro quick start guide
You can also share a link to the Miro board with the participants so they can collaborate alongside you. Just click on the share button, set the share permissions, and then copy and paste the link into the Dialpad Meeting chat window:
Available settings for sharing Miro boards:
View: participants will be able to view the board only
Edit: participants can edit the board
Comment: participants will only be able to leave comments (not available for guest users)
Private: only you and people you grant access will have access to the board (not available for guests users)
You can create as many boards as you’d like during each meeting.
Accessing Miro Boards
After you end your meeting, the meeting summary (in-app and email) will include links to each Miro board you created:
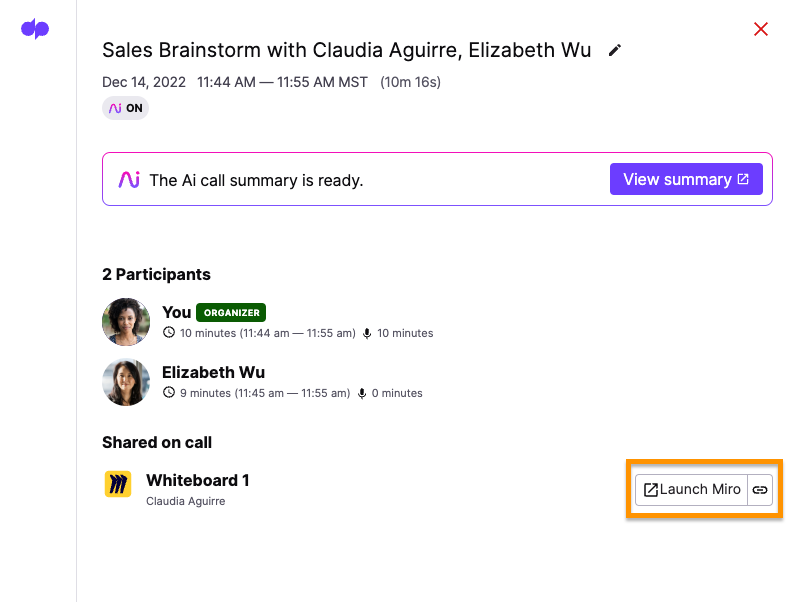
If you signed in with a Miro account, the board you created in Dialpad Meetings will appear automatically in your Miro account.
Miro boards made through a guest Miro account are accessible for 24 hours.
To save your Miro board, click the Launch Miro link and follow the on-screen prompt to sign up for a free Miro account.