Role Based Access Control
    • 20 Apr 2024
    • 4 Minutes to read
    • Dark
      Light
    • PDF

    Role Based Access Control

    • Dark
      Light
    • PDF

    Article summary

    Admins in today's workplace can use Access Control on the Enterprise Support Platform to customize permissions and manage user policies for increased efficiency and security. This feature is available to users on Advanced or Premium plans and legacy Enterprise offerings. With 18 unique permission sets, admins can control settings within the company, office, or Contact Center. Users can create, edit, delete policies, grant or revoke permissions, assign policies to specific users, and allocate different policies to users in different Contact Centers. Roles can be created, edited, assigned, and deleted through the Enterprise Support portal, allowing for tailored access control. Feedback on the Early Adopter Program can be shared with Customer Support or a Customer Success Manager.

    In today's dynamic workplace landscape, admins are seeking enhanced control over their office, contact center, and user settings.


    With Access Control, accessed through the Enterprise Support (ES) Platform, companies can tailor permissions and manage user policies (roles) to suit their specific needs, increasing efficiency and security. 


    Let’s dive into the details. 


    Who can use this feature

    Access Control is currently in an Early Adopter Program.

    Once released, this feature will be available to Ai Contact Center users on an Advanced or Premium plan, as well as our legacy Enterprise offering.

    Permission sets

    Dialpad offers 18 unique permission sets, giving users access to specific settings or features within the company, office, or Contact Center that might not be available within the traditional scope of their Dialpad user role.

    Using Access Control for Contact Center Settings, company admins can:

    • Create, edit, and delete policies (roles) within their organization.

    • Grant or revoke Contact Center setting permissions.

    • Assign and unassign policies to specific users in selected Contact Centers.

    • Allocate different policies to users on different Contact Centers.

    Let’s look at what each permission set does.

    Permission Set Name

    Description

    SUPERVISOR_SETTINGS_WRITE

    Gives the user access to admin and supervisor settings.

    CHROME_EXTENSION_COMPLIANCE_SETTINGS_WRITE

    Gives the user access to Contact Center recording compliance settings.

    NAME_LANGUAGE_DESCRIPTION_WRITE

    Gives the user access to IVR, Voicemail and Ai Language settings.

    NUMBERS_SETTINGS_WRITE

    Gives the user access to manage numbers and fax numbers

    AGENTS_ADMINS_MANAGE_AGENTS_WRITE

    Gives the user access to manage agents & admins.

    AGENTS_ADMINS_SKILL_LEVEL_WRITE

    Gives the user access to set Agent Skill Levels.

    BUSINESS_HOURS_WRITE

    Gives the user access to manage Business Hours.

    CALL_ROUTING_HOURS_WRITE

    Gives the user access to manage Call Routing options.

    HOLIDAY_HOURS_WRITE

    Gives the user access to manage Holiday Hours.

    DIALPAD_AI_WRITE

    Gives the user access to manage Dialpad Ai settings.

    INTEGRATIONS_WRITE

    Gives the user access to manage integration settings.

    CSAT_SURVEYS_WRITE

    Gives the user access to manage CSAT Surveys.

    DASHBOARDS_AND_ALERTS_WRITE

    Gives the user access to manage Dashboards and Alerts.

    CC_CALL_SETTINGS_WRITE

    Gives the user access to Call Settings.

    AGENT_SETTINGS_WRITE

    Gives the user access to Agent Settings.

    AUTO_CALL_RECORDING_AND_TRANSCRIPTION_WRITE

    Gives the user access to Automatic Call Recording and Transcription settings.

    CALL_BLOCKING_SPAM_PREVENTION_WRITE

    Gives the user access to Call Blocking & Spam Prevention settings.

    CALL_DISPOSITIONS_WRITE

    Gives the user access to manage Call Dispositions.

    Using access controls

    Once your account has been enabled for the Access Control EAP, it's time to head to the Enterprise Support (ES) portal.

    Note

    You’ll need to be a company admin to access the ES portal.

    In your browser, enter https://dialpad.com/es

    1. Navigate to Companies, then select your company name

    2. Select Role Based Access Control

    Here, you can create, edit, and delete user roles.

    Create a role

    To create a new role:

    1. Select Create a new role

    2. Name the role

    3. Add a description

    4. Choose if the role is applicable to the entire company, an office, or Contact Center

    5. Check the box(es) beside the desired permission(s)

    6. Select Create a new role

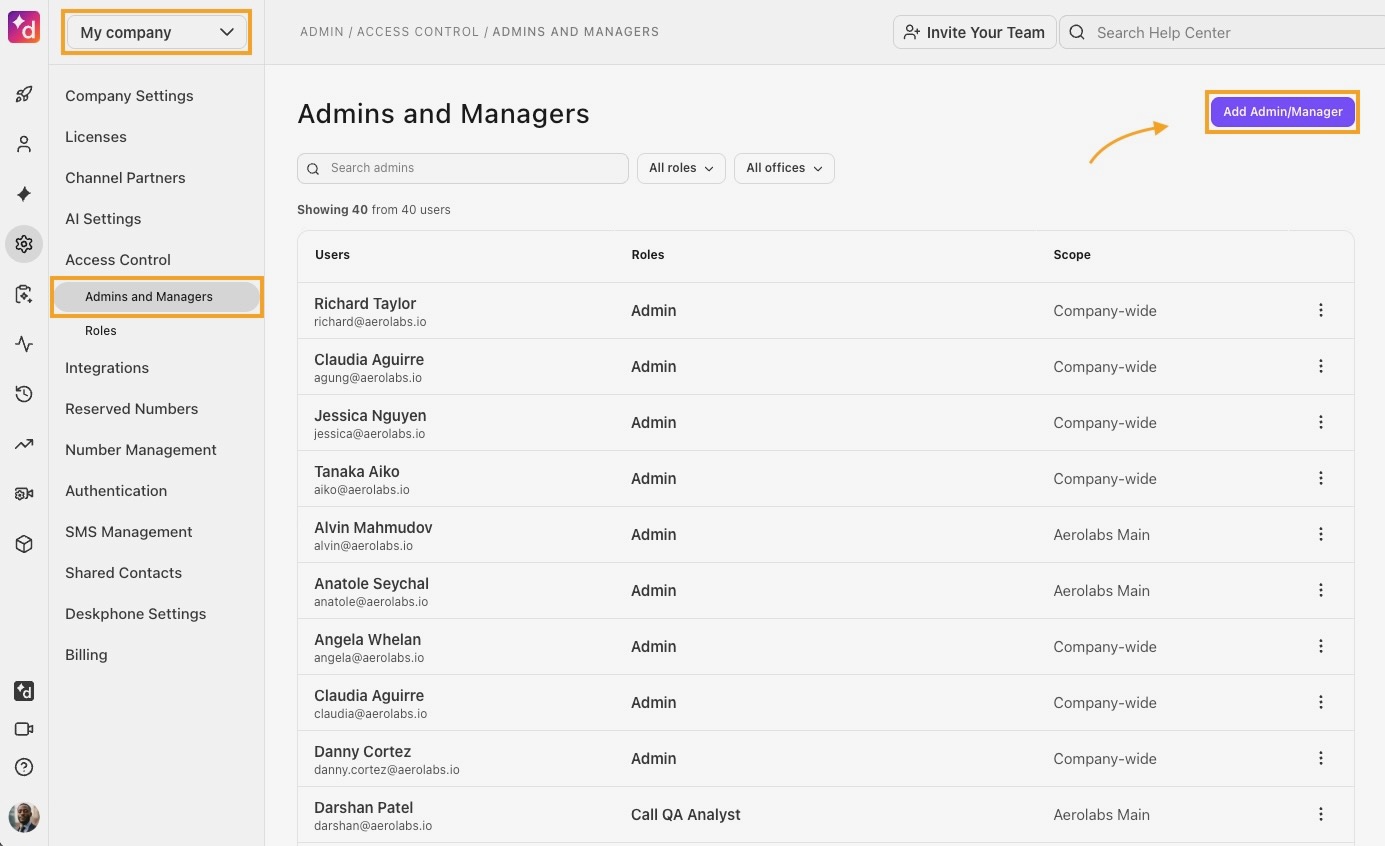
    Once created, the role will appear in the Company Roles section of the Role Based Access Control.

    Assign a role

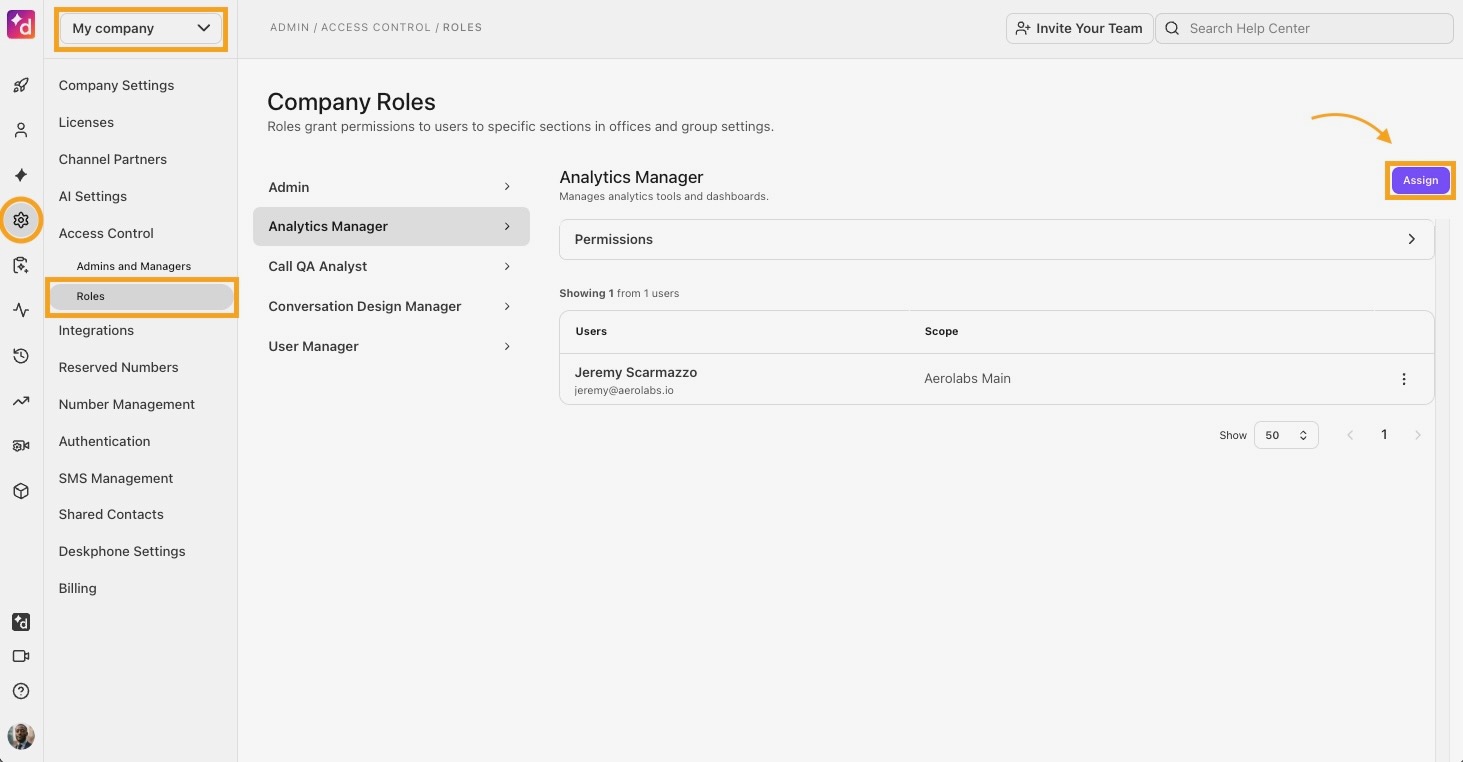
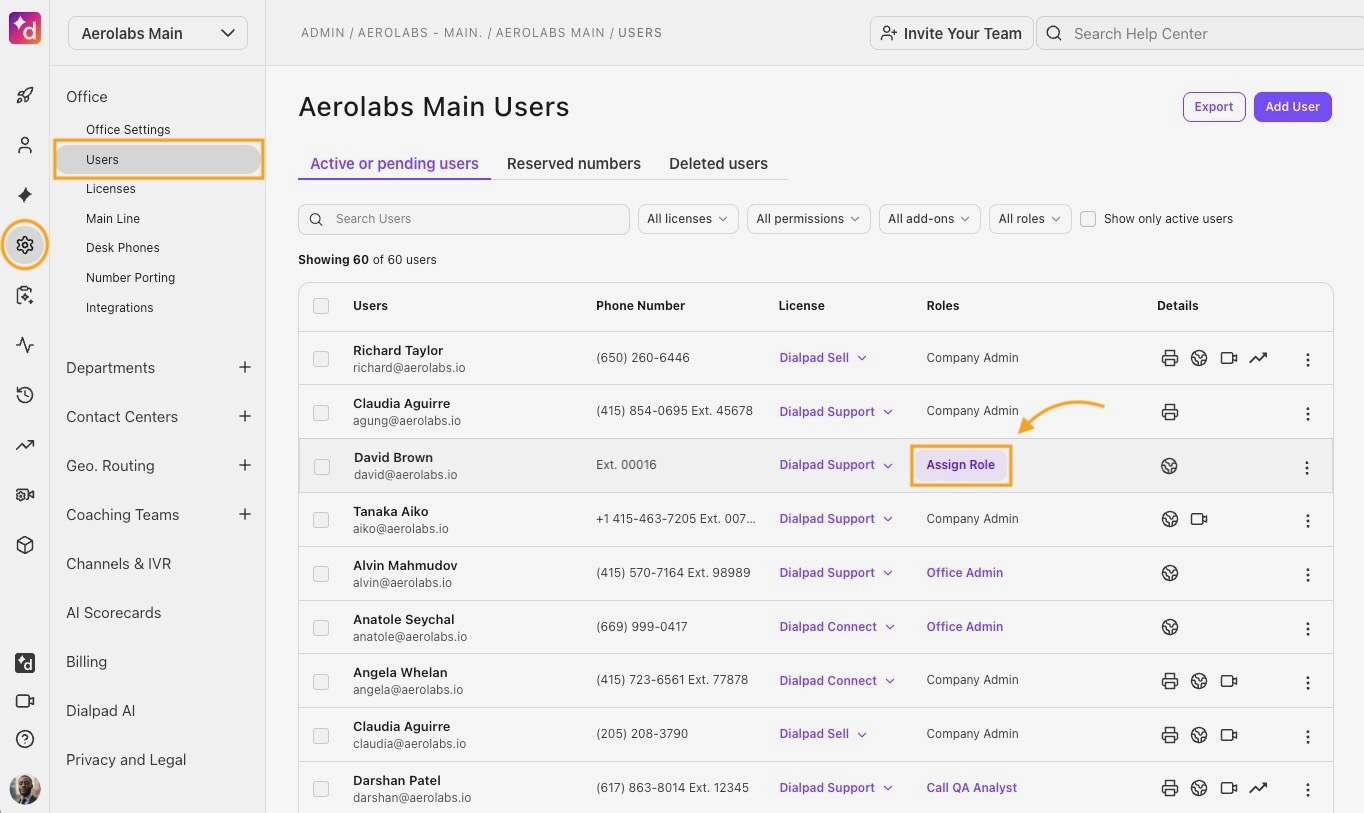
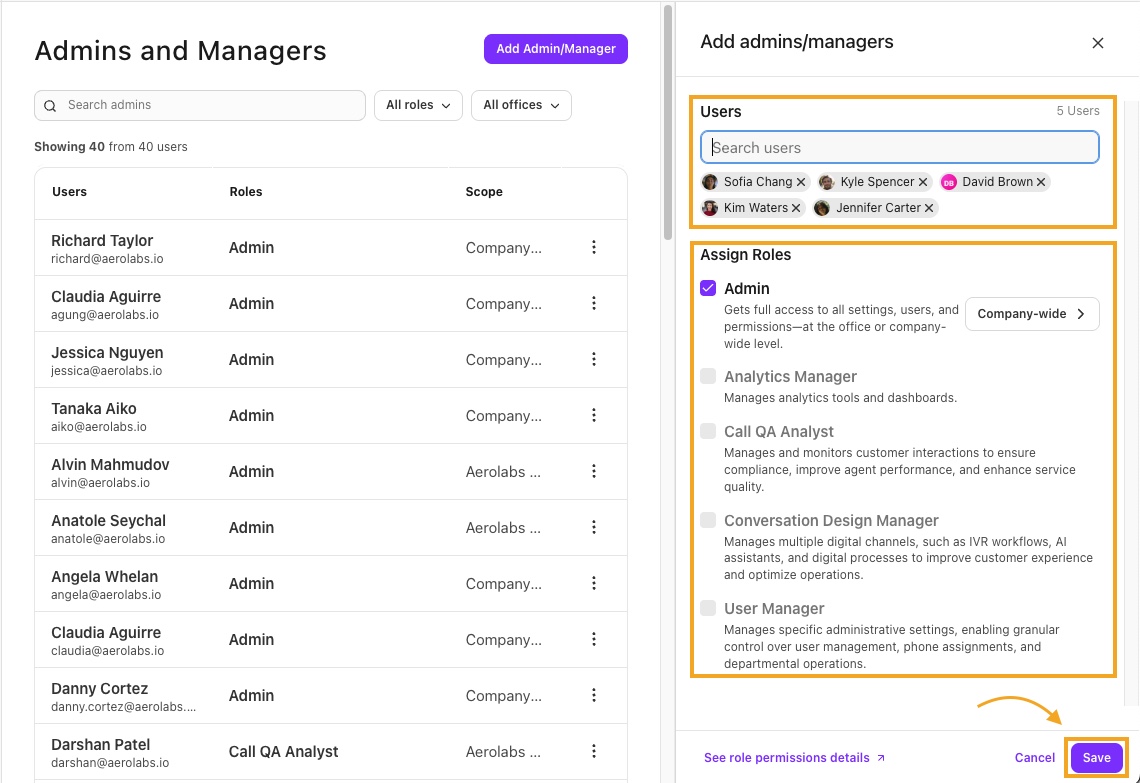
    Once a role has been created, it's time to assign it to a user.

    To assign a role, head to the ES Portal.

    1. Select Users

    2. Select the desired user

    3. Navigate to Roles

    4. Select Add role

    5. Choose the desired role

    6. Enter the Role Key

      1. Role keys are only required if the role is not at company level (ie the role is at an Office or Contact Center level). For company level roles, please leave it empty.

    7. Select Add role to user

    That’s it! You’ll now see the role assigned to the user in the User’s profile and on the Role Details page.

    Users can be assigned multiple roles. Each assigned role will appear in the user’s Roles section.

    Edit a role

    Roles can be edited at any time. When a role is edited, the changes are applicable to all users who are assigned to the role.

    To edit a role, head to the ES Portal.

    1. Select Role Based Access Control

    2. Select the Role you want to edit

    3. Select Edit this role

    4. Make the desired changes

      1. You are not able to edit the target type (Company, Office or Contact Center level)

    5. Select Save

    Changes are applied instantly and are applicable to all users who are assigned to the role.

    Delete a role

    Perhaps you changed company policies, and an existing role is no longer applicable. To delete a role:

    1. Head to the ES Portal

    2. Select Role Based Access Control

    3. Navigate to the role you want to delete

    4. Select Delete

    The role will instantly be detected and all assigned users will no longer have access to the permissions associated with the deleted role.

    The role will now appear as deleted in your Company Roles.

    Restore a deleted role

    Need to restore a previously deleted role? No problem.

    To restore a deleted role:

    1. Head to the ES Portal

    2. Select Role Based Access Control

    3. Navigate to the role you want to delete

    4. Select Restore

    Learn more

    Check out ES Portal Help Center article for more information on using Enterprise Support features.

    Frequently asked questions

    How can I join this Early Adopter Program?

    Reach out to your Customer Success Manager to see if you are a good fit for this EAP.

    Is there a limit to the number of people that can be assigned a role?

    Nope! Assign as many people as you need.

    Is there a maximum number of Policies a company can have?

    No, you can create as many Policies as your company needs.

    Are there change logs for a role?

    Not at this time, but we’re working on it.

    Is there a cost to join an EAP?

    Nope! All that we ask if that you share your honest feedback with us, so that we make sure the feature is doing what you want and need.

    Will you be adding more features?

    Absolutely! We’re fine-tuning this feature and will be adding more functionality soon.

    I’m on the EAP, how can I share my feedback?

    A huge part of the EAP process is getting your feedback on what’s working and what needs more attention before we publicly launch the feature.

    To provide feedback to our team, please reach out to our Customer Support team or your Customer Success Manager.

    Please note that we may use your responses in marketing promotions for the product launch (don’t worry, we will ask for approval before doing so).


    Was this article helpful?