If your customers are reaching out to your business online, they’re probably doing it across many different channels. Live chat, chatbots, social media, emails… There seems to be no limit to all the different ways that customers can reach out to ask a question, solve a problem, register a complaint, or, tell you how much they love your business.
Agents can interact with customers in real-time, answering questions and offering assistance through multiple digital channels.
Let's take a look at working as a Digital Contact Center Agent in Dialpad.
Go on duty
Once you’ve logged in to Dialpad, it's time to set yourself on duty so that you can start responding to customer interactions.
From the Dialpad app:
- Navigate to Contact Centers
- Select Off Duty
- Select Available, then Digital
.png)
Once you’re all done for the day, don’t forget to switch back to Off Duty.
Take an interaction
While Dialpad provides many self-serve options, some requests just require an agent. When an automated workflow determines that an agent is required, the client is sent to the queue and transferred to an available agent.
Any agent set to Available can receive interactions from all Contact Centers that they are a part of (voice and digital).
When an interaction comes in, you’ll hear an audible notification, and the interaction will appear in the Active section. To take the interaction, click on it and start typing in the message field.

When an agent takes a chat, their status automatically changes from Available to Digital.
Agents will remain in the Digital state until all digital interactions are complete.
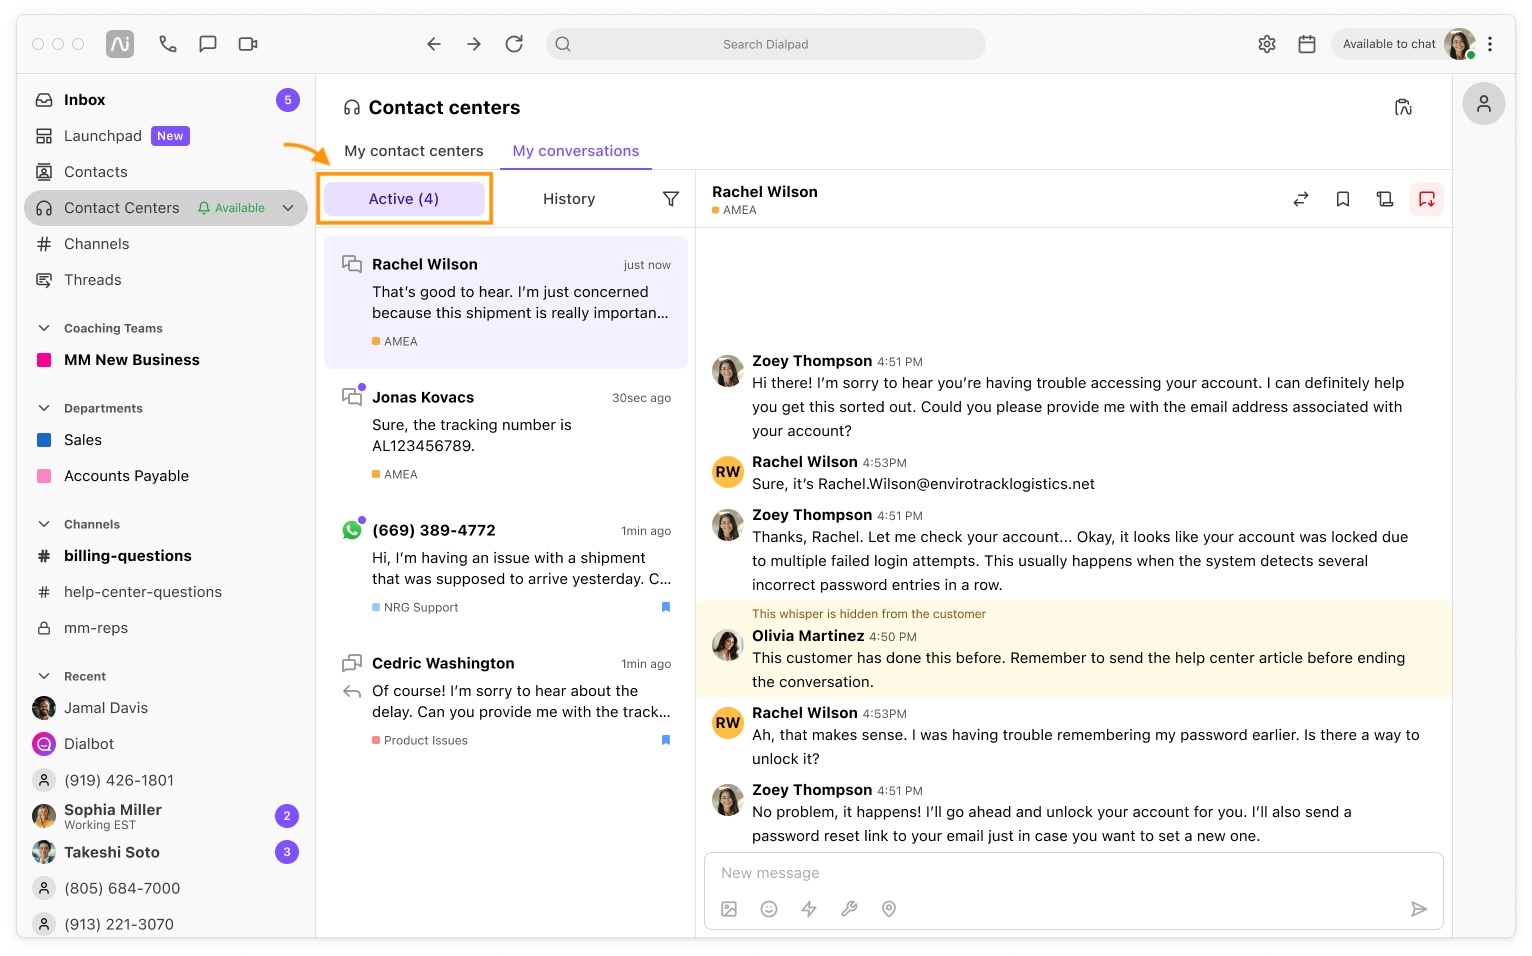
Your conversations
Agents can view their current and past interactions from the Active and History tabs.
The Active tab displays ongoing conversations, letting agents observe real-time chats.
The History tab displays the agent's past interactions. Here, you can select a conversation to view the details, or select Reopen conversation to reopen the interaction.
.jpg)
If enabled by your admin, you can use the search bar to quickly find past interactions.
Search by contact name, email address, or phone number.
Input component tools
Agents have a selection of input component tools to enhance the client and agent experience.
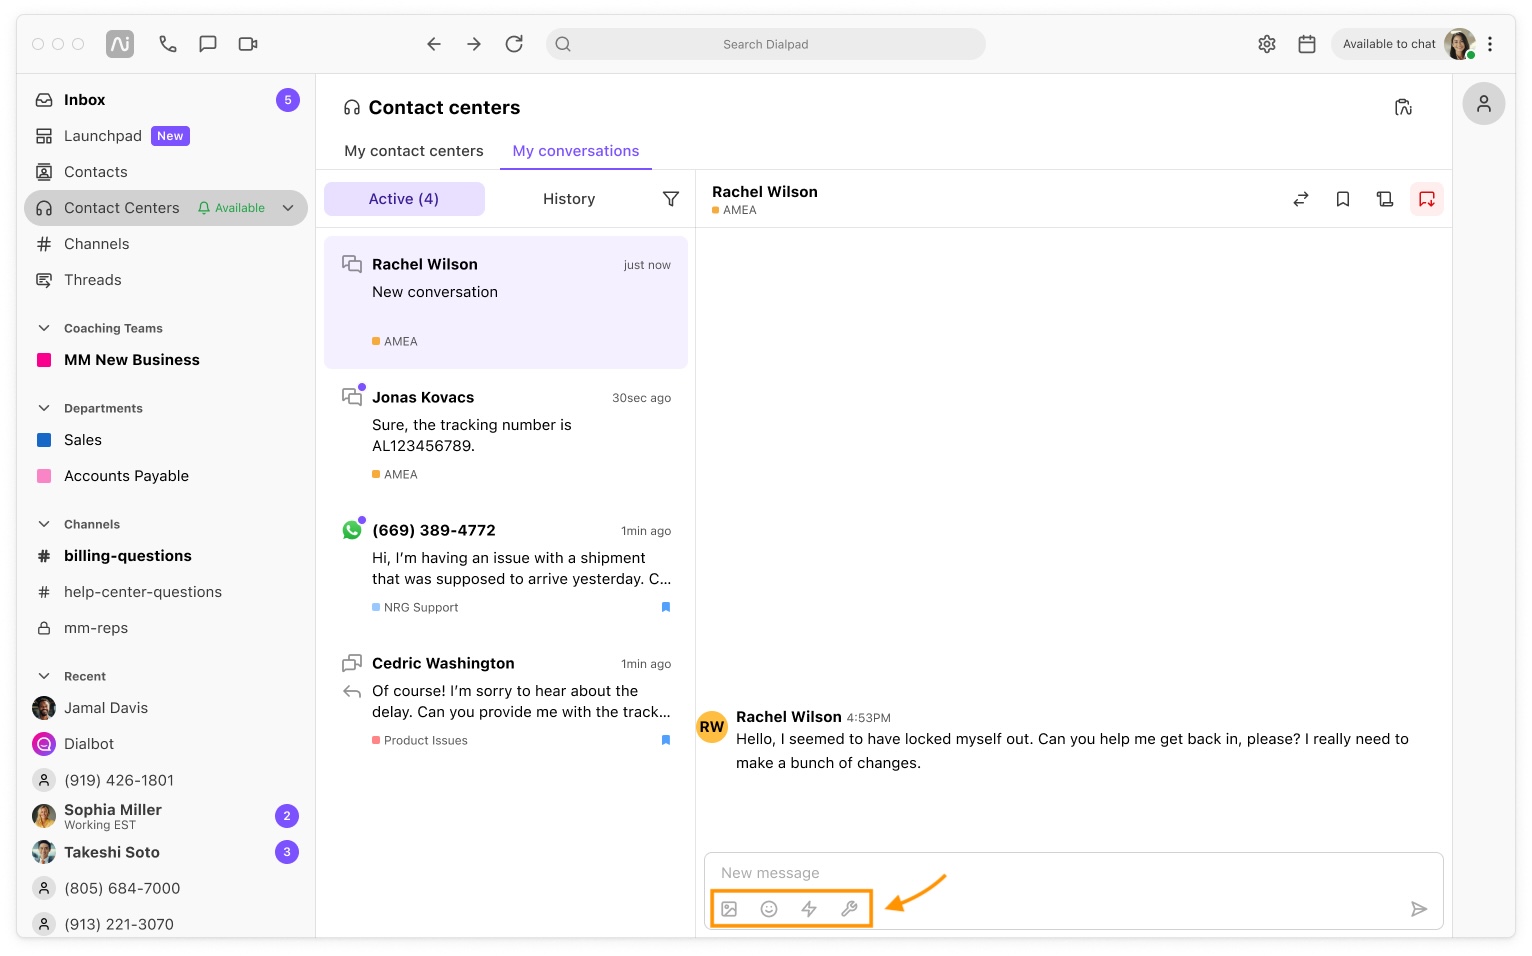
Quick Replies: Preconfigured responses that agents can use to quickly reply without having to type out a lengthy response.
Emojis: Popular cartoon images that add humor and emotion to a conversation.
Attachments: The ability to attach images to the conversation.
The maximum attachment size is 24 MB.
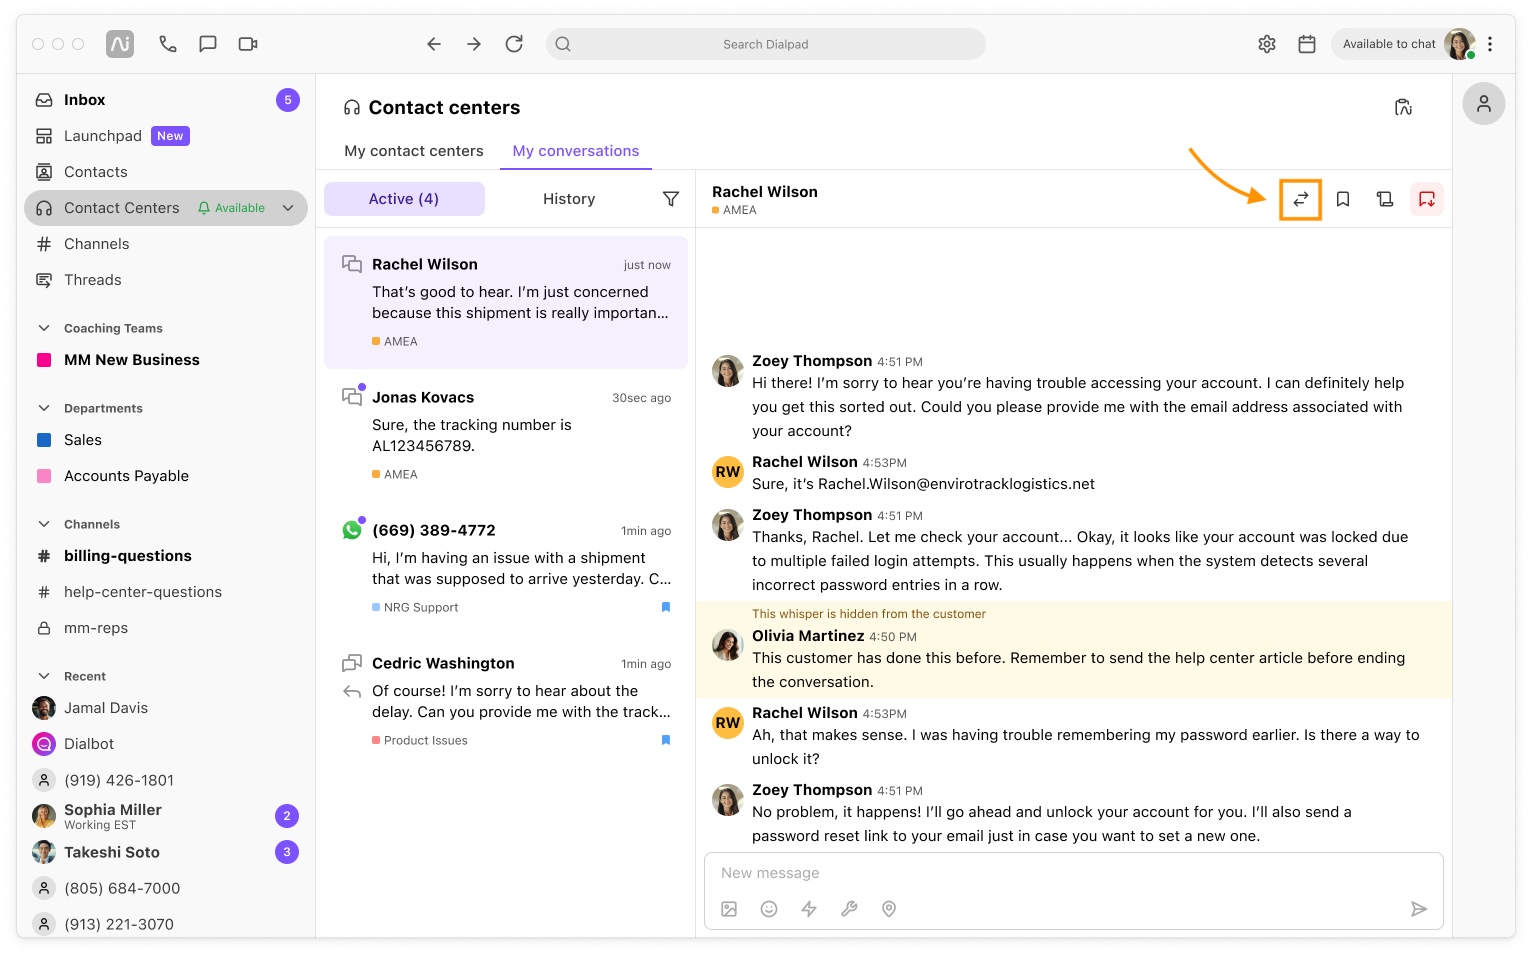
Transfer an interaction
Easily transfer an active digital interaction to another agent.
From your active interaction:
Select transfer
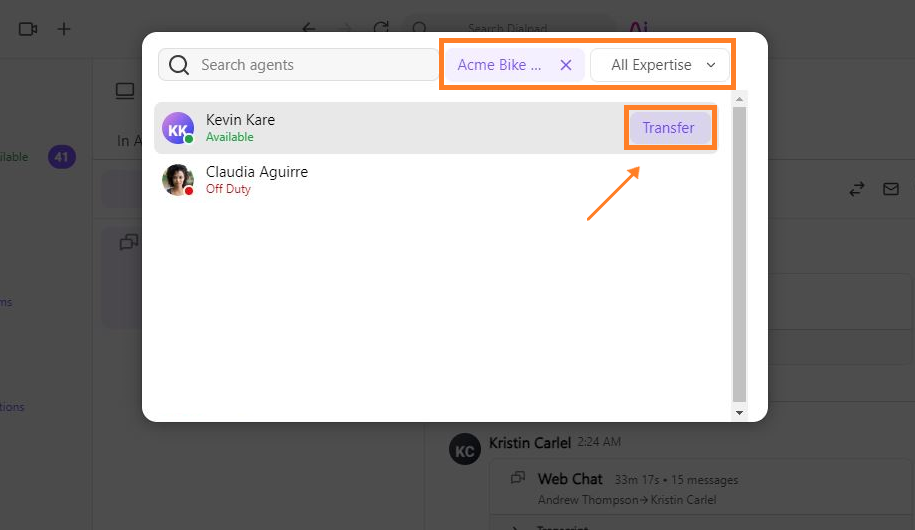
Choose who you'd like to transfer the interaction to
You can search by name, or filter by Contact Center or skillset
Bookmark an interaction
Use Dialpad’s Bookmark feature to save important interactions—whether for training, reference, or follow-up discussions with your manager.
You can bookmark active and past interactions by opening the conversation and selecting the Bookmark icon.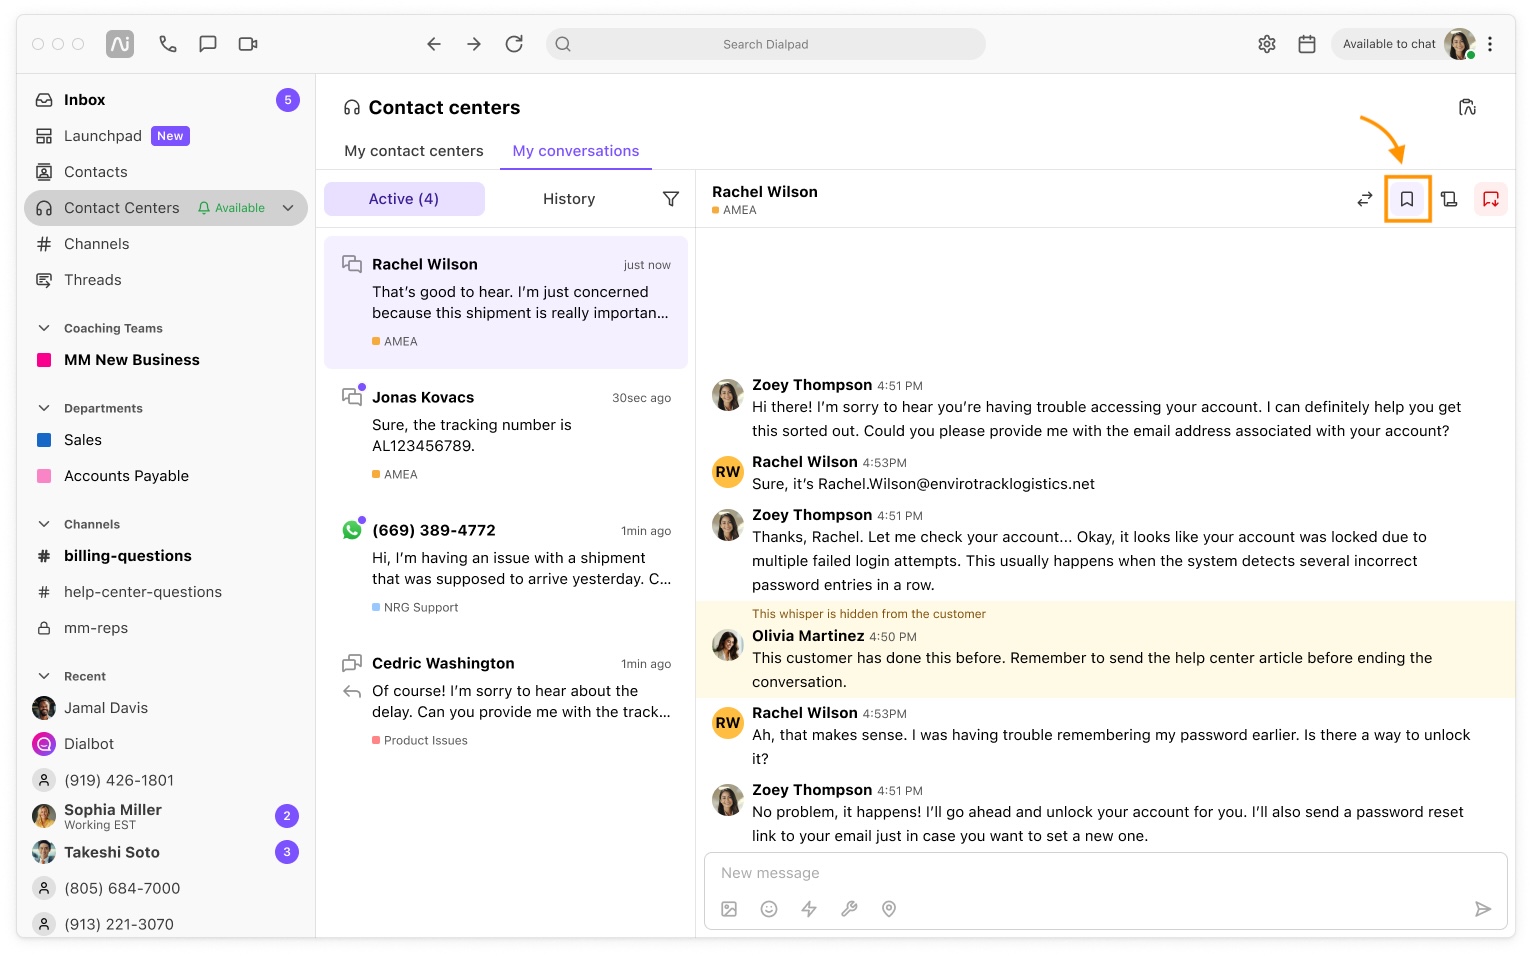
To find bookmarked conversations, select the filter icon, then choose Bookmarked only. 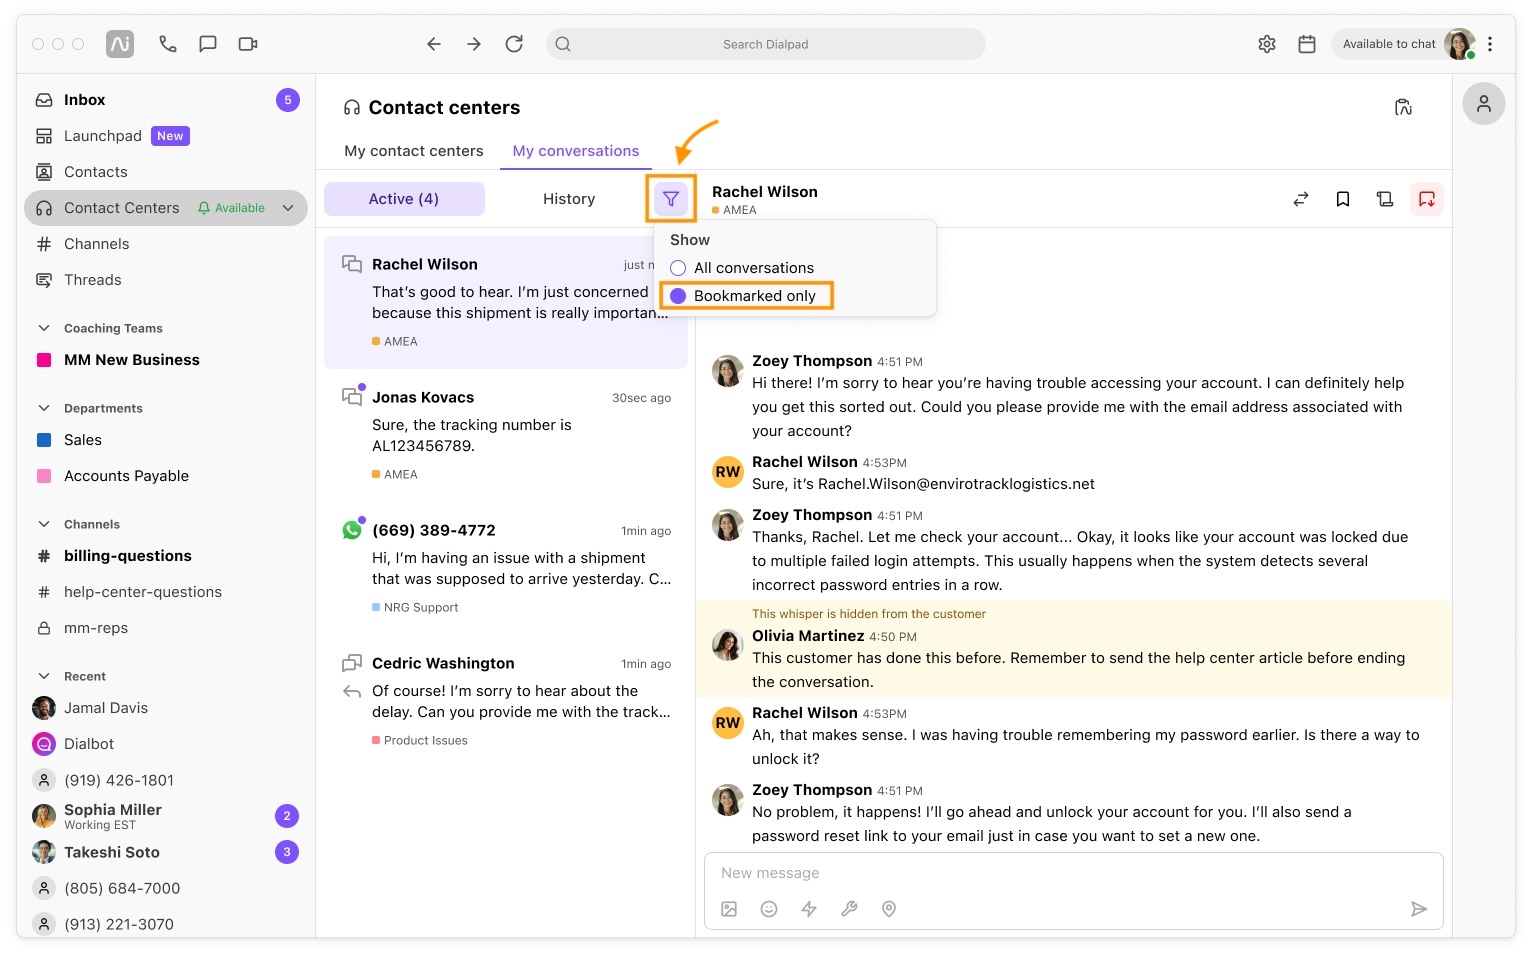
End an interaction
Quickly end an interaction and move to the next client.
To end a customer interaction:
Select the End Chat icon
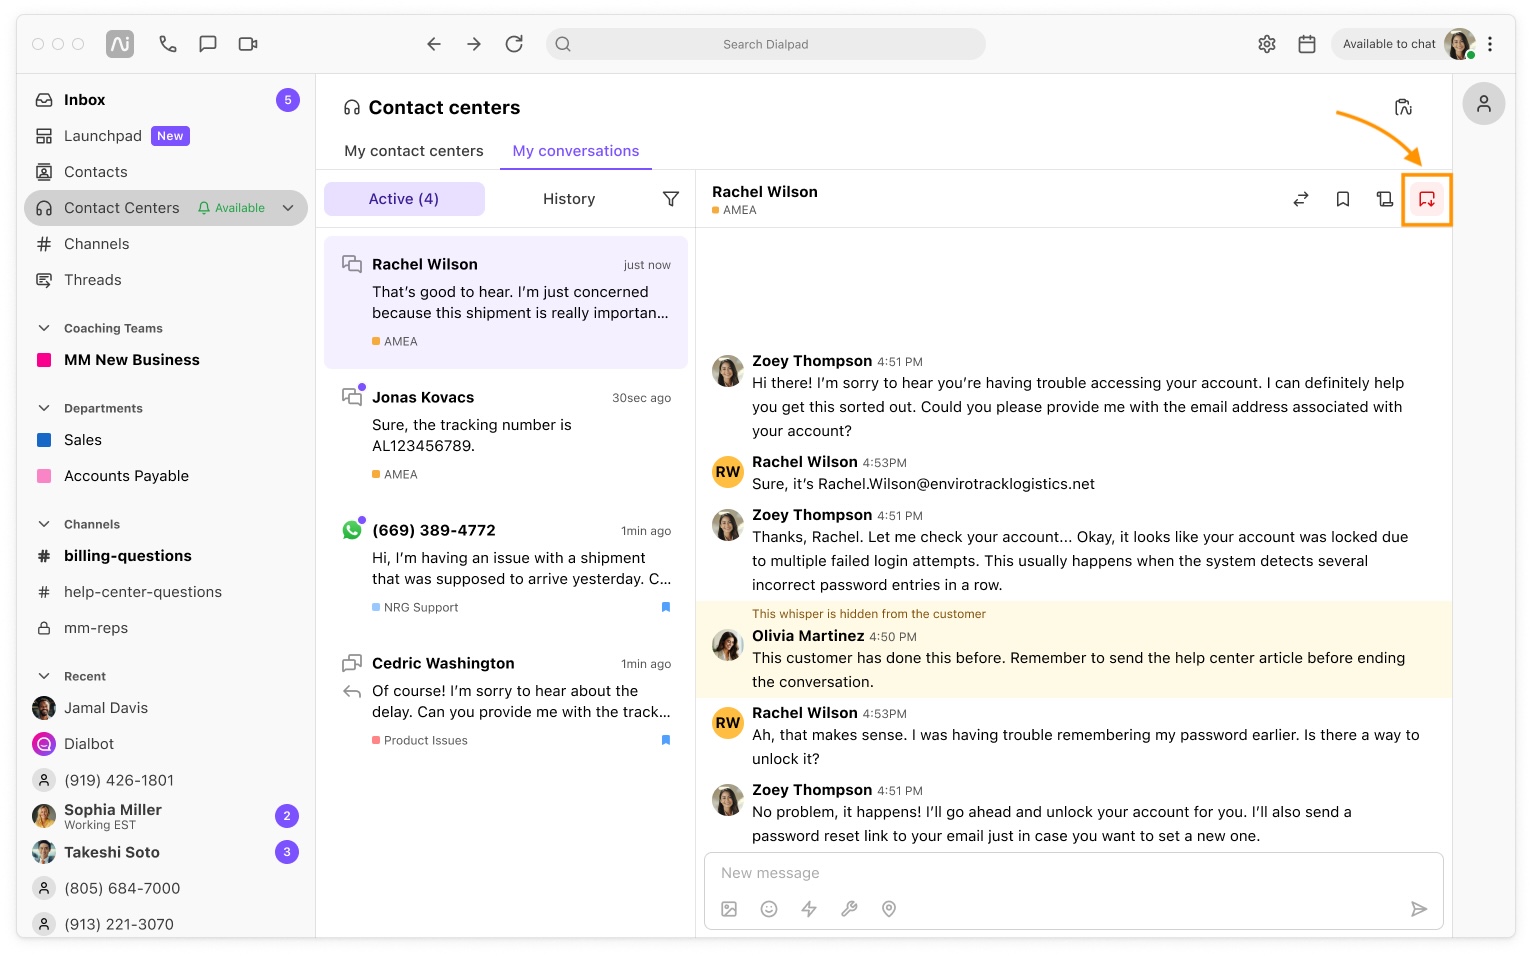
Select End conversation
Client details and history
To view client details during an interaction, select the client’s name in the conversation window or select the Skinny Bar.
Their profile will open, displaying the client’s contact details, integration data, and any notes left by other agents.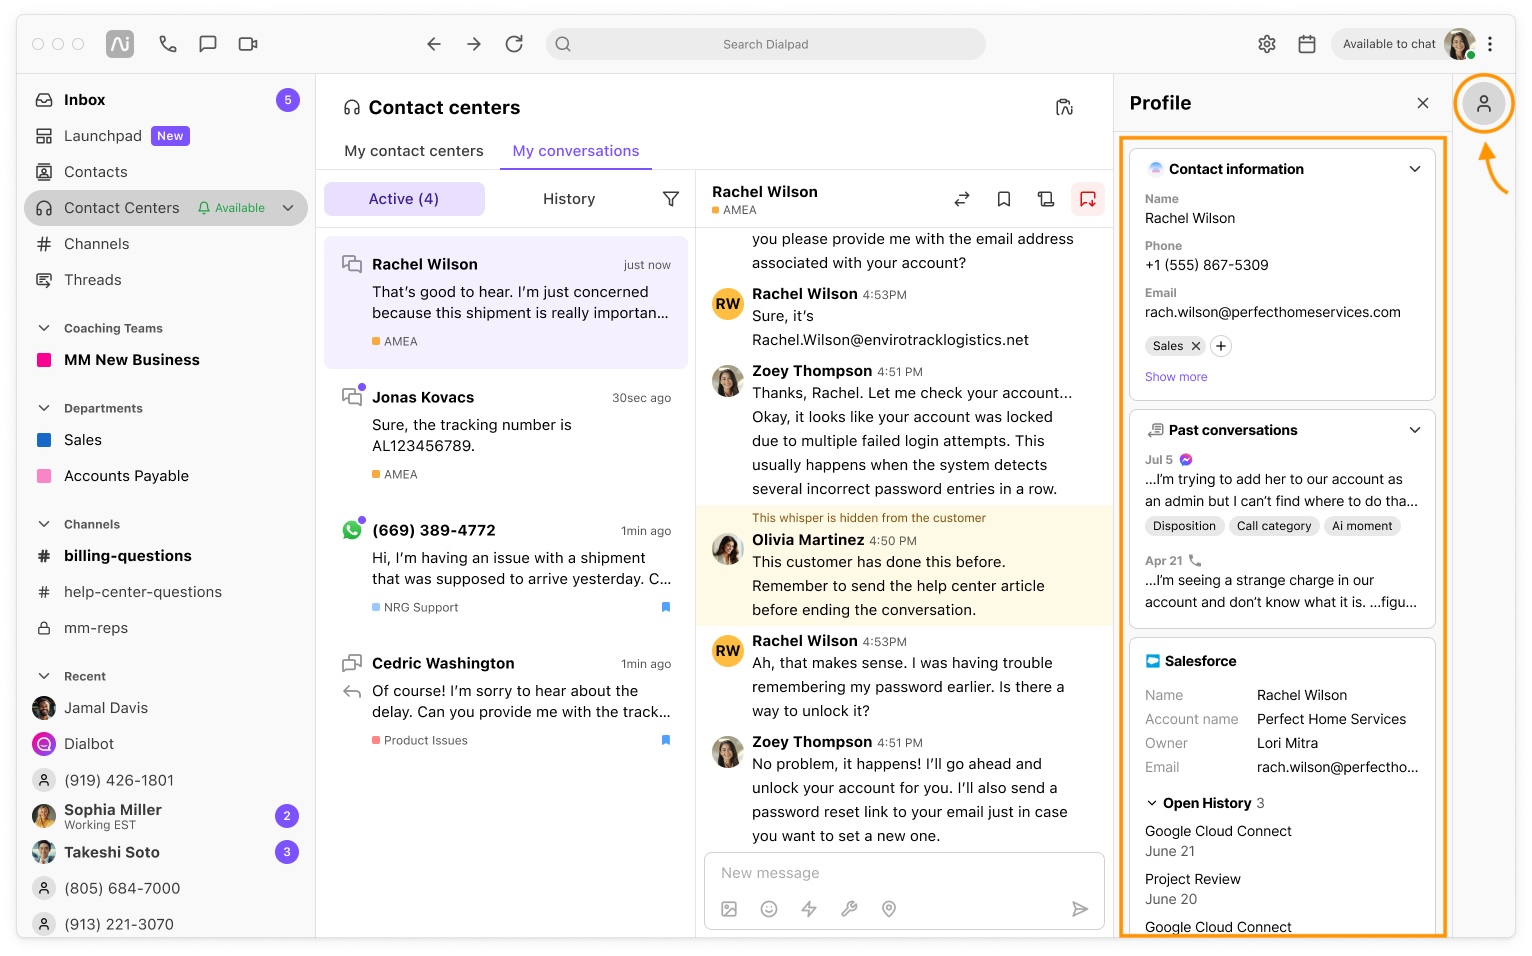
Frequently asked questions
Can I remove a bookmark?
Yes. To remove a bookmark, open the bookmarked interaction and select the bookmark icon again. .jpg)