Salesforce Omni-Channel is a comprehensive CX solution enabling Agents to automatically receive 'objects' (cases and leads) in real-time without needing to look at lists with their work.
With this integration, Administrators can manage and sync agent statuses in either Salesforce Omni-Channel or the Dialpad app/CTI with the Dialpad for Salesforce Omni-Channel integration.
Agents can work and accept assignments using the Salesforce Omni-Channel console widget, and when their status is updated, the Dialpad app and CTI will also update to reflect that change.
Let's dive into the details.This feature is separate from the Dialpad OmniChannel. For more information on Dialpad’s OmniChannel, please refer to our Digital Engagement products.
Requirements
To use the Dialpad in Salesforce Omni-Channel integration, you'll need to be using Salesforce Lightning, with the latest Salesforce package installed.
Admins with SFDC (Salesforce.com) Administrator access must set up the integration to activate it on behalf of their Agents.
Agents must remain connected to the same Salesforce instance as their respective Office Admin.
Set up Salesforce Omni-Channel
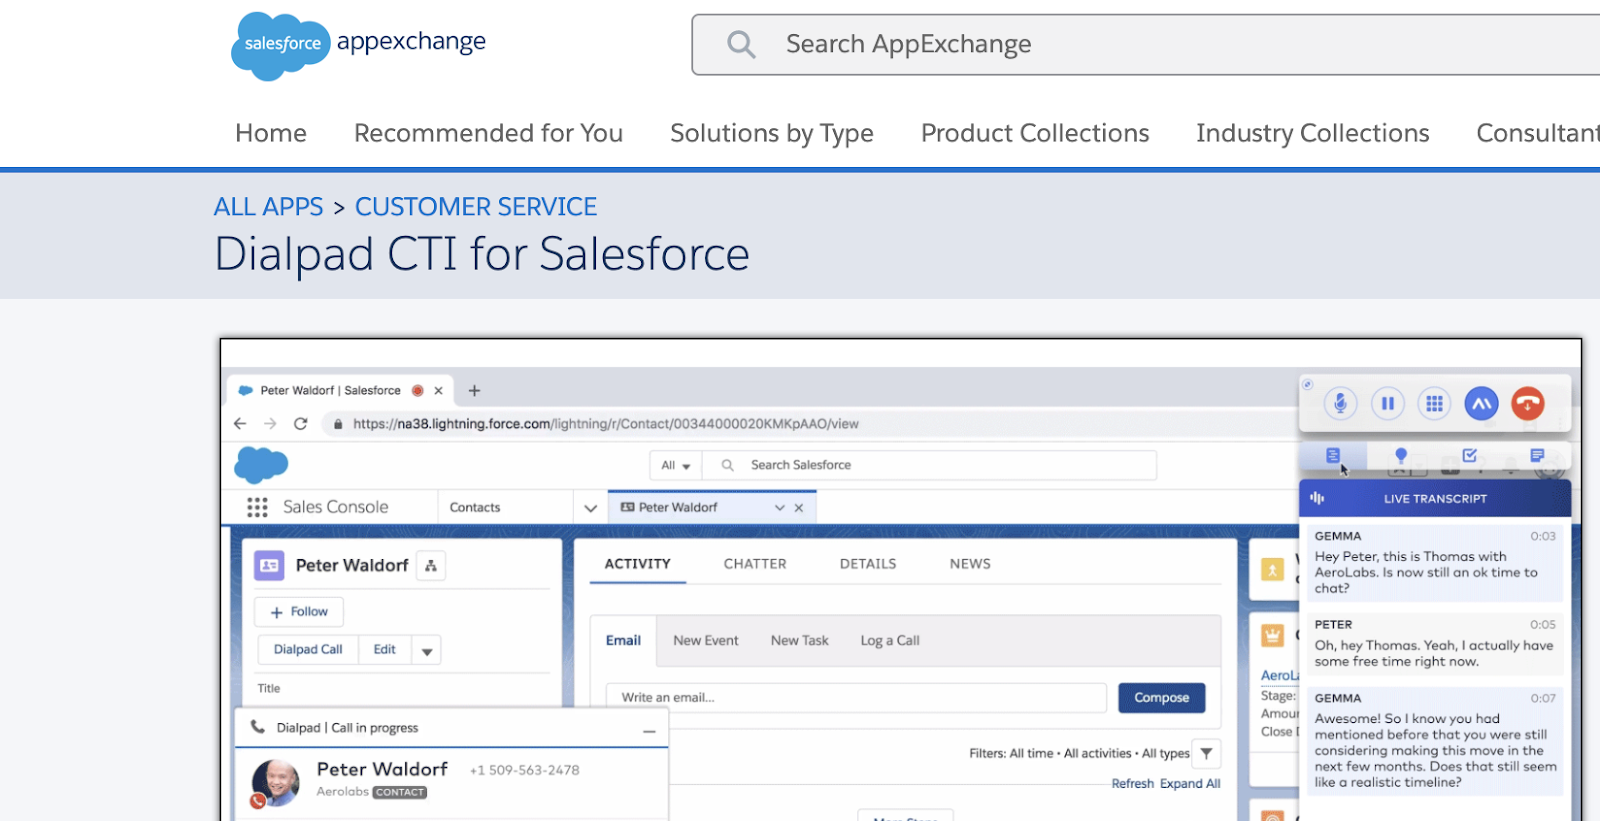
To set up Salesforce Omni-Channel, first, install the Dialpad CTI for Salesforce package from Salesforce AppExchange in your Salesforce instance.
Next, you'll need to do the following:
- Enable Omni-channel
- Configure routing rules
- Create queues
- Assign routing configurations to queues
- Create presence configuration
- Create presence status
- Add "Presence" Status to your profile
- Add the Omni-Channel Utility to your console
- Connect Dialpad to Salesforce Omni-Channel
Enable Omni-Channel
To enable Omni-Channel, head to your Salesforce setup.
- Enter Omni-Channel Settings in the Quick Find box
- Select Omni-Channel Settings
- Select Enable Omni-Channel
- Select Omni-Channel settings to enable features
- Click Save
For more information on the different settings, be sure to take a look at this article.
Create a service channel
Service channels let you turn nearly any Salesforce object (case, lead, SOS session, or even a custom object) into a work record. Omni-Channel then routes them to your agents in real-time, allowing you to manage and prioritize sources of work.
To create a service channel:
- From Setup, in the Quick Find box, enter Service Channels
- Select New
- Specify the desired channel settings
- Click Save
For more information on service channel parameters, read through this helpful article.
After you create service channels, you’ll associate them with queues, which determines how work items are routed to your agents.
This configuration allows you to prioritize work items and allocate capacity for work items.
Configure routing
Work items are routed to agents based on routing configurations, allowing you to prioritize the relative importance and size of work items from your queues. Not only does this ensure the most important work items handled appropriately, but it also allows for work to be distributed evenly among your agents.
To begin routing work items to agents, create routing configurations and assign them to queues.
- Work Item: Case/Lead/Custom Object
- Capacity: Weight of each work item
To create your routing configuration, head to Setup in Salesforce Lightning.
- Enter "routing" in the Quick Find box
- Select Routing Configurations
- Select New
- Enter the desired settings
- Click Save
For more information on Salesforce Omni-Channel routing, have a read through this helpful article.
Create Omni-Channel queues
Prioritize and assign records to teams that share workloads. There’s no limit to the number of queues you can create, and you can choose when queue members receive email notifications.
To create a queue, head to Setup, and enter "Queues" in the Quick Find box
- Select Queues
- Select New
- Enter a label and queue name
- The label is the name of the list view that Users work from
- Choose who to notify when new records are added to the queue
- If your org uses divisions, select the queue’s default division. Cases inherit the division of the contact they’re related to, but when a case doesn’t have a contact, it’s assigned to the default global division.
- Add which objects to include in the queue
- Add queue members
- Members can be individuals, roles, public groups, territories, connections, or partner users.
Depending on your sharing settings, only queue members and users above them in the role hierarchy can take ownership of records in the queue
- Members can be individuals, roles, public groups, territories, connections, or partner users.
- Save the queue
- If you add a role and its subordinates to a queue, all users with that role and their subordinates are added as queue members. Anyone above that role are added as managers of the queue members.
- Work can be routed to queue members only, not their managers.
- Guest users can’t be queue members.
- After enabling digital experiences, all Roles and Subordinates members in queues are converted to Roles, Internal and Portal Subordinates members. Review queues that contain Roles, Internal and Portal Subordinates members, and replace them with Role and Internal Subordinates as required.
Assign routing configurations to queues
Once you've created routing configurations, link them to queues so that your Agents can receive work items.
To assign queues, head to the Setup and enter Queues in the Quick Find box.
- Select Queues
- Create a queue or edit an existing one
- In the Routing Configuration field, look up the routing configuration that you want to associate with the queue
- In the Queue Members section, add agents to the Selected Users field
- These agents will receive work items from this queue.
- Click Save
Create presence configuration
Presence configurations determine how much work agents can take on and the Omni-Channel behaviors while they assist customers. In each configuration, define how to handle work requests. Select whether agents can decline work items and why they can do so.
Also, select the Omni-Channel statuses that are assigned to agents if they miss or decline a work item. Your organization can have multiple configurations for different groups of agents who support different channels.
When you enable Omni-Channel, Salesforce creates a presence configuration for you, called the Default Presence Configuration. All your agents are assigned to that configuration however, you can create an individual presence configuration for certain agents.
If you reassign agents to a custom presence configuration, they’re excluded from the Default Presence Configuration.
To create presence configurations, head to Startup and search Presence in the quick find box.
- Select Presence Configurations
- Select New
- Choose the settings for your presence configuration
- Click Save
- Refresh the page and log in to Omni-Channel.
For more information on presence confirmation settings, be sure to review this helpful article.
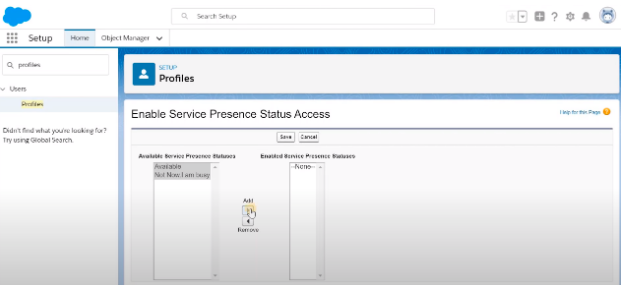
Add presence status to profile
Assign eligible profiles to the configuration to grant access to Omni-Channel functionality to users associated with the profiles. If a User is assigned a configuration at both the profile and user levels, the user-level configuration takes precedence over the profile-level configuration.
To add presence statuses to a profile, enter Profiles in the quick find box from Setup.
- Select Profiles
- Click the name of the profile to which you want to give access to statuses
- Don’t click Edit next to the profile name. If you do, you won’t see the correct page section where you can enable statuses.
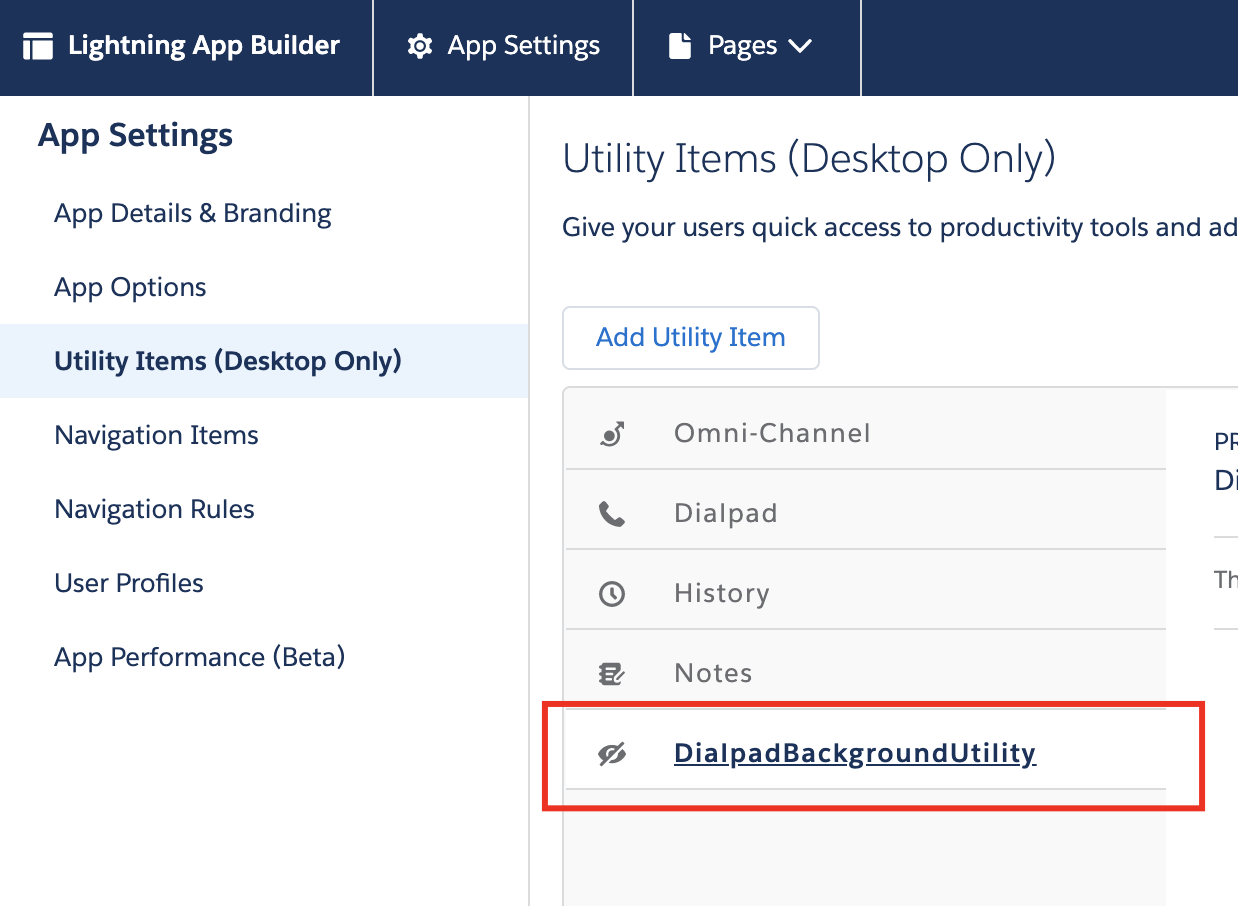
Add the Omni-Channel utility to your console
To add the omnichannel utility to your console, head to App Manager in Salesforce Setup
- Open the app that displays the Omni-Channel utility
- Add the DialpadBackgroundUtility utility item to this app
- Select Save
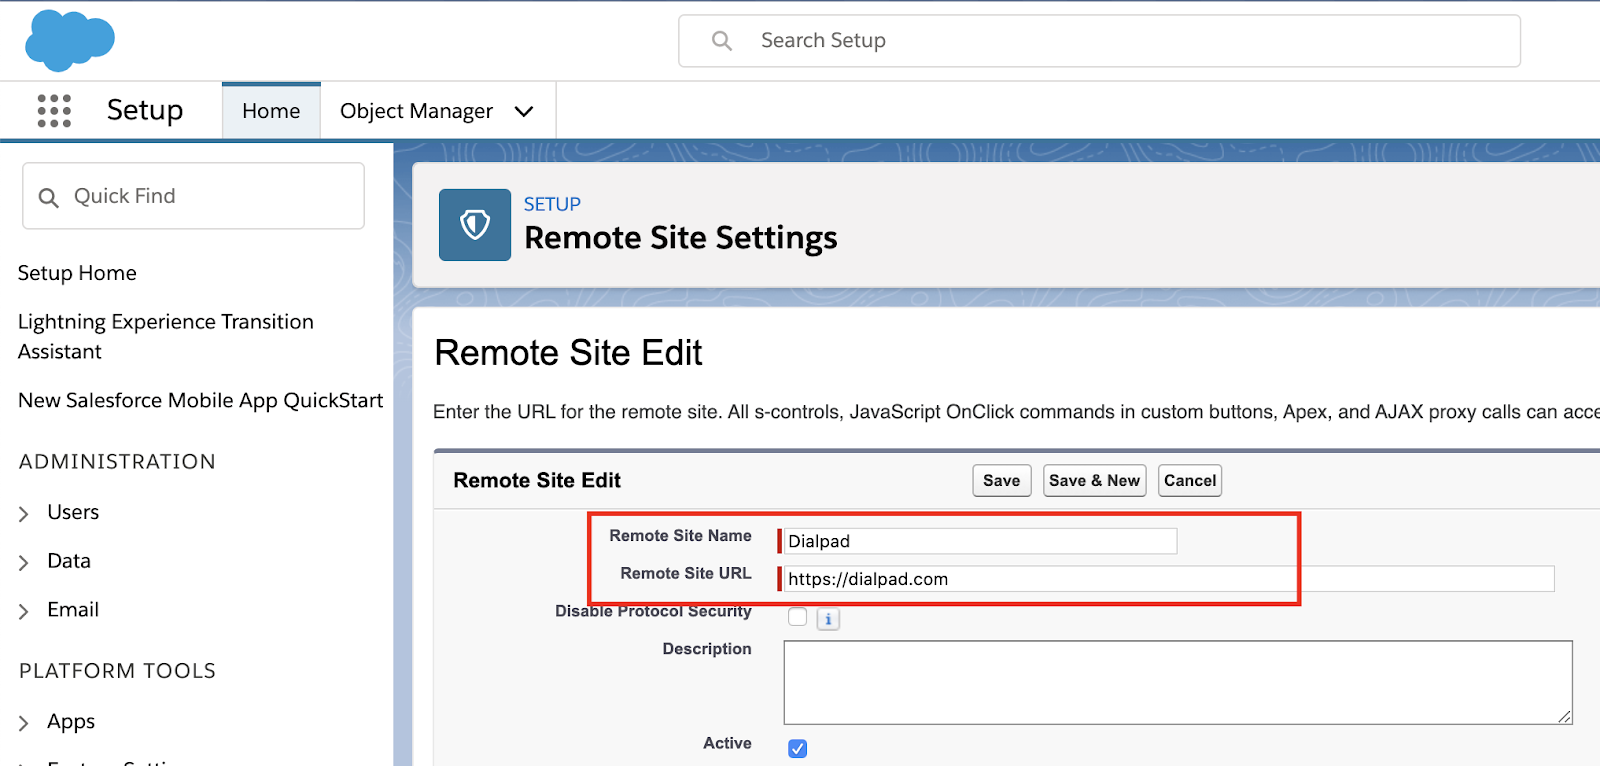
Verify if a remote site is available with the name 'DialpadSiteSettings' in Remote Site Settings. It should display a remote site URL set to 'https://dialpad.com' with the Active checkbox checked.
Connect Dialpad to Salesforce Omni-Channel
To connect Dialpad to Salesforce Omni-Channel, head to your Dialpad Admin Settings.
- Navigate to Company Settings
- Select Integrations
- Select Options beside Salesforce
- Select Manage Settings
- Navigate to Salesforce Omni-Channel
- Select Connect Omni-Channel to connect your Salesforce instance to Dialpad for fetching Omni-Channel presence statuses
It is advised not to manually update the Dialpad status; instead, let the automatic status sync take care of it.
Map statuses between Salesforce Omni-Channel & Dialpad
Next, you'll need to map statuses between Omni-Channel and Dialpad.
Head to your Dialpad Admin Settings.
- Navigate to Company Settings
- Select Integrations
- Select Options beside Salesforce
- Select Manage Settings
- Navigate to Salesforce Omni-Channel
- Select your desired preferences
- Select Save
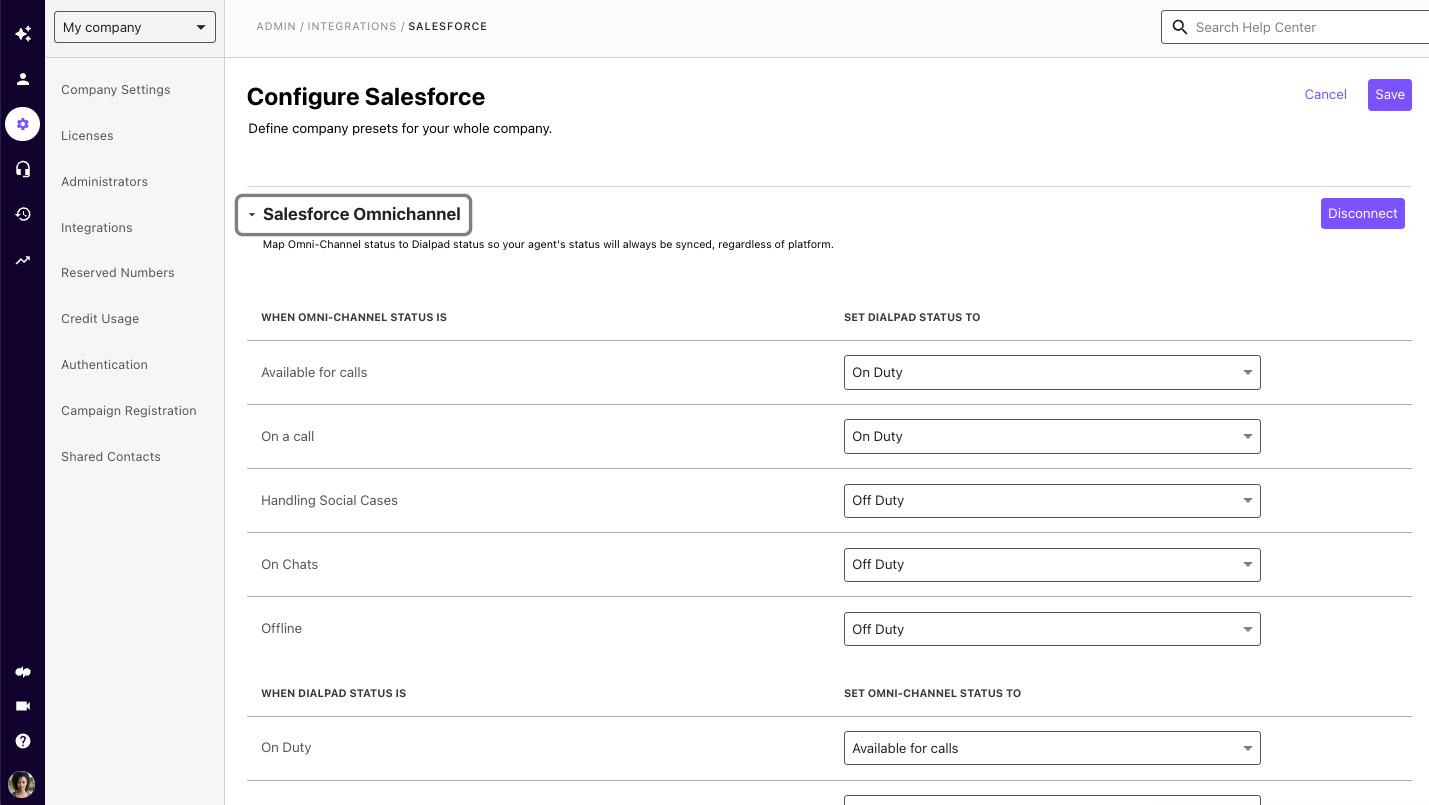
Ensure that Offline status in Omni-Channel is always mapped to Off Duty in Dialpad.
Additionally, On Call in Dialpad must map to a Busy status in Omni-Channel, and Omni-Channel's Available status must map to Post-call Wrap Up in Dialpad to allow Omni-Channel to queue up new objects once the Agent is done with the call.
Each time you save all changes, Dialpad will sync statuses between Omni-Channel for those agents that are connected to the Salesforce instance where you have set up the integration.