The Jobdiva integration enhances the Dialpad agent experience by automatically populating the contact or candidate profile pages in Jobdiva when a call comes in. It uses the caller ID to search for any profile matching the number and displays the page in the agent's view. Additionally, call logging can be automatically enabled after the hangup, providing a summary of the call and a link to the Dialpad native review page. This integration leverages AI features to boost agent productivity by automating repetitive tasks.
Who can use this
Admins must enable this feature. Jobdiva is available to all users on all Dialpad licenses and tiers. It can be enabled at different levels:
Company-wide: All users of the account will use the integration.
Office-wide: Only users of the specific office will use the integration.
Contact center: Only calls from the contact center will be applicable for the integration features.
Enable Jobdiva in Dialpad
To enable Jobdiva in Dialpad, go to your Dialpad Admin Settings.
Navigate to My Company > Integrations
Note
Jobdiva must be enabled at the company level before it can be used. To enable Jobdiva for a specific office, select Office Settings > Integrations.
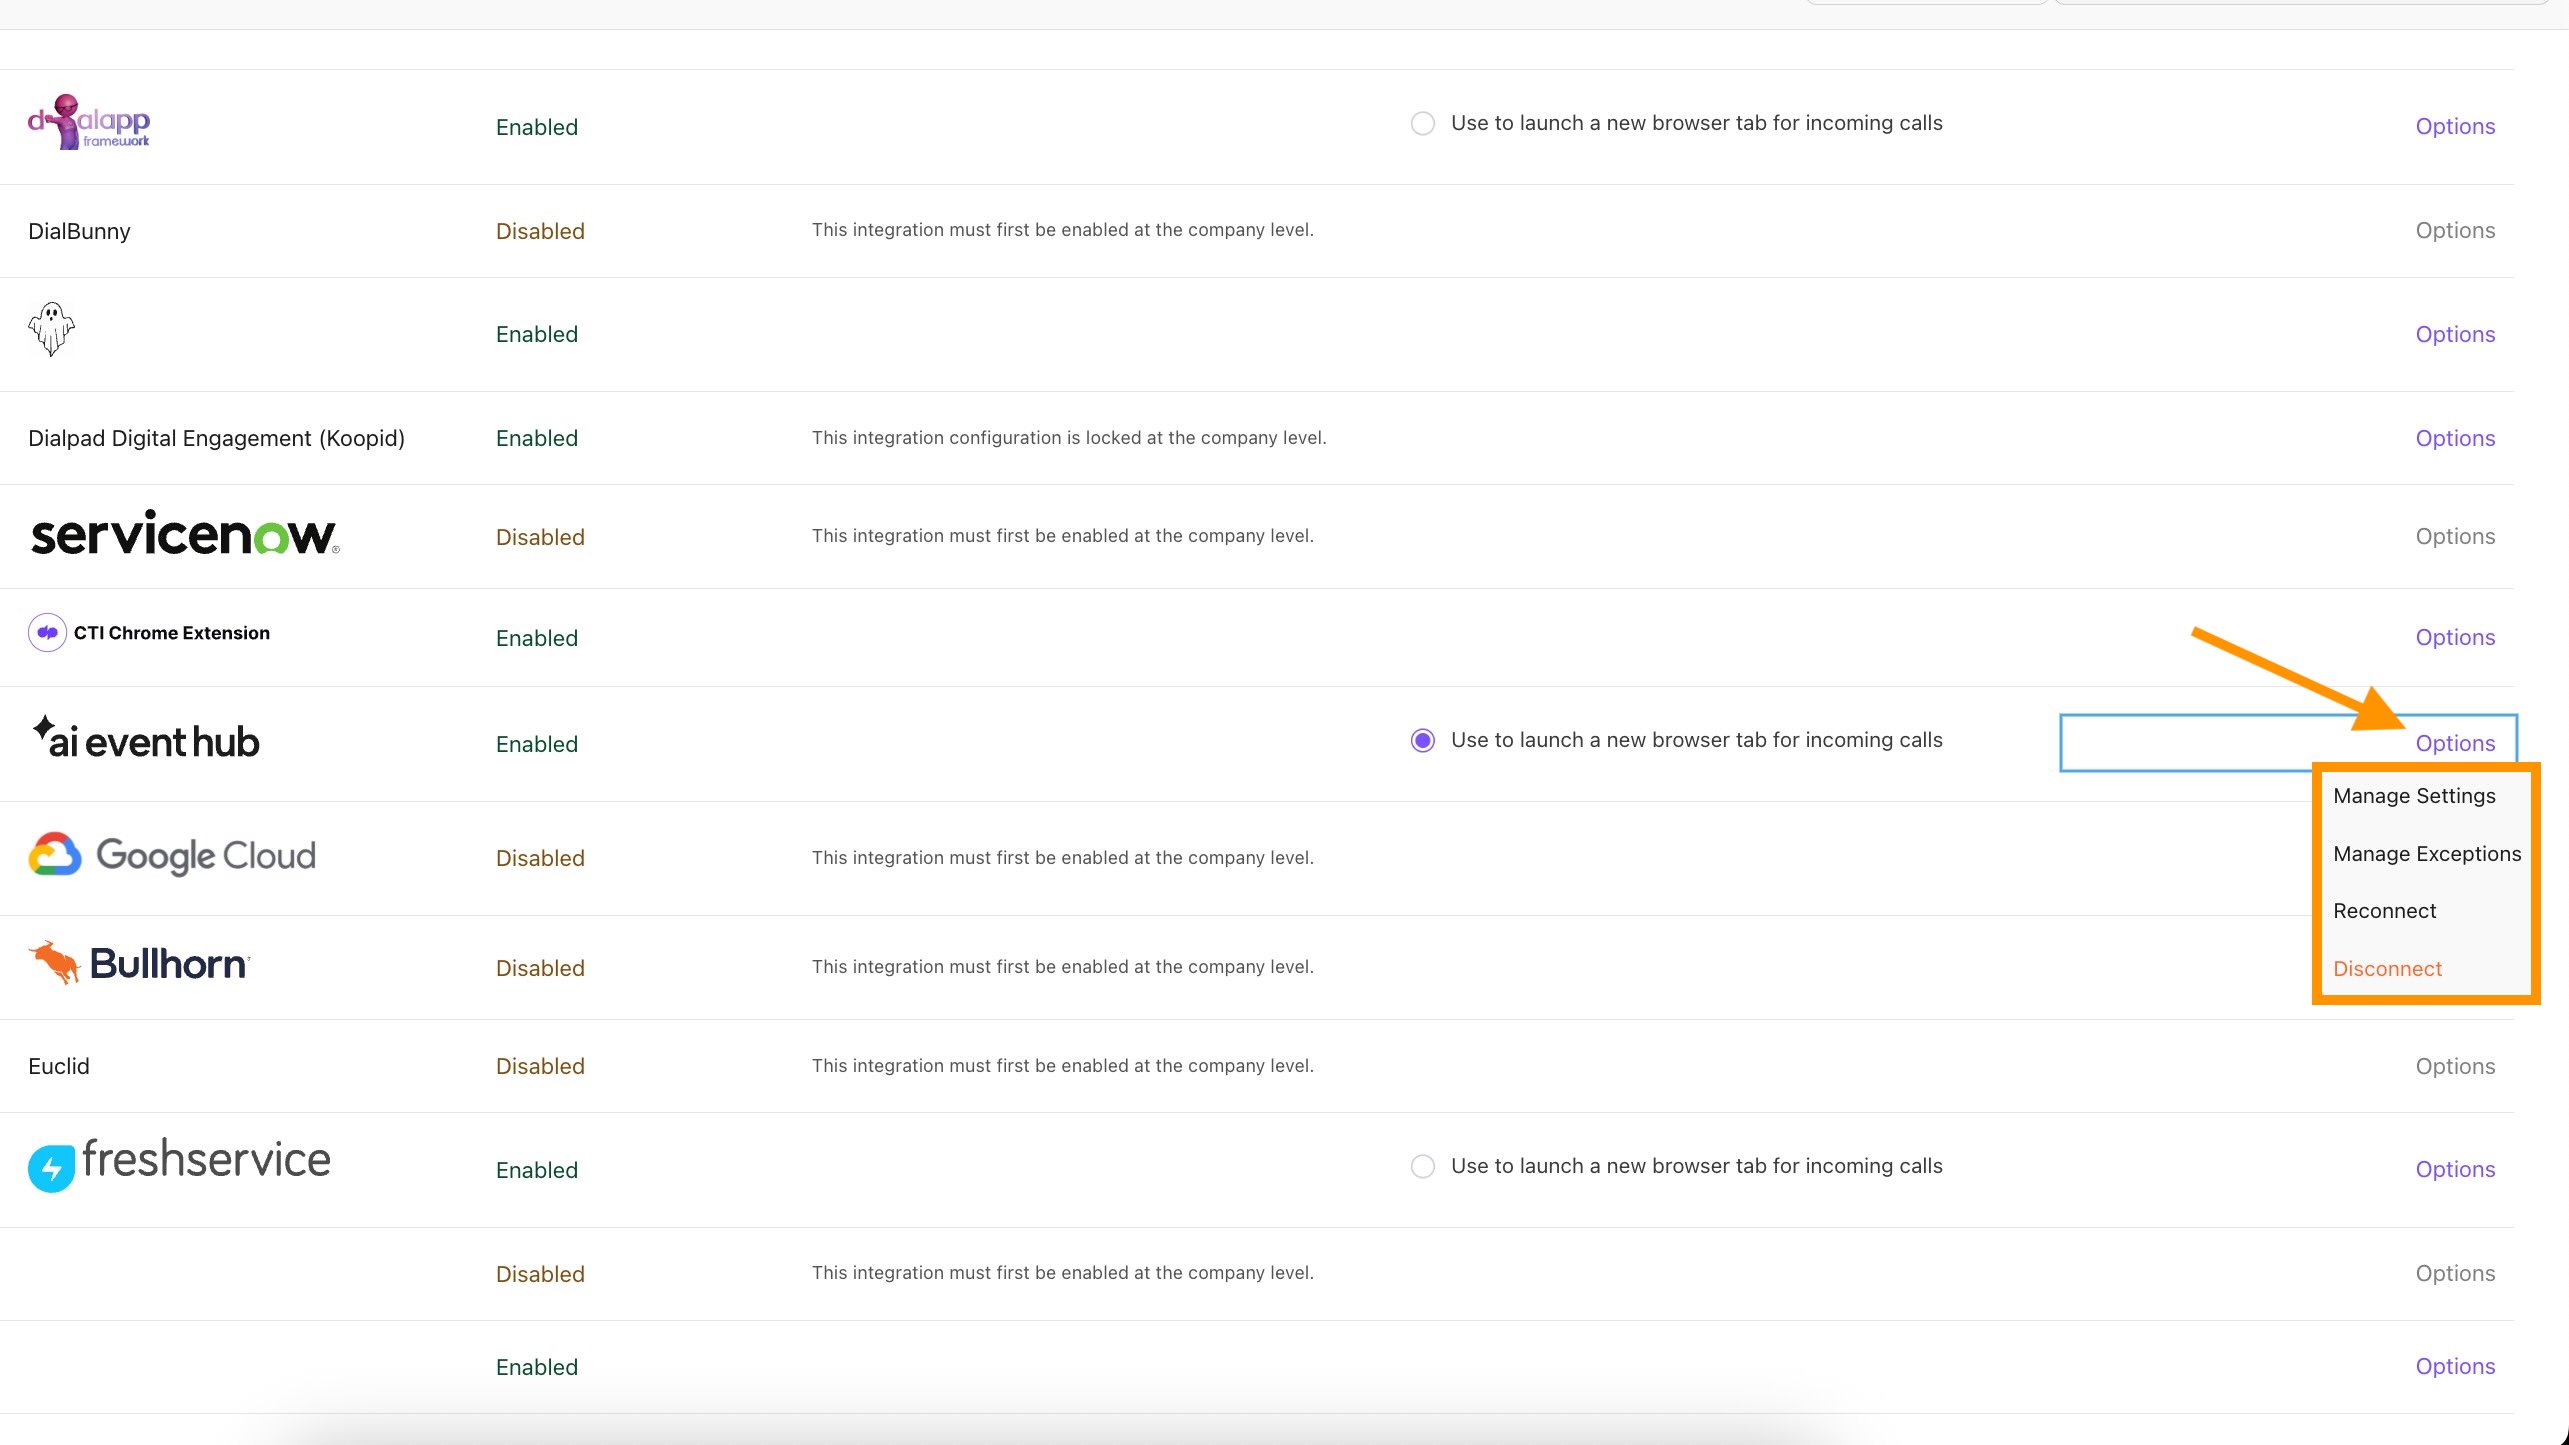
Navigate to the AI Event Hub integration and select Options > Manage Extension > Enable
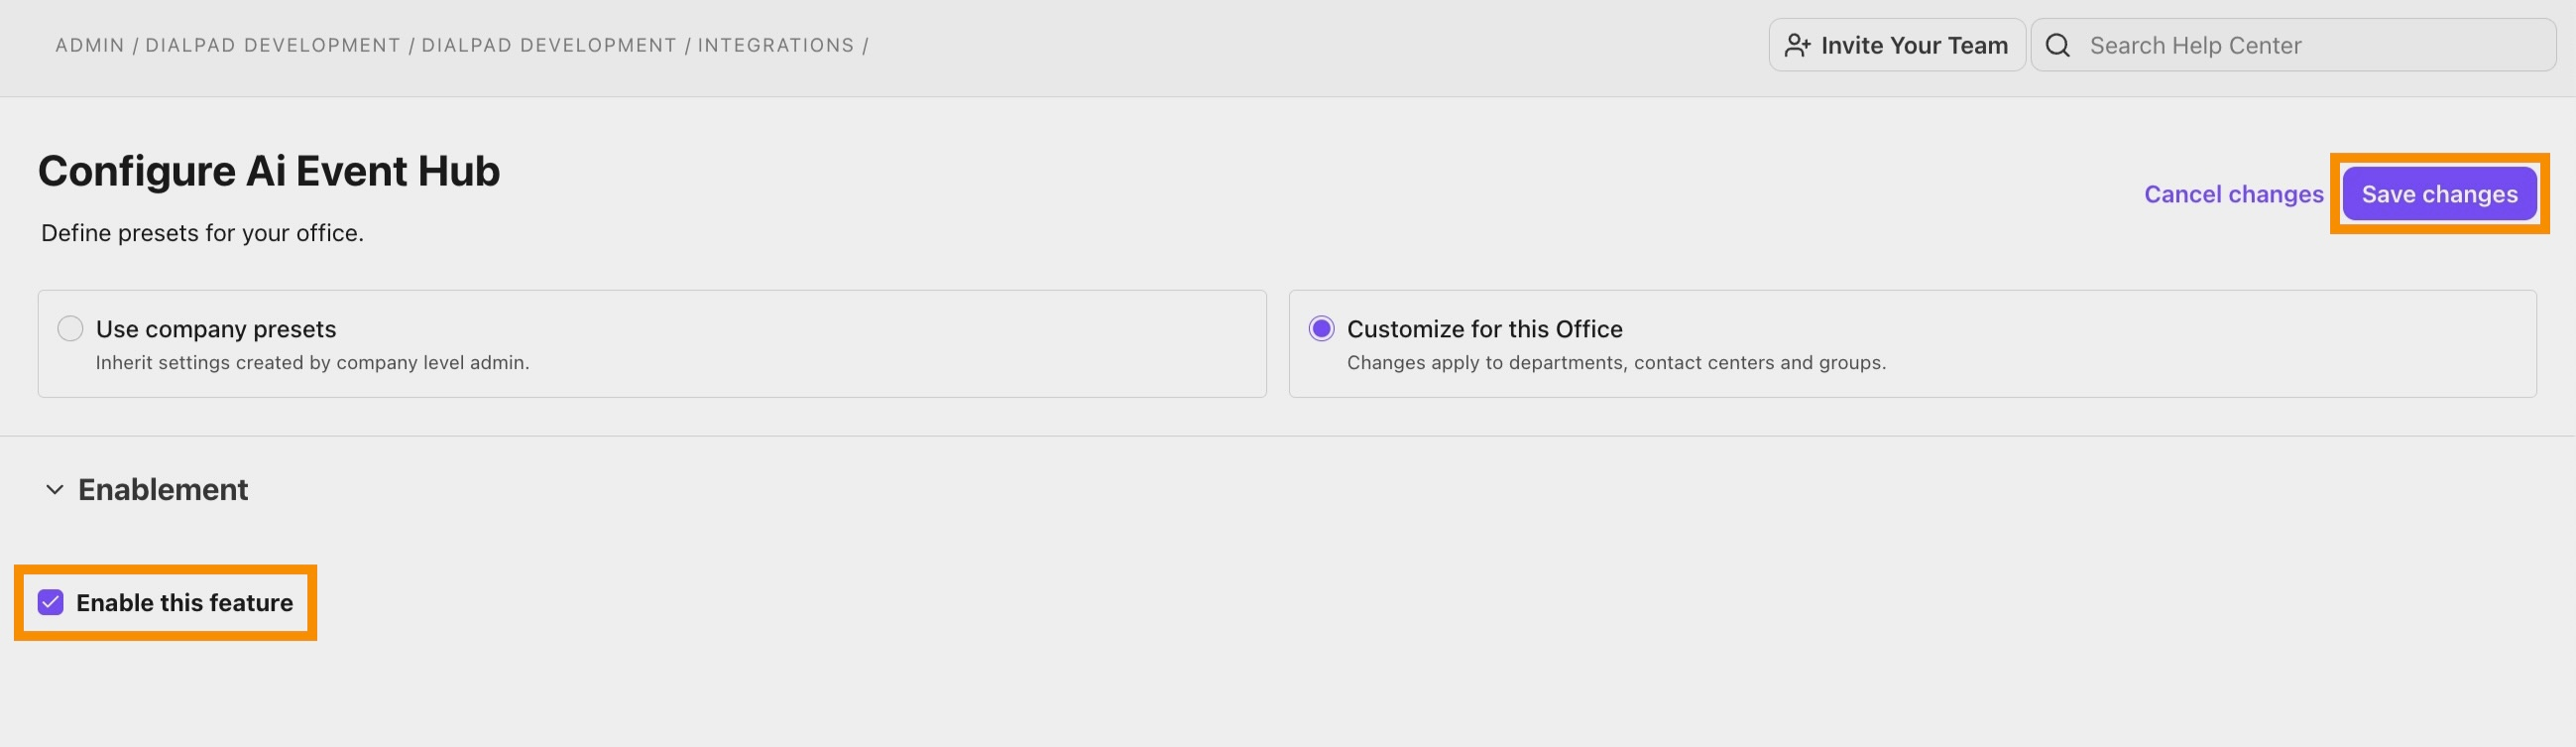
Select Save Changes
Return to the Integrations page and navigate to the AI Event Hub integration again
Select Options > Connect / Reconnect
Select Jobdiva as your CRM, then select Next
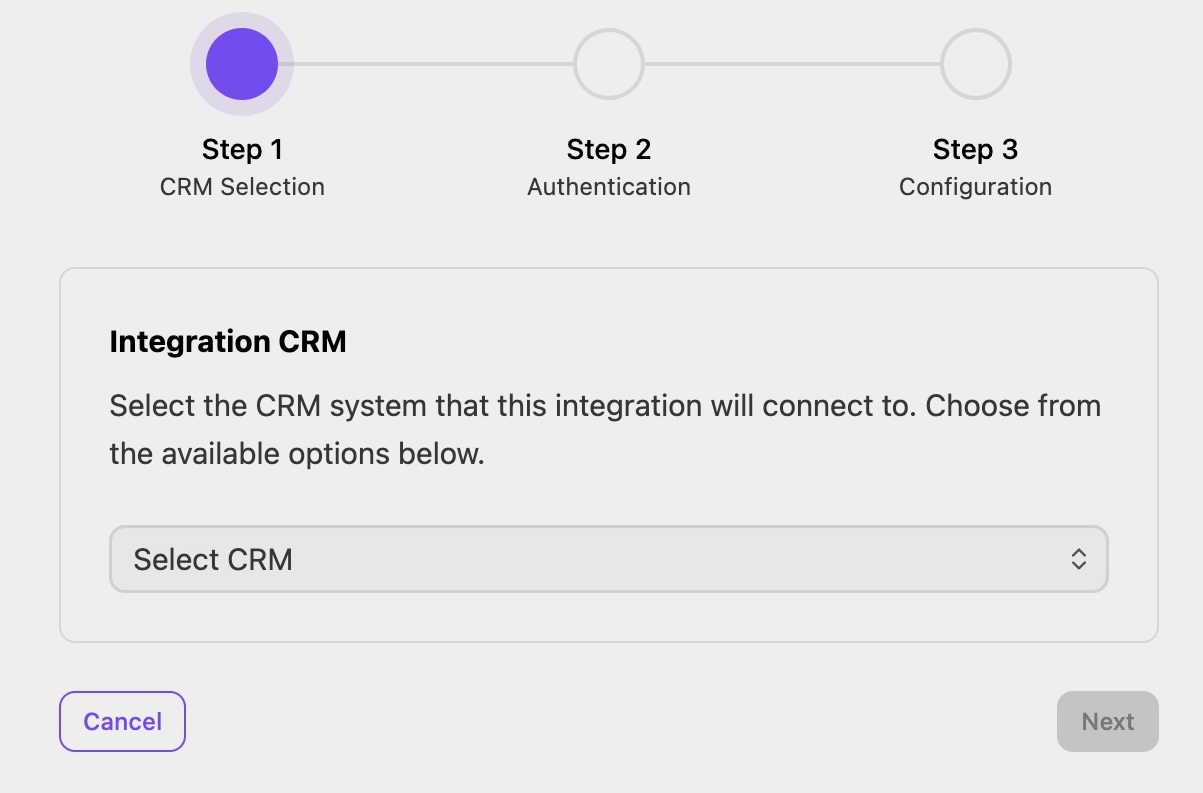
Choose a connection to use for activation
Note
You can either create a new connection or utilize an existing one.
To create a new connection:
Select Create New Connection
Enter the credential parameters for Jobdiva. You may need to reach out to Jobdiva support to obtain these credentials.
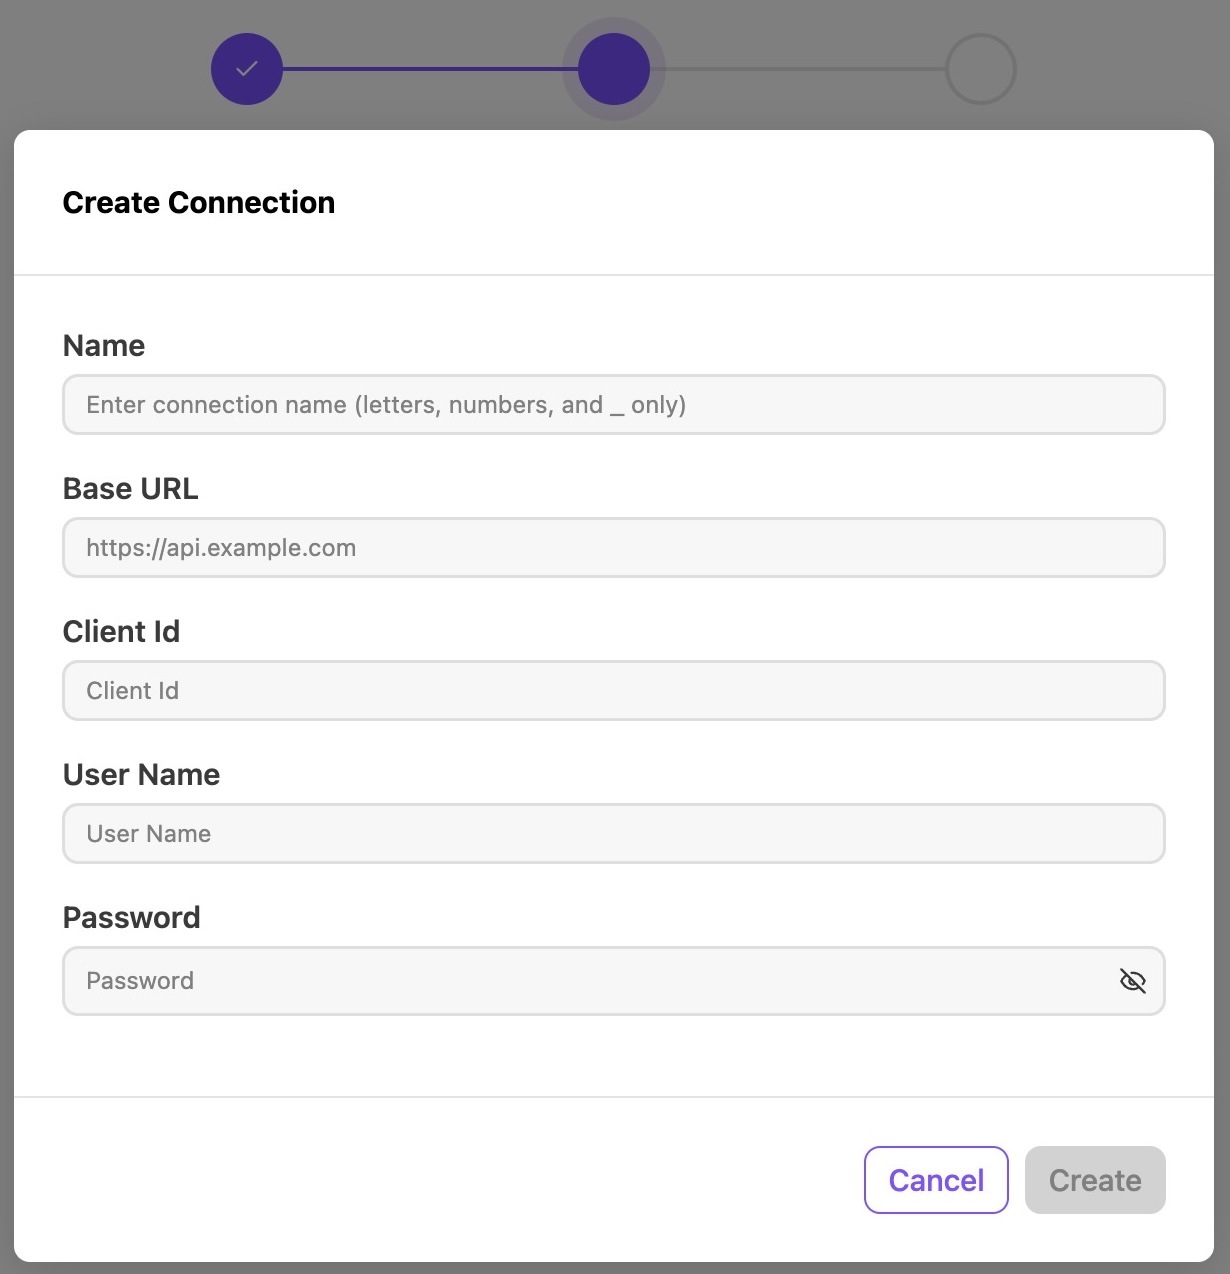
Once the form is filled in, select Create
.jpeg)
After selecting the connection, set up the integration and define features such as call logging
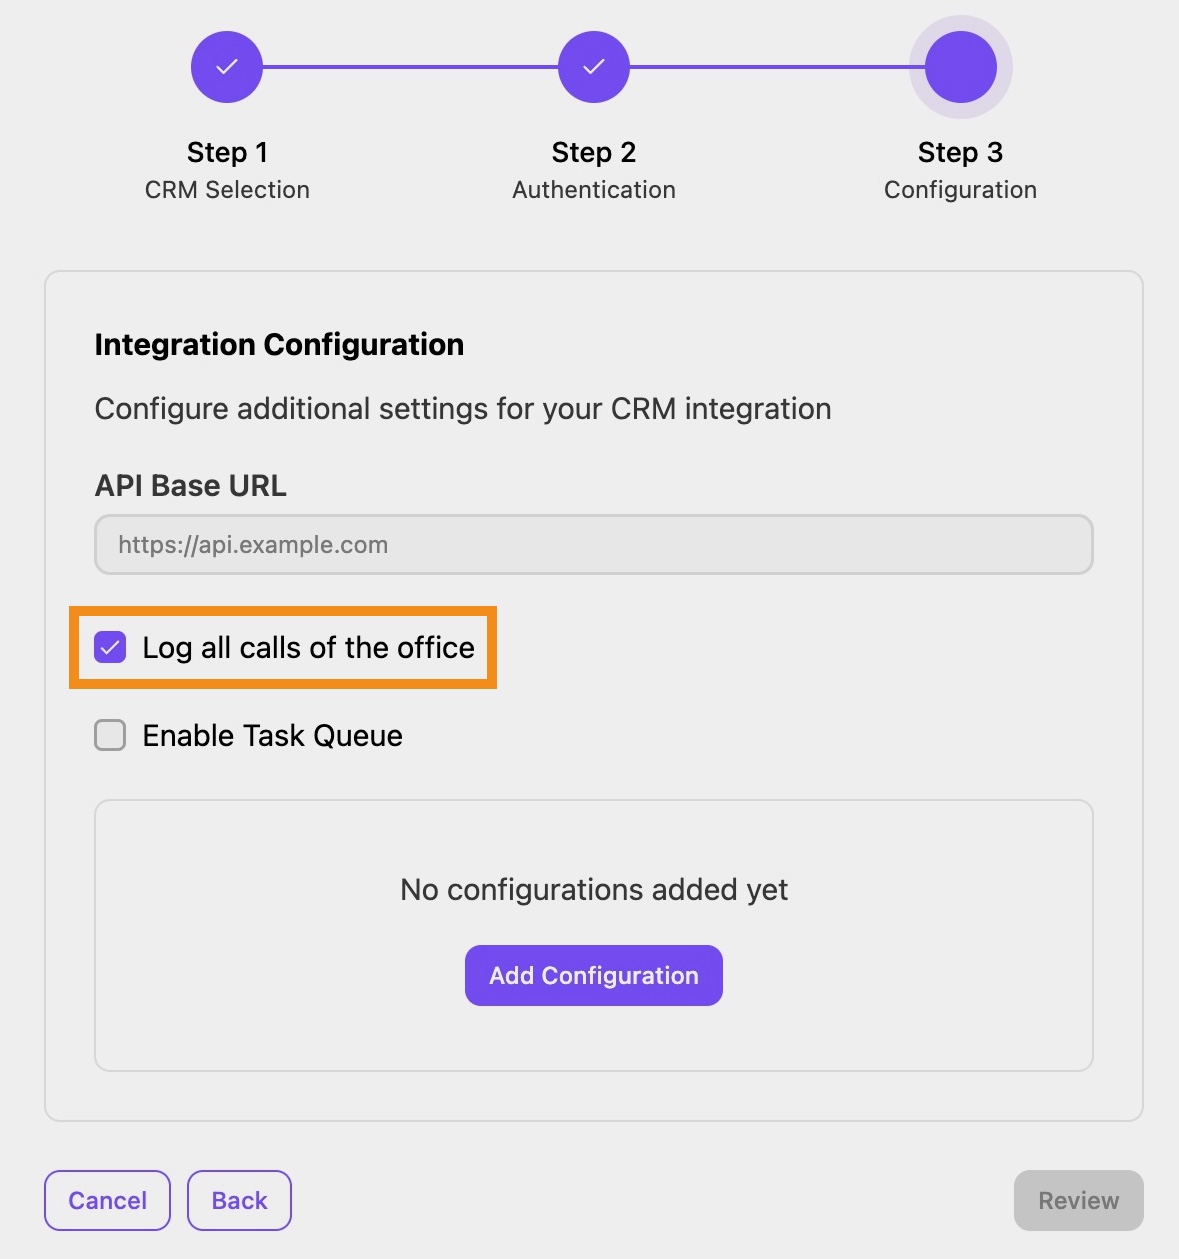
Note
Additional settings can also be configured in the Configuration Type field, such as screen pop, call logging, and SMS logging.
These settings can be configured for Candidates, Contacts, or both.
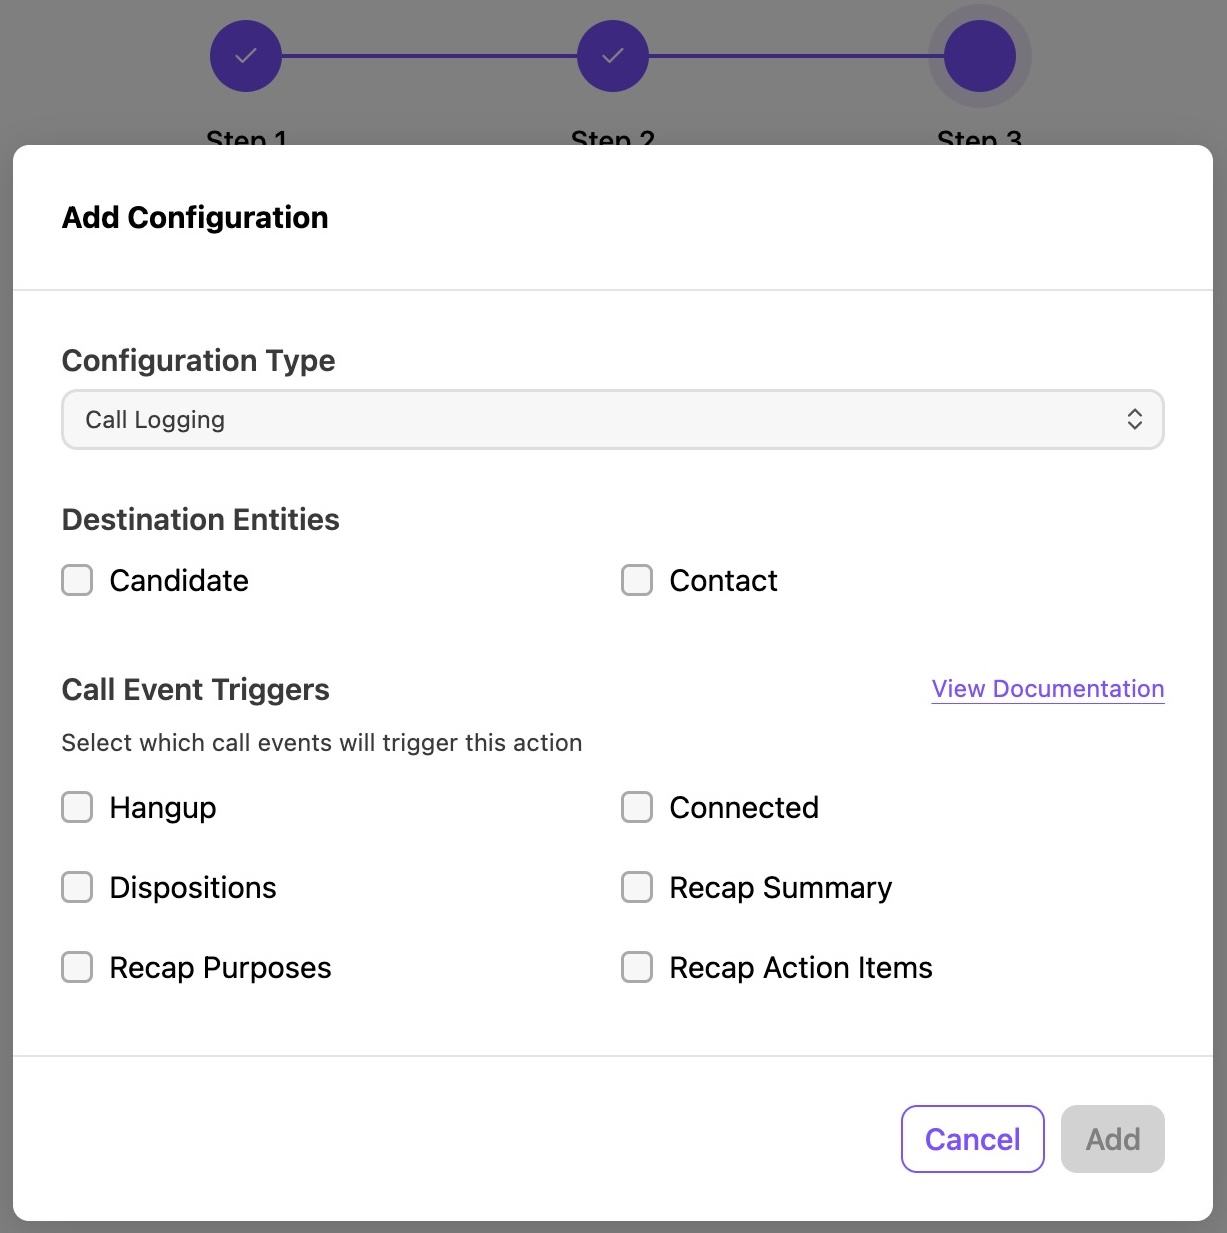
Call logging triggers
You can select which call events trigger the addition of a call logging configuration. These triggers include:
Hangup: When the call ends.
Connected: When a call is picked up and connected to an agent.
Dispositions: When a call disposition is submitted for the call by an agent.
Recap Summary: When the recap summary is ready for the call.
Recap Purposes: When ai recap purposes are identified for the call.
Recap Action Items: When AI recap actions are identified for the call.
The View Documentation option displays Jobdiva Help documentation.
Screen pop triggers
You can select which call events trigger the addition of a screen pop configuration. These triggers include:
Calling: Outbound call has started.
Ringing: Inbound call is ringing.
Connected: When a call is picked up and connected to an agent.
Merged: An additional caller is added to the call.
The View Documentation option displays Jobdiva Help documentation.
Once complete, select Review
Once you’re satisfied with the setup, select Finish
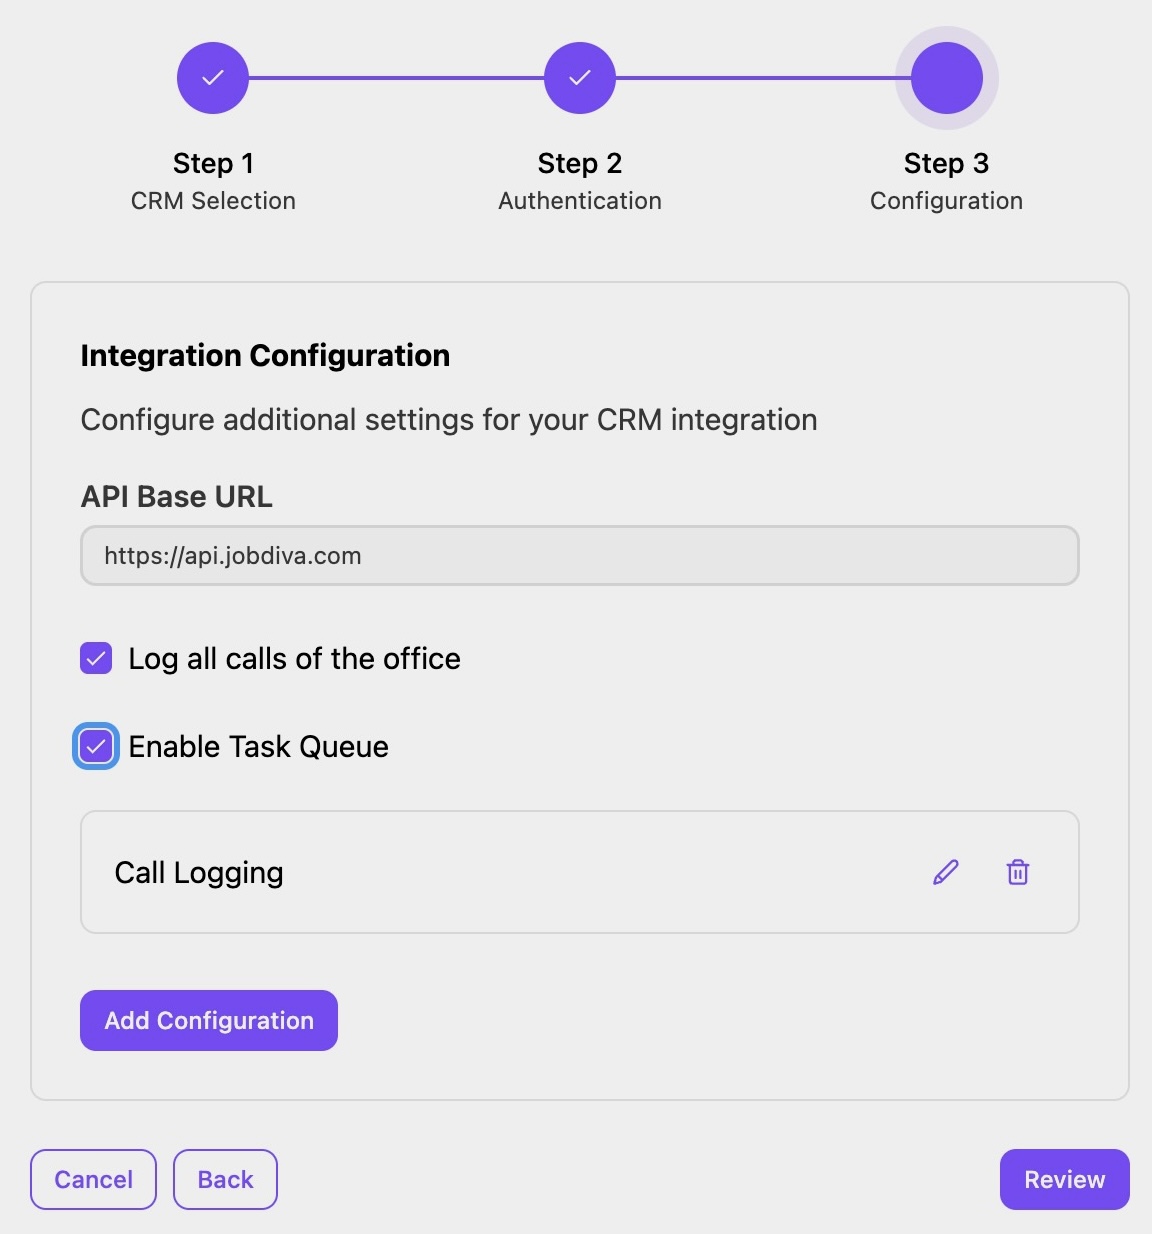
Your Jobdiva integration is now established.
Using Jobdiva
Once enabled, Jobdiva automatically engages with users at the applicable scope. It relies on the candidate's or contact's phone number in Jobdiva, so ensuring all records are up to date is crucial.
Screen Pop
A browser tab will open showing the records found for the agent to select upon receiving a call.
.jpeg)
Call Logging
This occurs automatically post-hang-up with the matching record. If no matches are found or multiple matches are found, logging will not take place.
SMS Logging
Similar to call logging, it will maintain a record of conversations logged every 24 hours, creating a new note for each daily conversation.
Agents will experience these features automatically, with call and SMS logging notes appearing in Jobdiva following the enablement process.
Troubleshooting
If call logging works but the AI recap in the note states, “Summaries are currently not generated for short calls or voicemails,” note that the AI Recap requires about 2 minutes of call duration and more than 50 words identified by the AI to generate summaries.
Frequently asked questions
How long does it take for a call to show in Jobdiva?
Depends on the integration enablement type. If using Event Task Queues, call logging will occur about 3 minutes after the hangup. Otherwise, it will happen at hangup. We recommend using Event Task Queues despite the delay, as they provide greater consistency.
Can I ask my CSM/PM to proxy the admin configuration for me?
NO. Enablement must be performed by an admin at your company and cannot be proxied.
What fields are taken into account for matching the Jobdiva record?
Jobdiva relies on the phone number set in Jobdiva for the candidate/contact. When a call is picked up in Dialpad, the system will look up any phone number matching records in Jobdiva.
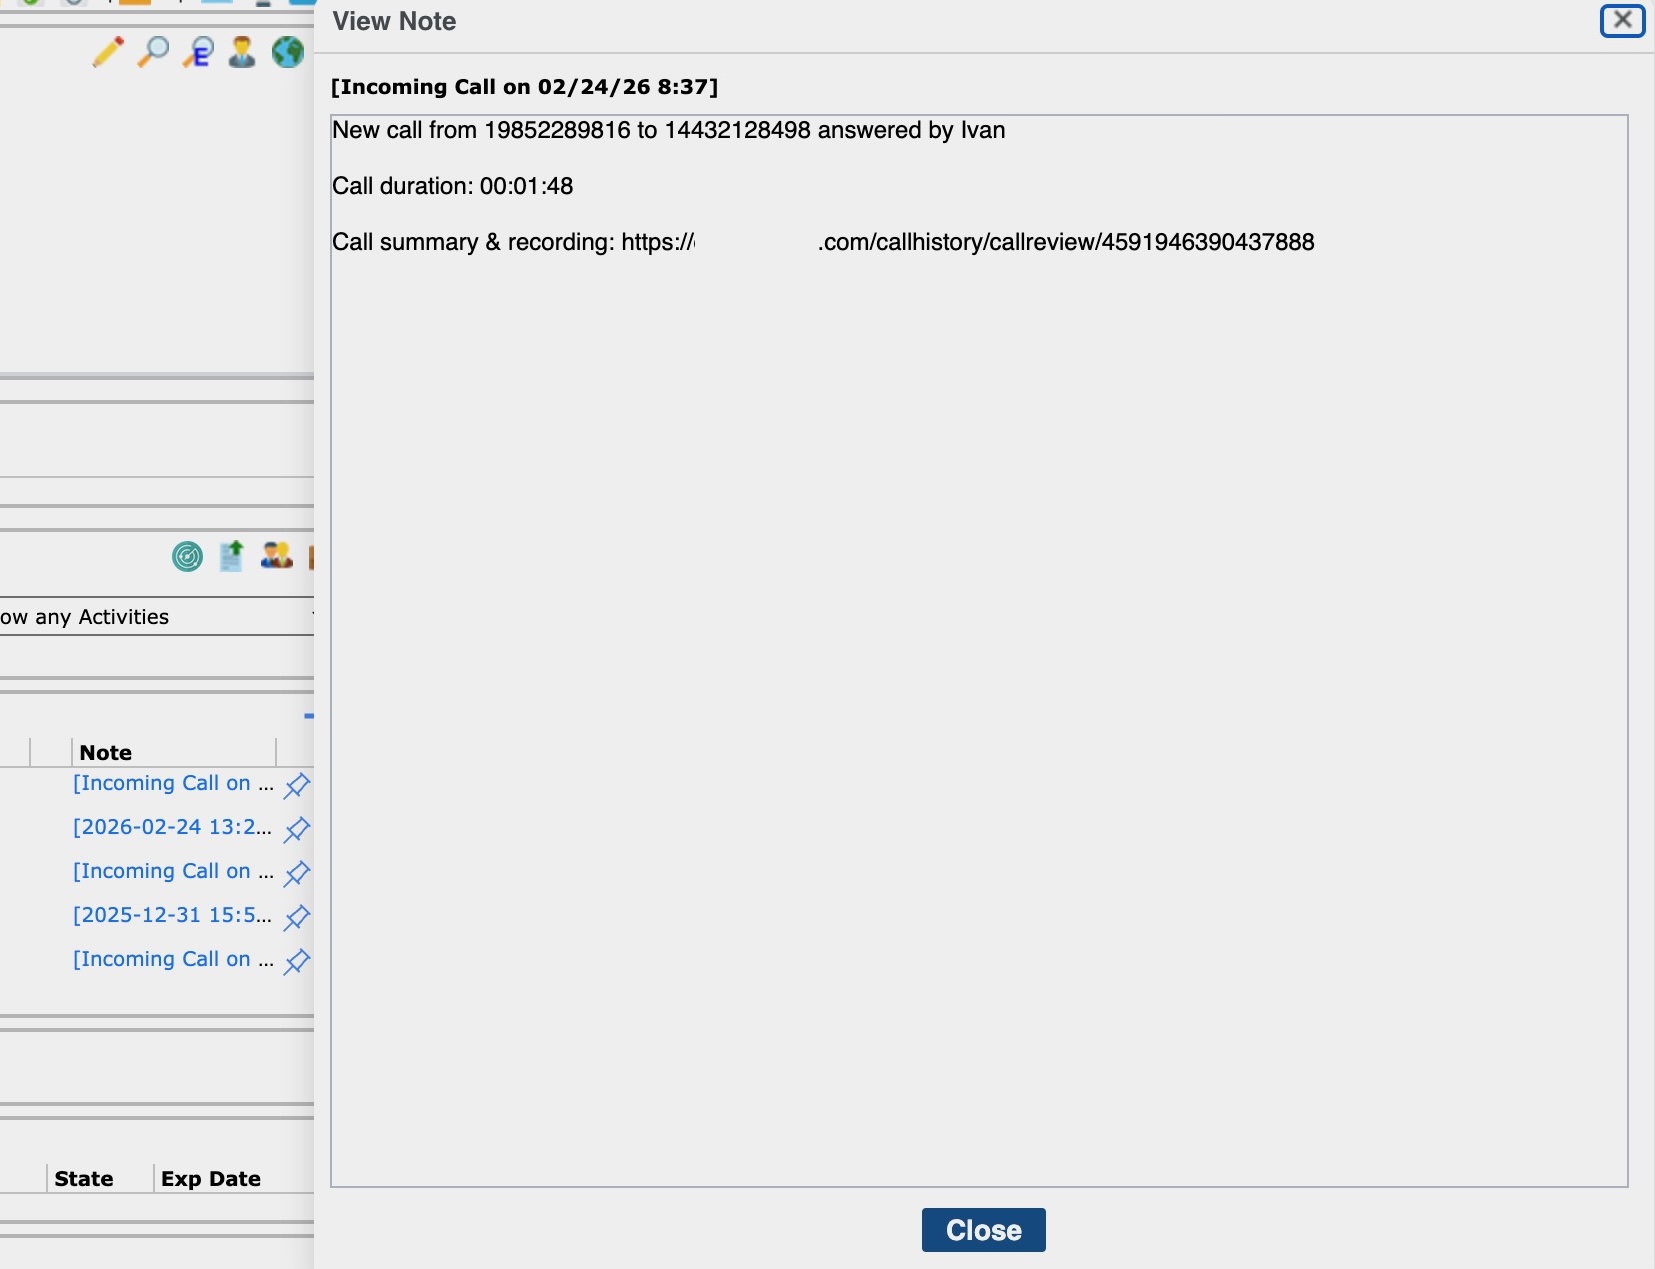
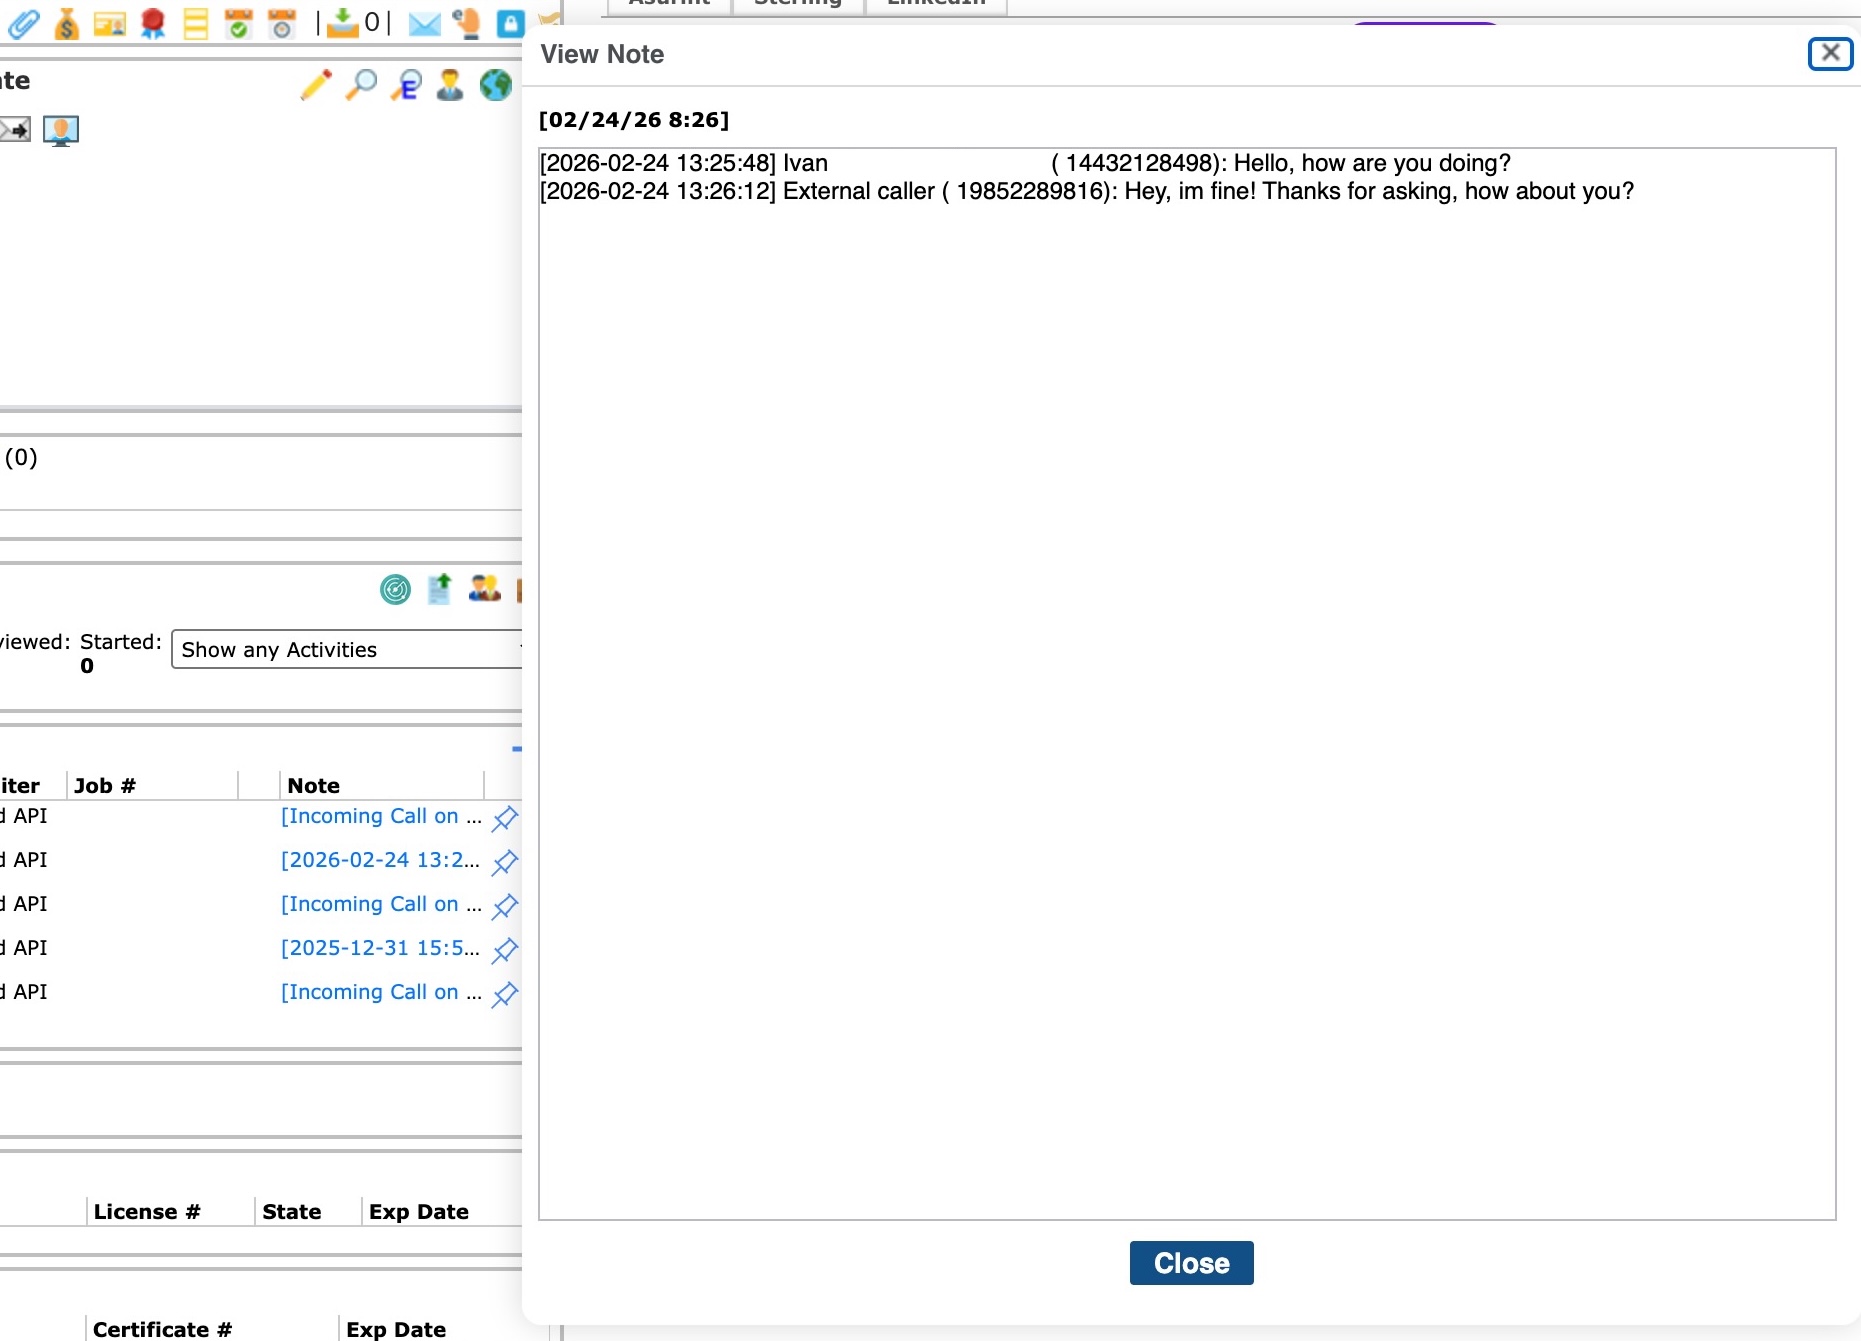
What information gets logged in a typical call log?
See this example of a test call log note: call-log-example.jpeg
Where is the data written in Jobdiva?
For both Call and SMS logging, candidate/contact notes are the record created. SMS Logging will create 1 note per conversation per day. For example, if 2 people text each other today, that will be reflected as a note in Jobdiva. The conversation note will be open for update for 24 hours after creation. After the 24-hour window, a new note will be created for the conversation on the next SMS exchange.
Is there any configuration needed on the Jobdiva end?
Integration is Dialpad-sided, meaning configuration is handled on the Dialpad side. However, there are a few Jobdiva settings recommendations to enhance the experience.
Match Dialpad user email with Jobdiva user profile “Alternative email”: This will allow the Dialpad system to mark the author of the note in a call. For example, if an agent answers a call, during call logging, the system will attempt to mark the Jobdiva note author with the corresponding agent user. It attempts to do so by matching the Dialpad email with the Jobdiva alternative email.
If no match is found for the agent's email, the default API user will be marked as the author, and the note will be marked as a system note. System notes are not deletable.