Microsoft Entra ID (previously Azure Active Directory) uses a concept called assignments to determine which users should receive access to selected apps. In the context of automatic user provisioning, only the users and/or groups that have been assigned to an application in Entra ID are synchronized.
In this article, we'll demonstrate the steps in Dialpad and Microsoft Entra ID to configure Entra ID to automatically provision and deprovision users and/or groups to Dialpad.
Let's dive into the details.
Who can use this
To configure Microsoft Azure SCIM, you'll need the following:
An Entra ID tenant
A Dialpad tenant
Dialpad Admin permission
Get Dialpad API Key
First things first, you'll need to get a Dialpad API key.
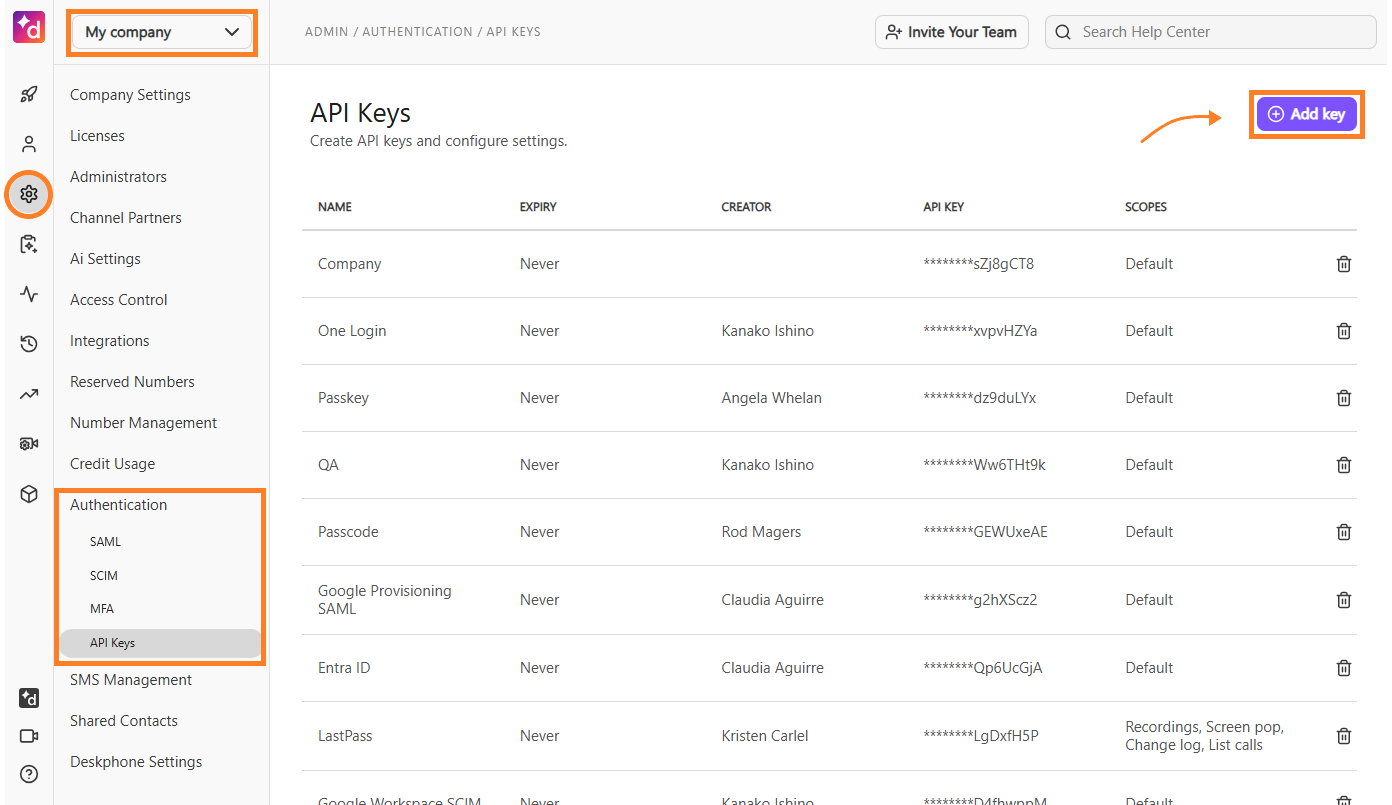
Head to your Dialpad Admin Portal.
Select Company Settings
Navigate to Authentication
Select API Keys > Select Add key
Name the key and set an expiration date
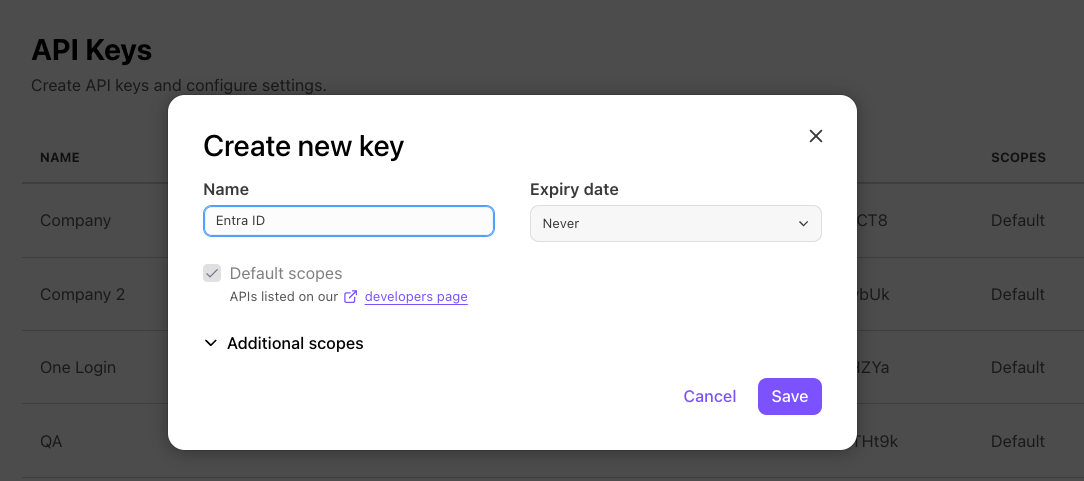
Select Save
Copy the API key
Don't skip this step! The API key will not be visible again and will be used to authenticate with Entra ID.
Add Dialpad from the Azure gallery
To configure Dialpad for automatic user provisioning with Entra ID, you need to add Dialpad from the Entra ID application gallery to your list of managed SaaS applications.
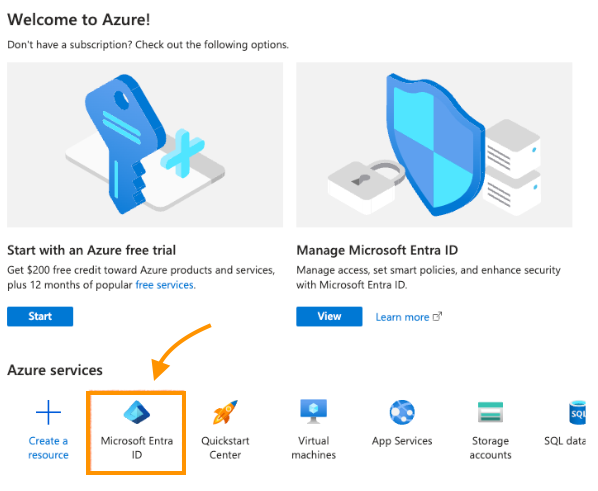
To add Dialpad from the Entra ID application gallery, head to the Azure portal:
Select Microsoft Entra ID
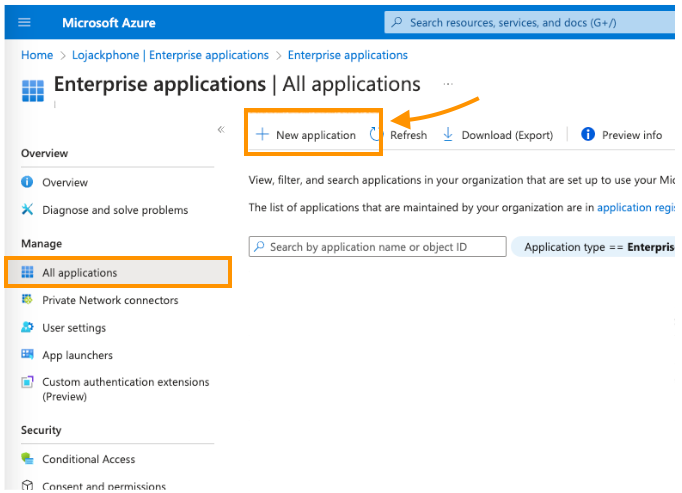
Select Enterprise applications
Navigate to Manage
Select All applications
Select New application
Search for Dialpad
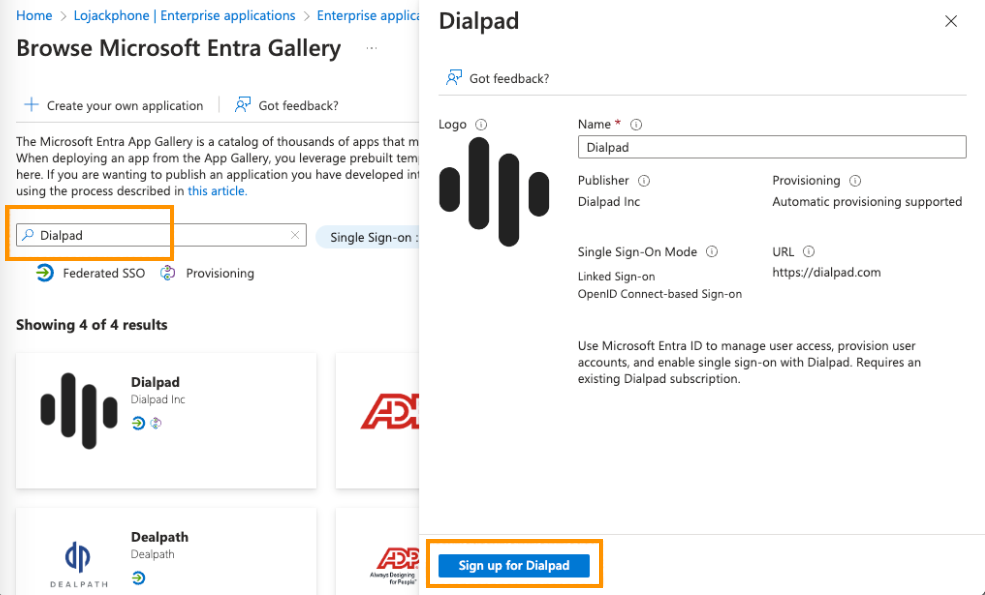
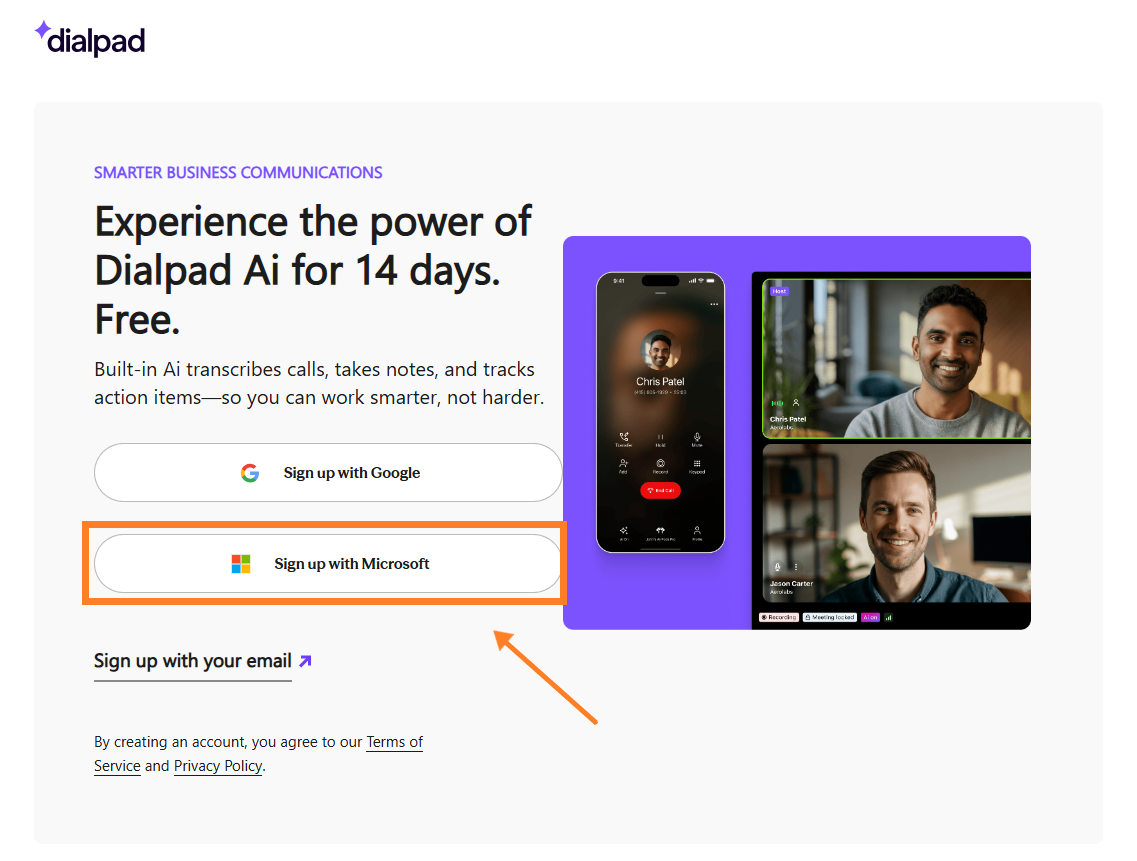
In the new browser, select Sign up with Microsoft
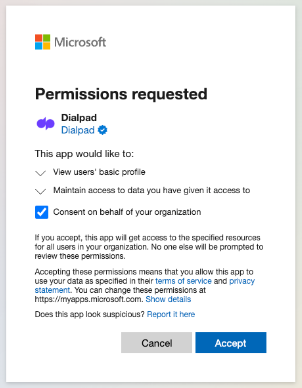
Accept the permissions and consent prompts
That's it! The application will then be automatically added to your tenant, and you'll be redirected to your Dialpad account.
.png) Configure automatic user provisioning in Dialpad
Configure automatic user provisioning in Dialpad
Next, its time to configure the Entra ID provisioning service. This is where you'll create, update, and disable users and/or groups in Dialpad based on user and/or group assignments in Entra ID.
Sign in to the Azure portal
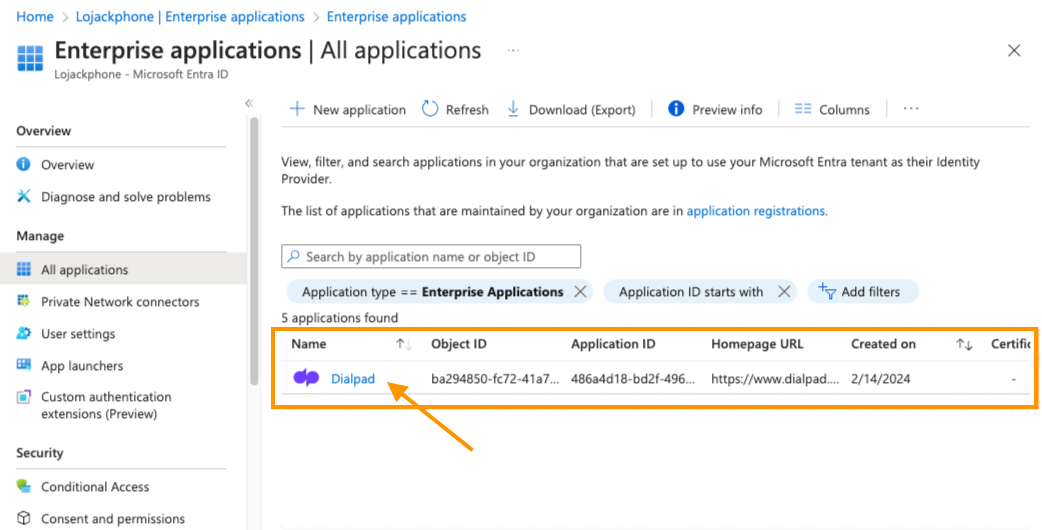
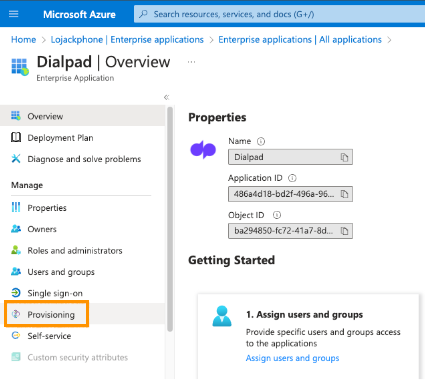
Select Enterprise Applications
Navigate to All Applications, then select Dialpad
Select Provisioning
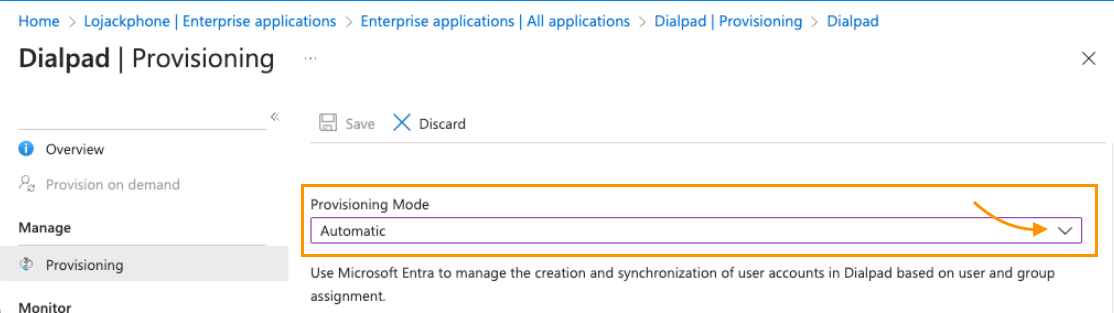
Set the Provisioning Mode to Automatic
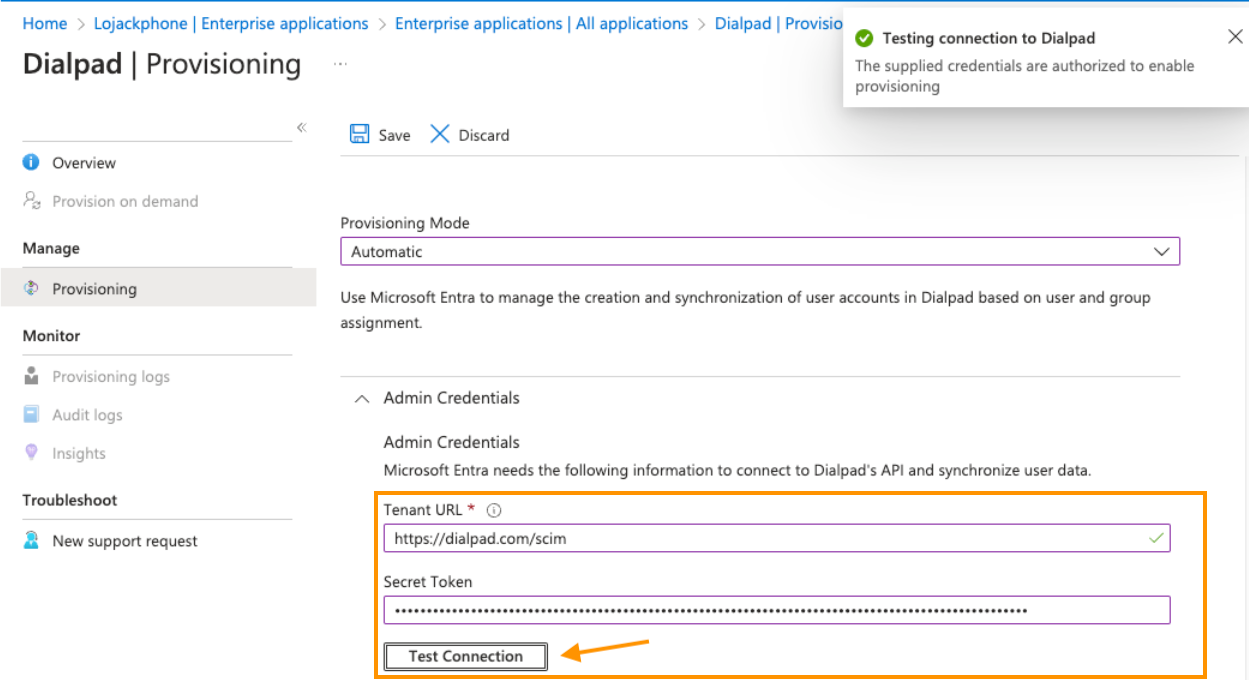
Navigate to Admin Credentials
Enter
https://dialpad.com/scimin Tenant URLEnter your Dialpad API key in Secret Token
Select Test Connection to ensure Entra ID can connect to Dialpad.
If the connection fails, ensure your Dialpad account has Admin permissions, then try again.
In the Notification Email field, enter the email address who you'd like to receive the provisioning error notifications
Check the box beside Send an email notification when a failure occurs

Select Save
Navigate to Mappings
Select Provision Microsoft Entra ID Users
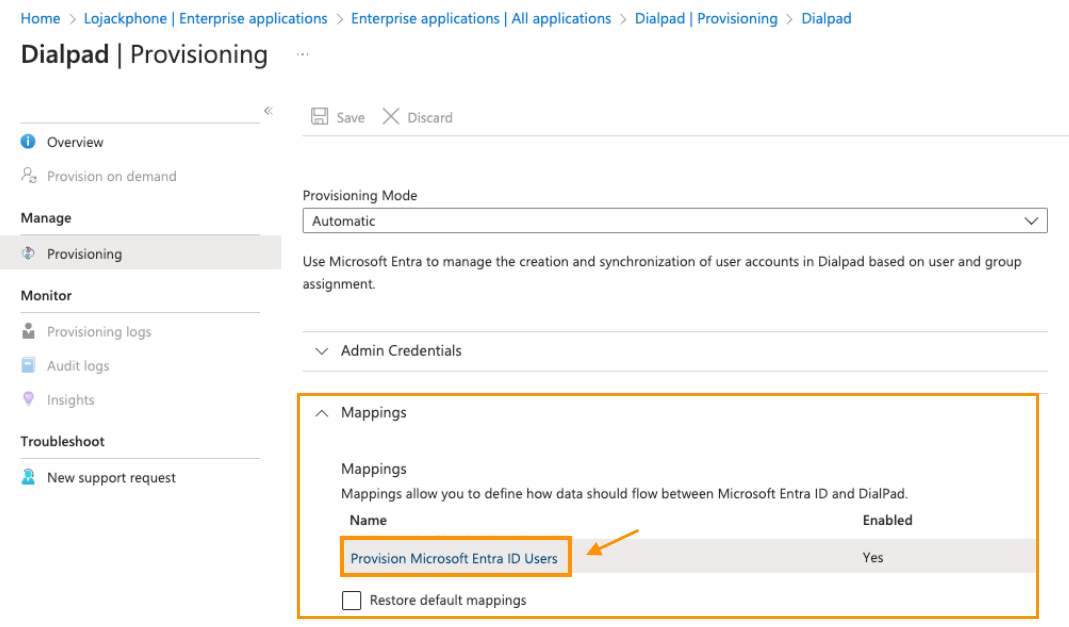
In the Attribute Mapping section, review the user attributes synchronized from Entra ID to Dialpad.
The attributes selected as Matching properties are used to match the user accounts in Dialpad for update operations.
.png)
Select Save
Tip
To configure scoping filters, have a look at our Scoping filter tutorial.
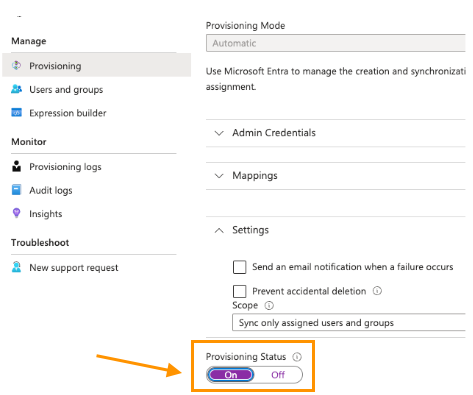
Navigate to Settings
Navigate to Provisioning Status and slide the toggle to On
This enables the Entra ID provisioning service for Dialpad
Navigate to Scope
Define the users and/or groups you would like to provision to Dialpad by choosing the desired sync values
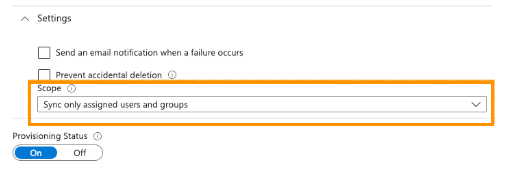
Select Save
This operation starts the initial synchronization of all users and/or groups defined in Scope in the Settings section.
The initial sync takes longer than subsequent syncs, which occur approximately every 40 minutes as long as the Entra ID provisioning service runs. You can use the Synchronization Details section to monitor progress and follow links to the provisioning activity report, which describes all actions performed by the Entra ID provisioning service on Dialpad.
Connector limitations
Dialpad does not support group renames — this means that any changes to the displayName of a group in Entra ID will not be updated and reflected in Dialpad.