Dialpad Meetings offers a wide variety of incredible features (AI transcripts, virtual backgrounds, and more!) that allow you to stay connected and collaborate in a digital workplace.
With features like screen sharing and whiteboard collaboration, it does mean that you will need to configure specific settings to get the most out of Dialpad Meetings.
Let's go over the required permissions for Windows OS users, and how to enable them.
Who can use this
All Dialpad Meetings users are required to configure their microphone, camera, and screen share permissions.
Microphone Permissions
To join a meeting, you'll need to enable microphone access — the rest of the permissions are optional (but highly recommended!)
Once you have provided Microphone permissions, camera permissions are automatically granted.
To enable Dialpad Meetings to access your microphone:
Select the Start Button
Select Settings (that's the gear icon)
Select Privacy and Security
Select Microphone
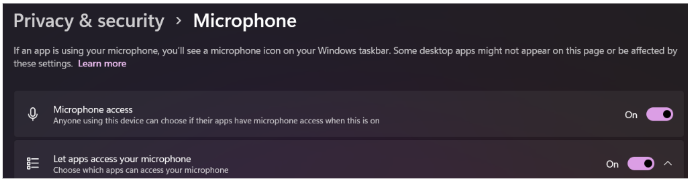
Toggle the slider on for Microphone access
Toggle the slider on for Let apps access your microphone
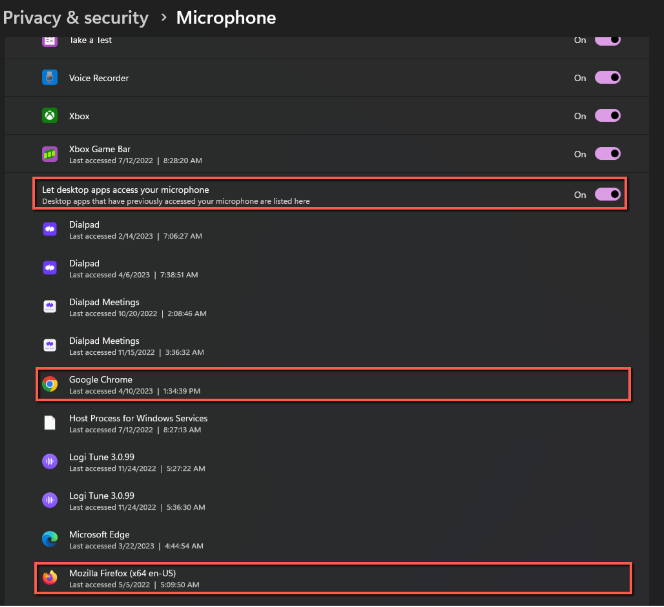
Toggle the slider on for Let desktop apps access your microphone
Check to make sure you see Dialpad Meetings listed below each permission

If you will be using our Browser Applications, you'll need to enable browser microphone permissions.
Select the Start Button
Select Settings (that's the gear icon)
Select Privacy and Security
Select Microphone
Toggle the slider on for Let app access your microphone
Toggle the slider on for Let browser apps access your microphone
Check that Chrome and Firefox are listed
Browser-Specific Microphone Permissions
Once OS-level permissions are provided, you need to provide page-specific permissions on the browsers. Every browser has different behavior, let's go over the most common browsers.
Google Chrome
When you join a Meeting via a Google Chrome Browser, you will automatically be prompted to enable your microphone permissions. Follow the prompts and select Allow.

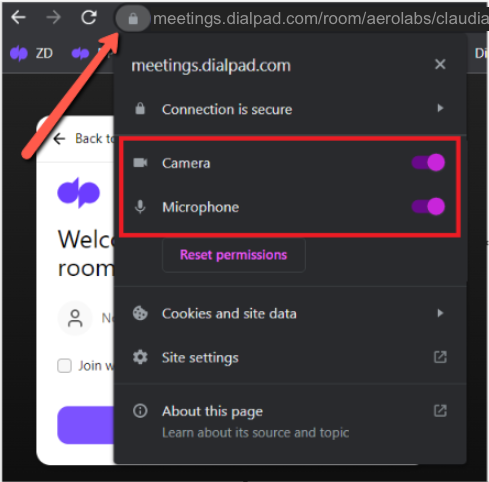
To enable microphone permissions manually, click on the lock located in the URL address bar. Toggle-on microphone permissions.
You can also access the same settings from your browser settings.
Select Settings
Select Privacy and Security
Select Site Settings (chrome://settings/content)
Search for Dialpad Meetings
Enable Microphone
Firefox
When you launch a meeting on Firefox, you will automatically be prompted to enable your microphone permissions. Follow the prompts and select Allow.
To avoid needing to re-set your Firefox permissions each time, select Remember this decision. 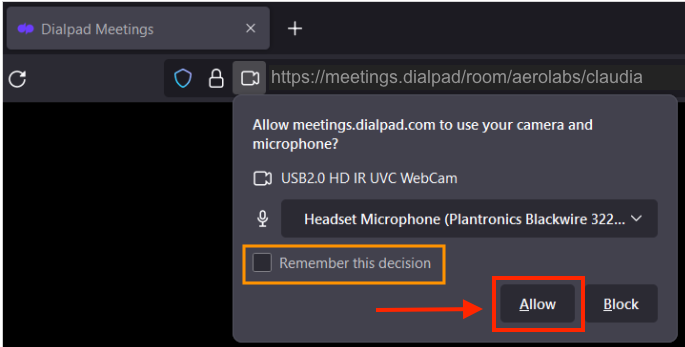
You can also access the same settings from your browser settings.
In the Menu bar at the top of the screen, click Firefox
Select Preferences
Select Privacy & Security
Navigate to Permissions
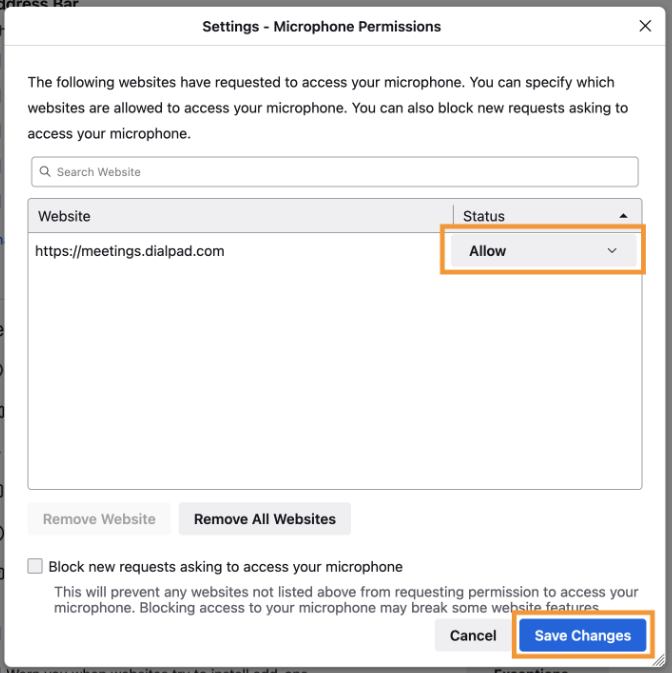
Click the Setting for the Microphone option
Select Allow from the drop-down menu beside Dialpad Meetings
Select Save Changes
Camera Permissions
You'll need to enable camera access to display your video during a meeting.
To allow Dialpad Meetings to access your camera:
Select the Start Button
Select Settings (that's the gear icon)
Select Privacy and Security
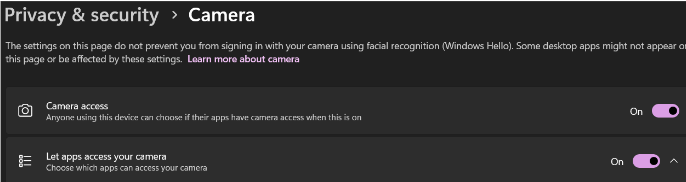
Select Camera
Toggle the slider on for Camera access
Toggle the slider on for Let apps access your camera
Toggle the slider on for Let desktop apps access your camera
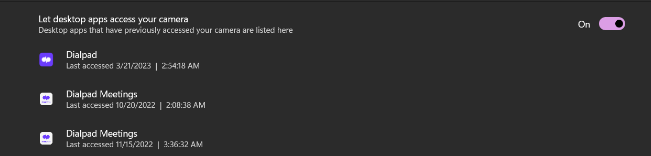
Check to see that Dialpad Meetings is listed below each setting
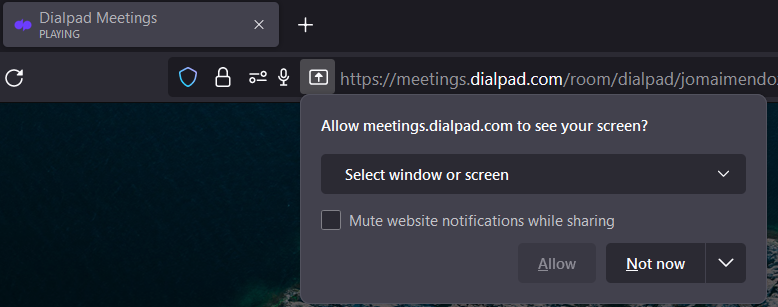
Firefox Screen Share Permission
Each time you share your screen using Firefox, you will need to enable page-level permission.
Simply follow the prompts and select Allow.