Dialpad WFM's forecasting models analyze your historical ticket data to predict future contact volume. However, we understand that external factors can significantly impact your workload.
To accurately forecast during times of change, manually adjust forecasts for marketing campaigns, mass communications, product launches, or price changes. This ensures your staffing levels align with actual demand, and lets you maintain service levels and deliver exceptional customer experiences.
Let's go over how to adjust a forecast.
Who can use this
Dialpad WFM is available to all Dialpad users.
Contact your Customer Success Manager to discuss adding Dialpad WFM to your plan.
Create a forecast adjustment
Easily adjust your forecast right from Dialpad WFM.
Navigate to Forecasts
Select Adjust volume
.png)
Select Create new adjustment
Name your adjustment
Enter the start and end dates
Select which queues the adjustment will apply to
Select if it will be an increase or a decrease in volume
Select the volume change percentage
You can adjust the same volume for multiple queues or specify different volume adjustments for each queue.
Select Save
.png)
Review the preview, then select Save
The preview charts show the total volume for all your queues, not just the adjusted queues.
View an adjustment
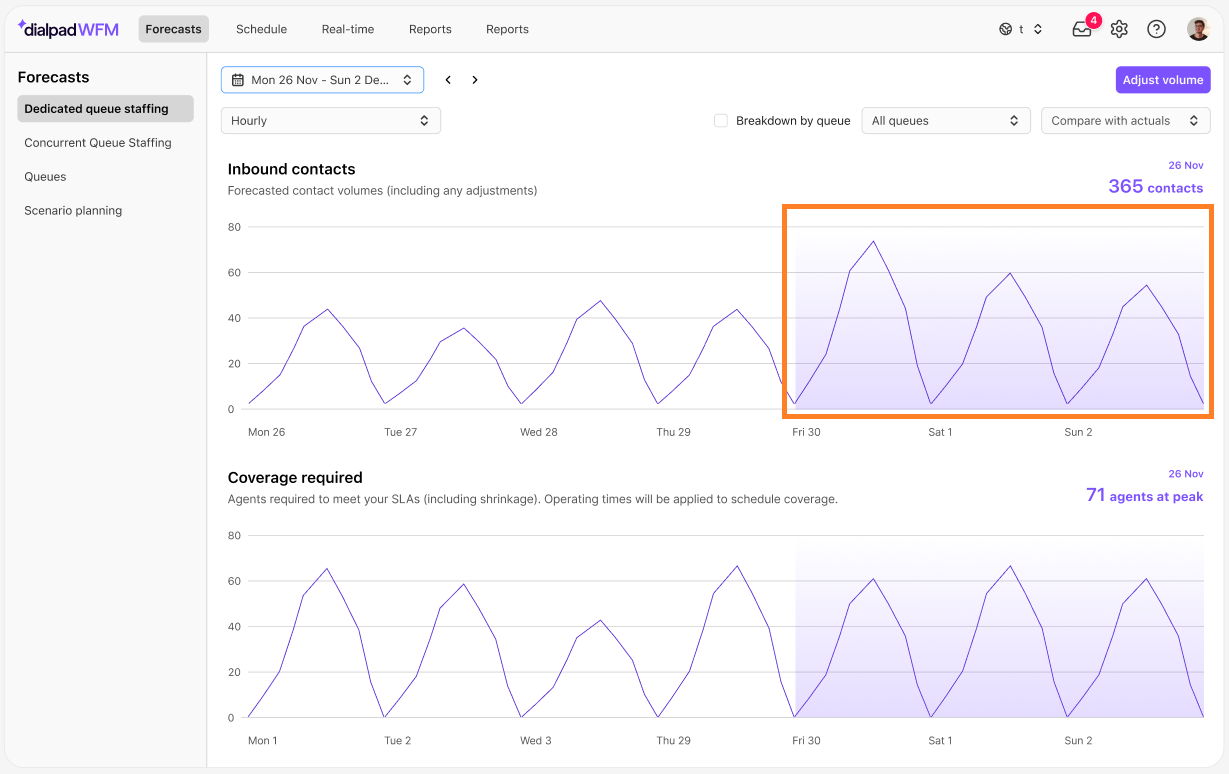
Any periods with active adjustments appear on your forecast charts with a purple background. Hover over an adjusted period to identify it, then select a time within that period to open the adjustment details.
There, you can see when the adjustment is active, its duration, and the volume adjustments for each ticket group..png)
Note
You can use real-time actual volumes to identify when staffing needs have changed, and an adjustment may be needed.
Edit or delete an adjustment
Forecast adjustments can be edited or deleted at any time.
To edit or delete an adjustment:
Open the Forecast tab in Dialpad WFM
Select any time period within an adjustment
In the adjustment panel, select Edit or Delete
Confirm the changes
Select Save
Note
Adjustment deletions are permanent, and go into effect immediately.