Dialpad Expert Mode has an External API node. This node allows the IVR to fetch data from a separate platform (such as a CRM) via REST APIs. Here are some guidelines to help you successfully deploy more complex IVRs.
Reference and Test API request locally
Ensure the API is accessible via the public internet. Use tools like Postman or the command line via curl requests to mimic how the external API component performs.
Once the API is tested from your local machine, you should know:
The request URL.
The request method (GET, POST, or PUT).
The request body (if required by the API).
The request headers (usually required by the API).
Note
Headers are structured as JSON objects.
The response body possibilities.
Tip
Save these responses locally with a preferred JSON text editor, such as Sublime Text or Notepad++.
Set up the Workflow Outline
To set up the IVR workflow, go to your Dialpad Admin Settings.
Select Channels & IVR > IVR workflows
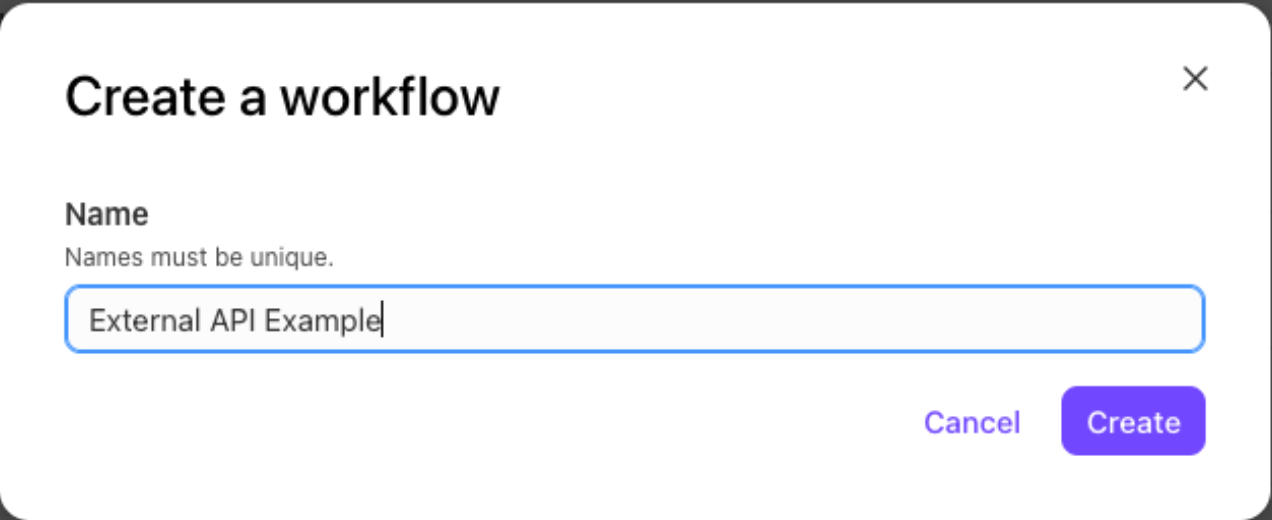
Select Create workflow and create a name for the workflow.
Tip
Try to create a unique name for the workflow so other team members will know what it does by the name alone.
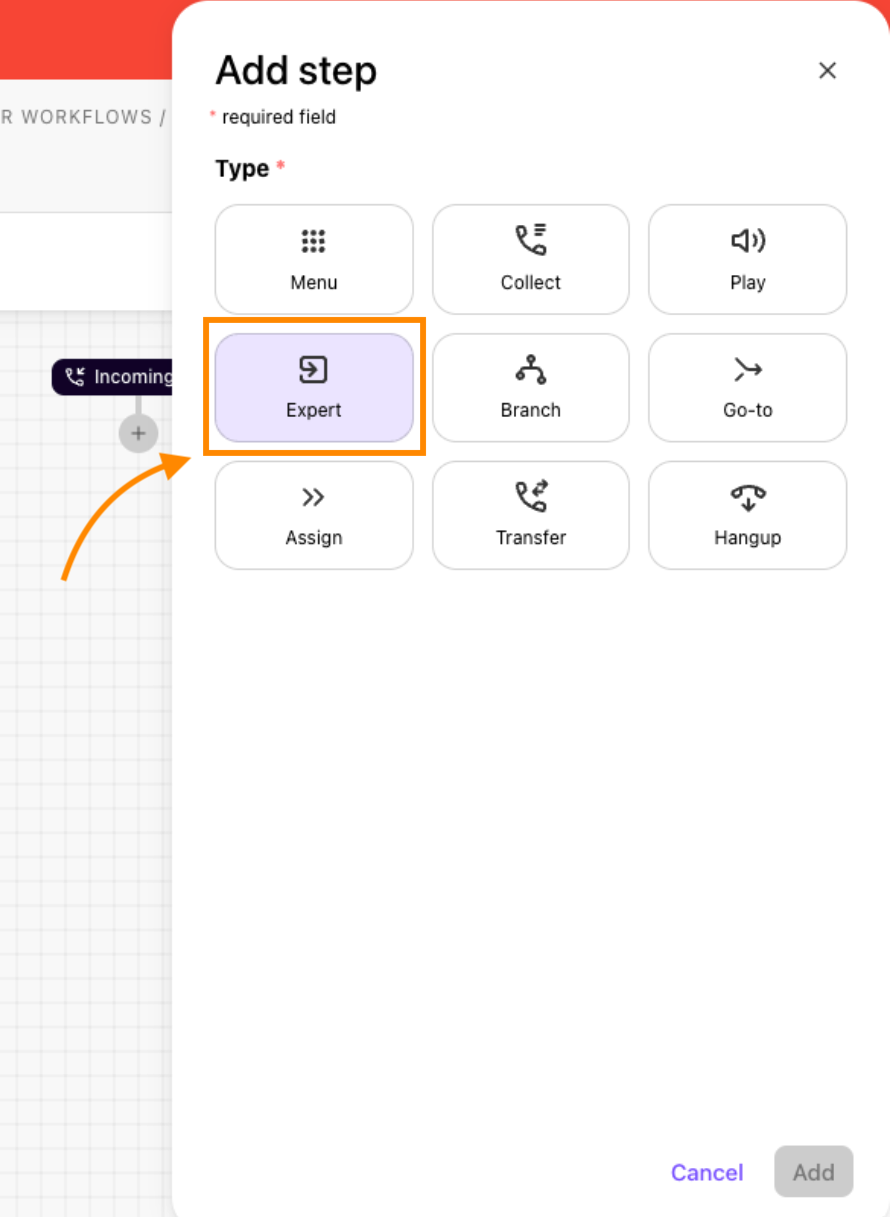
Select + to add a step
In the Add step window, select Expert
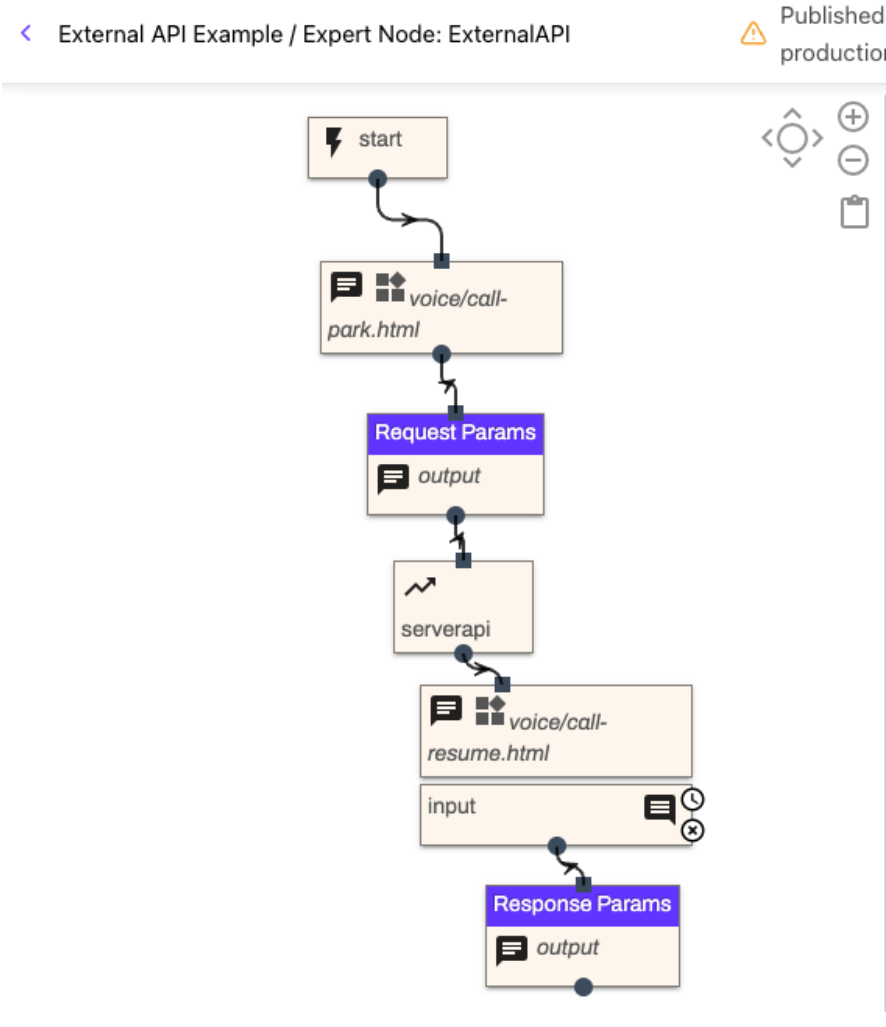
Add the following expert step components in order and connect them:
Call Park - This is available in the Voice Widget component. Selecting the widget drop-down for voice/call-park
Send Message - This is for logging your request parameters
External API (Server) - This is for the API request
Call Resume - This should use the Prompt and Wait component, selecting the voice/call-resume widget
Send Message - This is for logging response parameters
Select Publish Expert, then select Publish Workflow. The expert flow should resemble the one below.
Important reminders when using Expert nodes
Every expert node MUST end with a send message node.
If there is no match in the expert branch node, it must be mapped to a node.
Post JSON Body values must be wrapped in quotes in order to be saved or updated.
Create Test Contact Center or Department
To test the IVR workflow:
Assign the IVR workflow to a Department or Contact Center with an active phone number
Note
If a test routing group isn’t available, set up a new one. Add a phone number and change the Call Routing configuration to point to the new IVR workflow.
.png)
After assigning the workflow, make an initial call to ensure the new routing group successfully reaches the new IVR workflow.
You will be able to review logs for the IVR workflow in the Conversation History.
Add in API Details to IVR Workflow
After setting up the basic API skeleton, add in the details of the API request.
URL | Copy the URL and paste it into the text field. If desired, use variables within the URL (wrap them in double curly braces); however, make sure that the beginning of the URL (https://) remains in the URL. |
Method | The method used in the request. Valid options are only GET, POST, and PUT |
Additional Headers | For the header field, create a valid JSON object with the Header Name as the key.
|
Editing the CSV JSONPath field
The External API node uses JSONPath to extract data from the API response and assign values in the response to IVR Variables. The format is [IVR variable name]:[JSON Path]. If there is more than one, they must be comma-separated.
To develop this expression Variable:JSONPath comma-separated list, use an external tool like jsonpath.com to find every value needed to be extracted from the API response.
Example JSON response
{
    "firstName": "John",
    "lastName": "doe",
    "age": 26,
    "address": {
        "streetAddress": "naist street",
        "city": "Nara",
        "postalCode": "630-0192"
    },
    "phoneNumbers": [
        {
            "type": "iPhone",
            "number": "0123-4567-8888"
        },
        {
            "type": "home",
            "number": "0123-4567-8910"
        }
    ]
}
To edit the JSONPath:
Note
Post JSON Body values must be wrapped in quotes in order to be saved or updated. For more details, see Variables below.
Copy the body of the API response into a JSONPath tester and find the JSON Path for each variable needing to be pulled out
Choose a variable name. The variable name goes first, then a colon, and then the JSONPath expression. See the example below:
JSONPath expression
first:firstName, (= "John")

last:lastName, (="doe")

streetAddress:address.streetAddress

city:address.city

phoneNo1:phoneNumbers[0].number

phoneType1:phoneNumbers[0].type

phoneNo2:phoneNumbers[1].number

phoneType2:phoneNumbers[1].typefirst:firstName, (= "John")
After removing the new lines, the CSV JSONPath text field in the External API node look like the example below:
CSV JSONPath for External API node
first:firstName,last:lastName,streetAddress:address.streetAddress,city:address.city,phoneNo1:phoneNumbers[0].number,phoneType1:phoneNumbers[0].type ,phoneNo2:phoneNumbers[1].number,phoneType2:phoneNumbers[1].typeAfter adding this into the text field, select Save and publish the IVR workflow
Variables
These are some variables you can use for JSON APIs.
Variable encoding
Variables can be url encoded or transposed to JSON using the following formatting on the variable:
JSON: {{exampleVariableName|type=json}}
URL Encoded: {{exampleURLString|type=urlqueryvalue}}
Number in JSON Body value: "{{num|type=jsonnumber}}"
Boolean in JSON Body value: "bool":"{{bool|type=jsonboolean}}"
Add in Logging
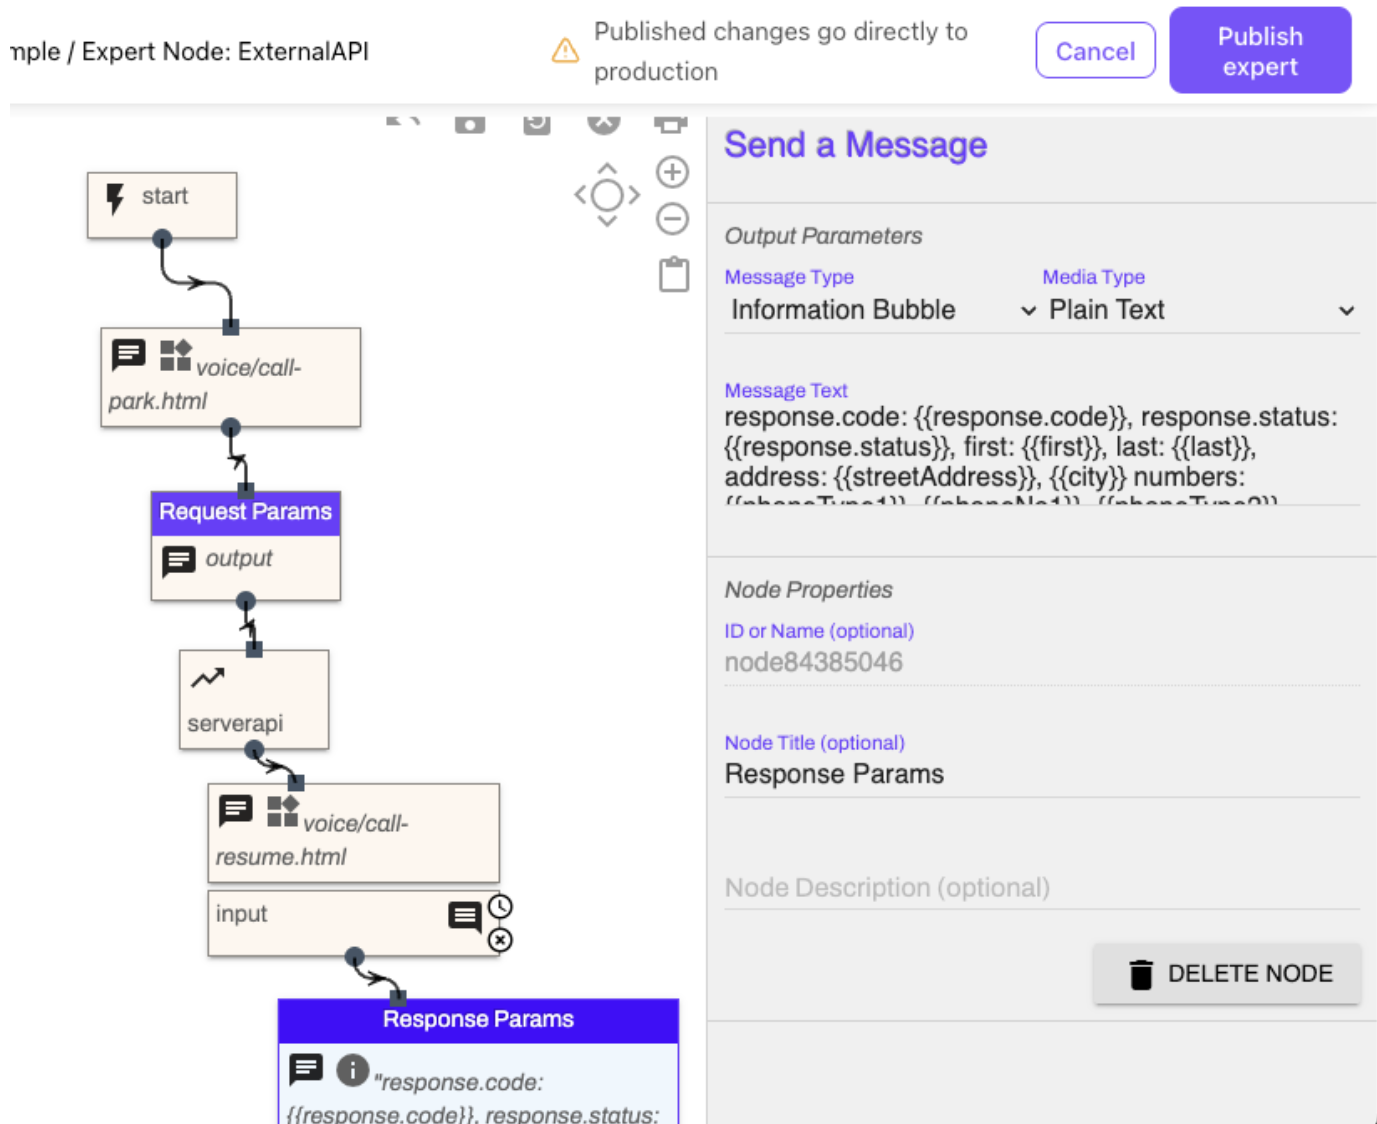
Once this work is complete, you need to add logging. The two send message nodes before and after the API request are used for recording some of this data to the Conversation History for troubleshooting.
If any variables are used in the API request, include those in the first request, but also include the response.
There are two built-in variables: response.status and response.code. These must be logged in the response message. Additionally, log all of the variables created with the CSV JSONPath.
Now, you can start testing!
Testing and Add-ons
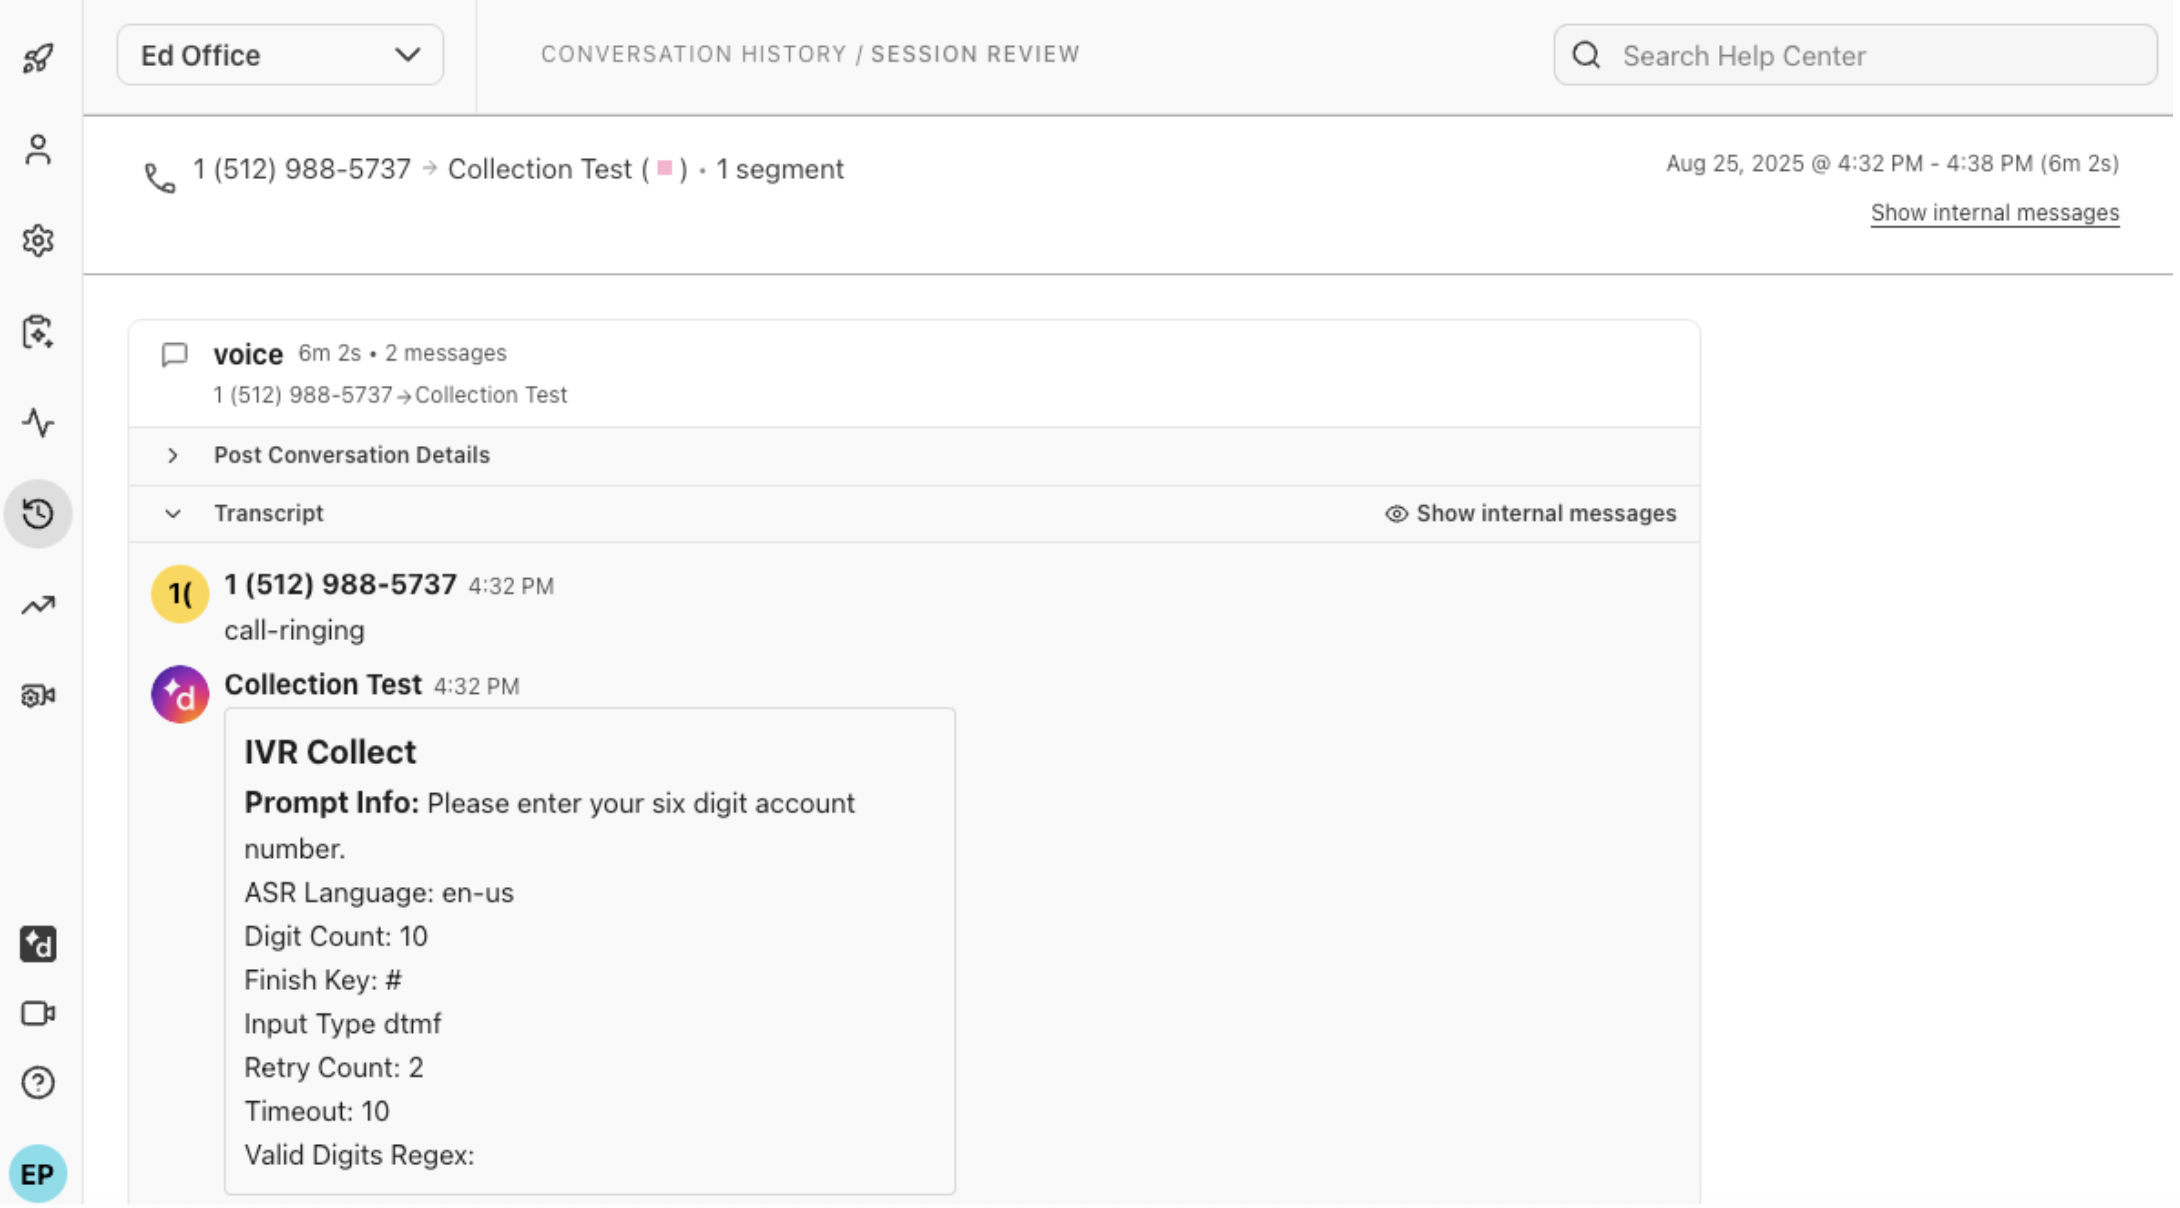
Perform an initial test call and find the call within the Conversation History. The output of the IVR shows the response values from the IVR within the logs.
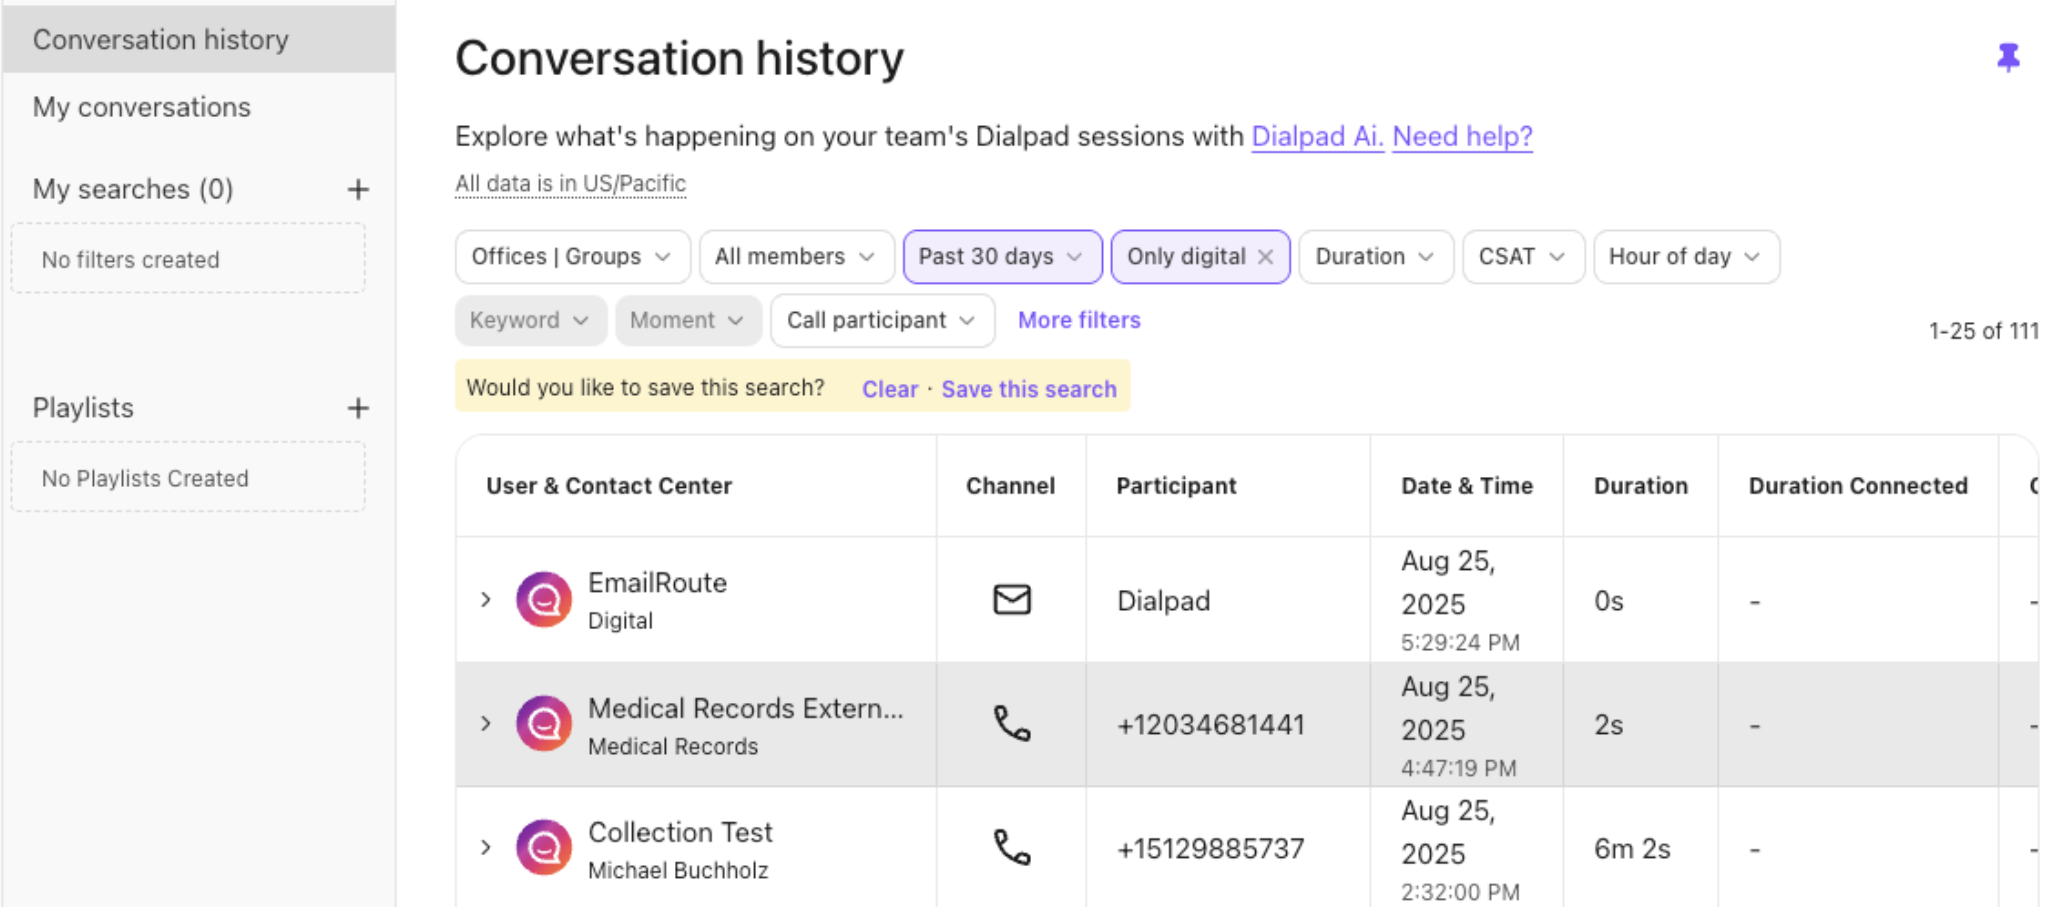
To view the response values from the IVR, go to your Conversation History.
Filter on the Only Digital Conversation Type
Open the session and select the Transcript to see the response values from the IVR
Note
The IVR Session History opens in another browser tab or window and provides basic information.
If desired, add Branches (within the Expert Node or outside) to provide prompts or messages if the API is successful or not.
Use cases for external APIs
For examples about how you can use external APIs in a workflow, check out this Help Center article.