Rather than signing into Dialpad with your Google or Microsoft productivity suite, our Okta integration allows your team to access Dialpad via Okta's single sign-on option (SSO) via SAML.
Let's dive into the details.
In order to enable Okta SSO via SAML, you will need to have Company Admin access to your company's Dialpad Account.
Add the application
First things first, you'll need to add the application.
- Log into Okta
- Navigate to Applications
- Select Browse App Catalog
- Search for “Dialpad” and select the Dialpad (SAML, Provisioning) integration
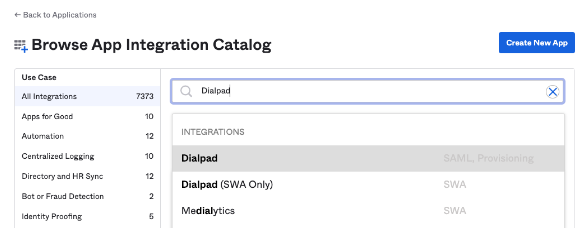
- Select Add, enter an Application Label
- Select Done
.png)
That's it! You'll now see the Dialpad application instance created for your org.
Configure Dialpad attributes in Okta
Next, it's time to configure your Dialpad service provider attributes in Okta.
Let's take a look at the steps required using our example domain (lojackphone.com)
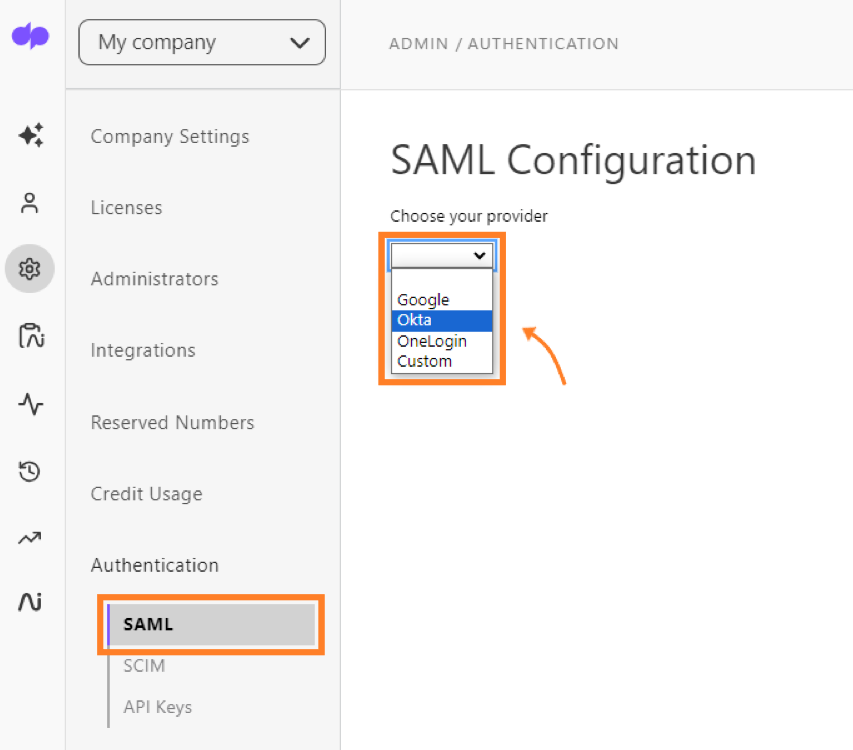
In new tab, navigate to your Dialpad Admin Settings.- Select Company Settings
- Select Authentication
- Select SAML
- Select Okta from the provider drop-down
In the Okta admin tab of the browser, where the Dialpad application was previously configured, navigate to Sign On and click on Edit
.png)
Navigate to Advanced Sign-On Settings, and paste the SP (Service Provider) related attributes in the corresponding fields:
.png)
Navigate to Credentials Details, choose the Application username format as Email, and click on Save.
.png)
Configure Okta identity provider attributes into Dialpad
Now it's time to configure the Okta identity provider attributes into Dialpad.
From the Okta admin tab of the browser, where the Dialpad application was previously configured:
- Navigate to the Sign On tab
- Select View Setup Instructions
.png)
- Take note of the IDP Entity ID(Issuer), IDP SSO URL, and Certificate
- That the actual values would differ, reflecting your org URL in Okta
.png)
- That the actual values would differ, reflecting your org URL in Okta
- Navigate back to your Okta SAMLConfiguration page on the Dialpad web portal to paste in your values and save your changes.
.png)
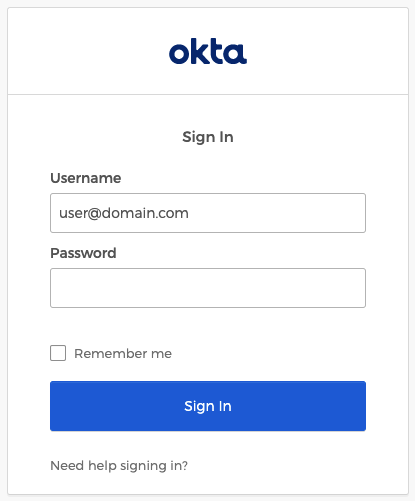
Login with Okta
To make life nice and easy, Users can log in with Okta right from their Dialpad app (desktop + mobile), or web portal.
.png)
- Enter the domain of your Company
.png)
- Enter your Okta credentials
- Select Sign In
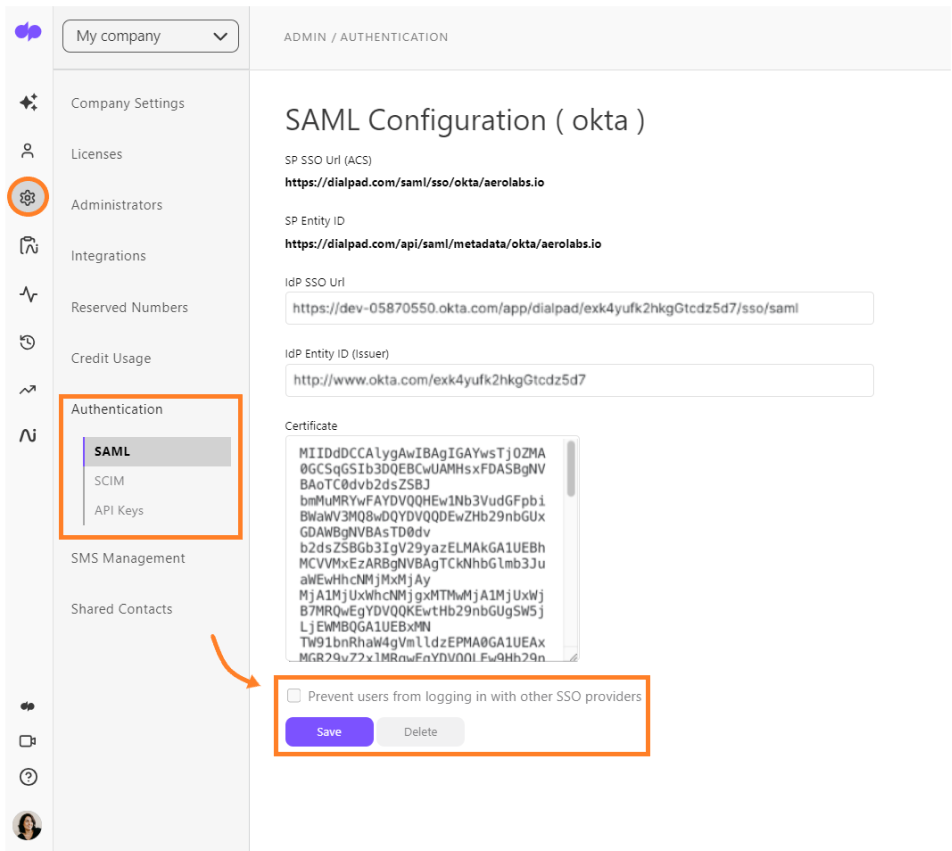
Enforcing SAML-based SSO
Add an extra level of security by blocking your users from using other SSO providers when logging into Dialpad.
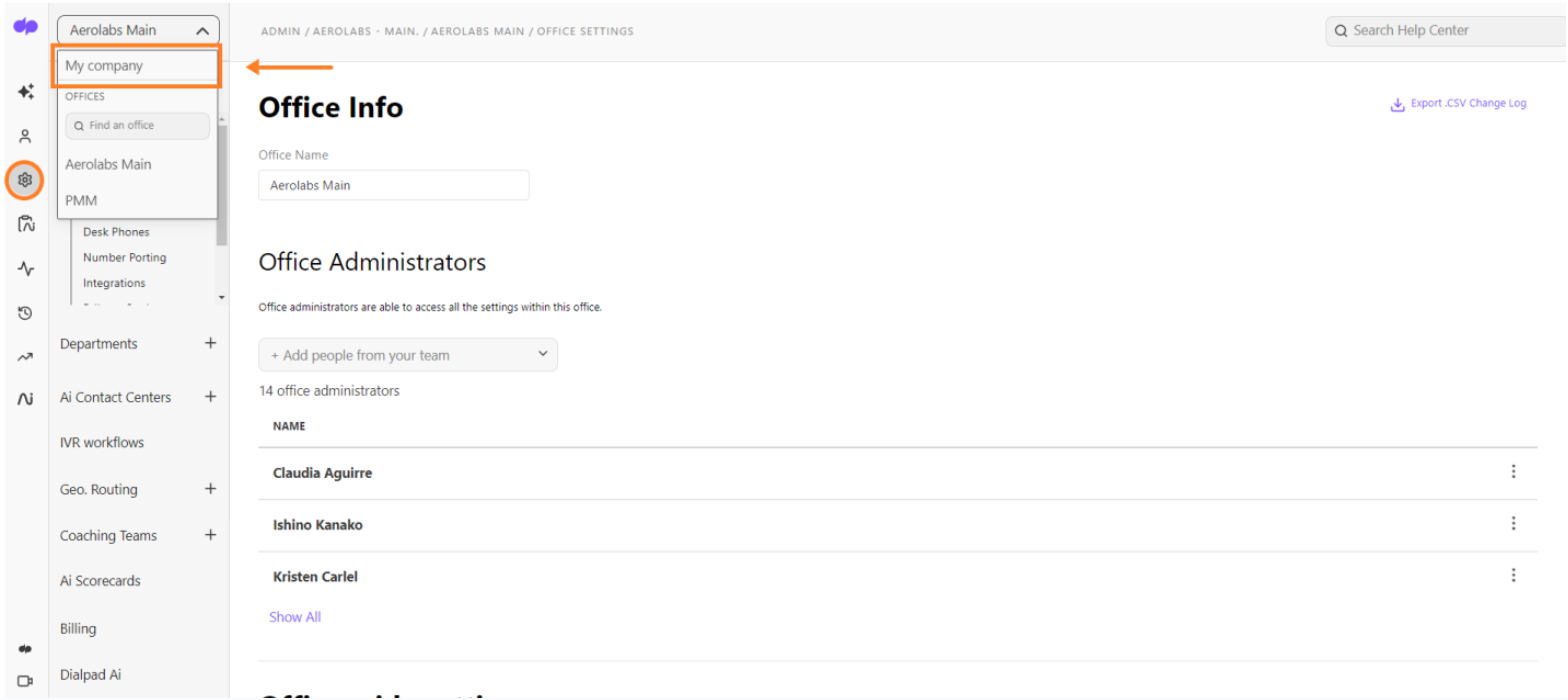
To restrict the use of other authentication providers, navigate to your Admin Settings at Dialpad.com
- Select My Company from the drop-down at the top left
- Navigate to Authentication
- Select SAML
- Select Prevent users from logging in with other SSO providers
- Select Save