Admins using our legacy Digital Engagement feature can manage their configuration via the Historical Admin Page.
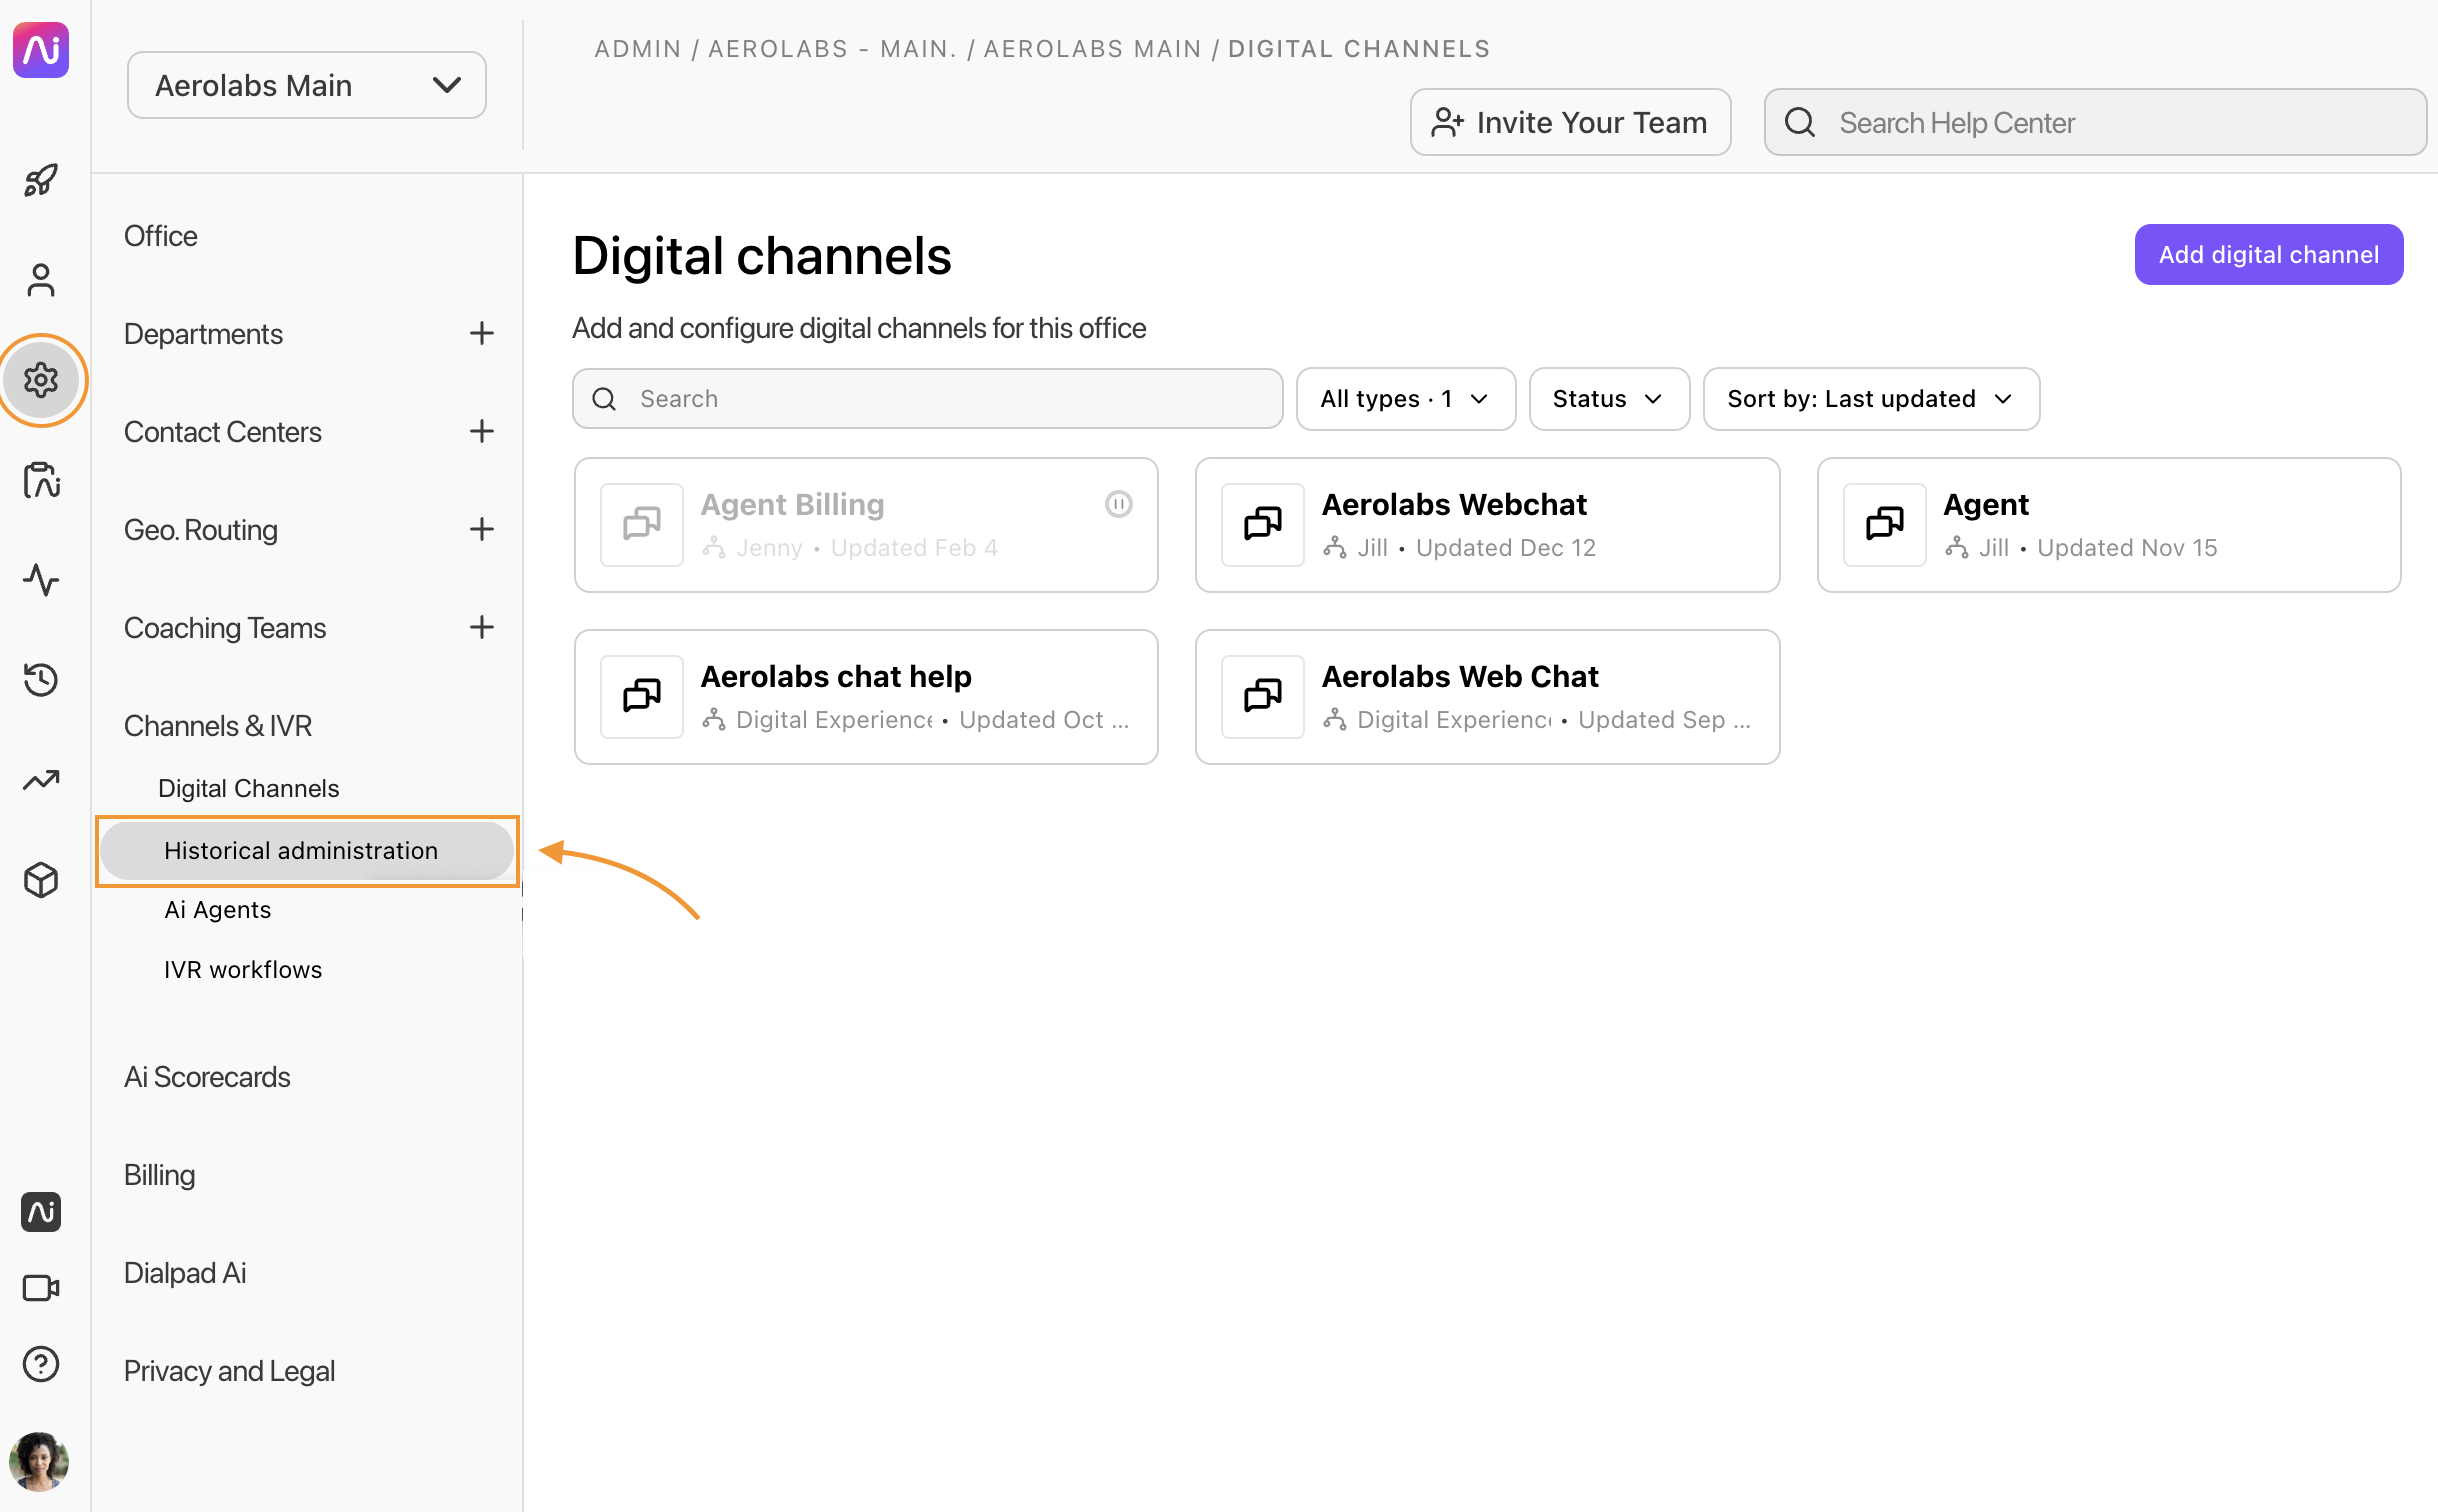
To access the Historical Admin Page, go to the Dialpad Admin Portal.
- Navigate to Channels & IVR
- Select Historical administration

That's it! From there, you'll be taken to the Historical Admin Dashboard where you can modify and manage all things Digital Experience.
Profile
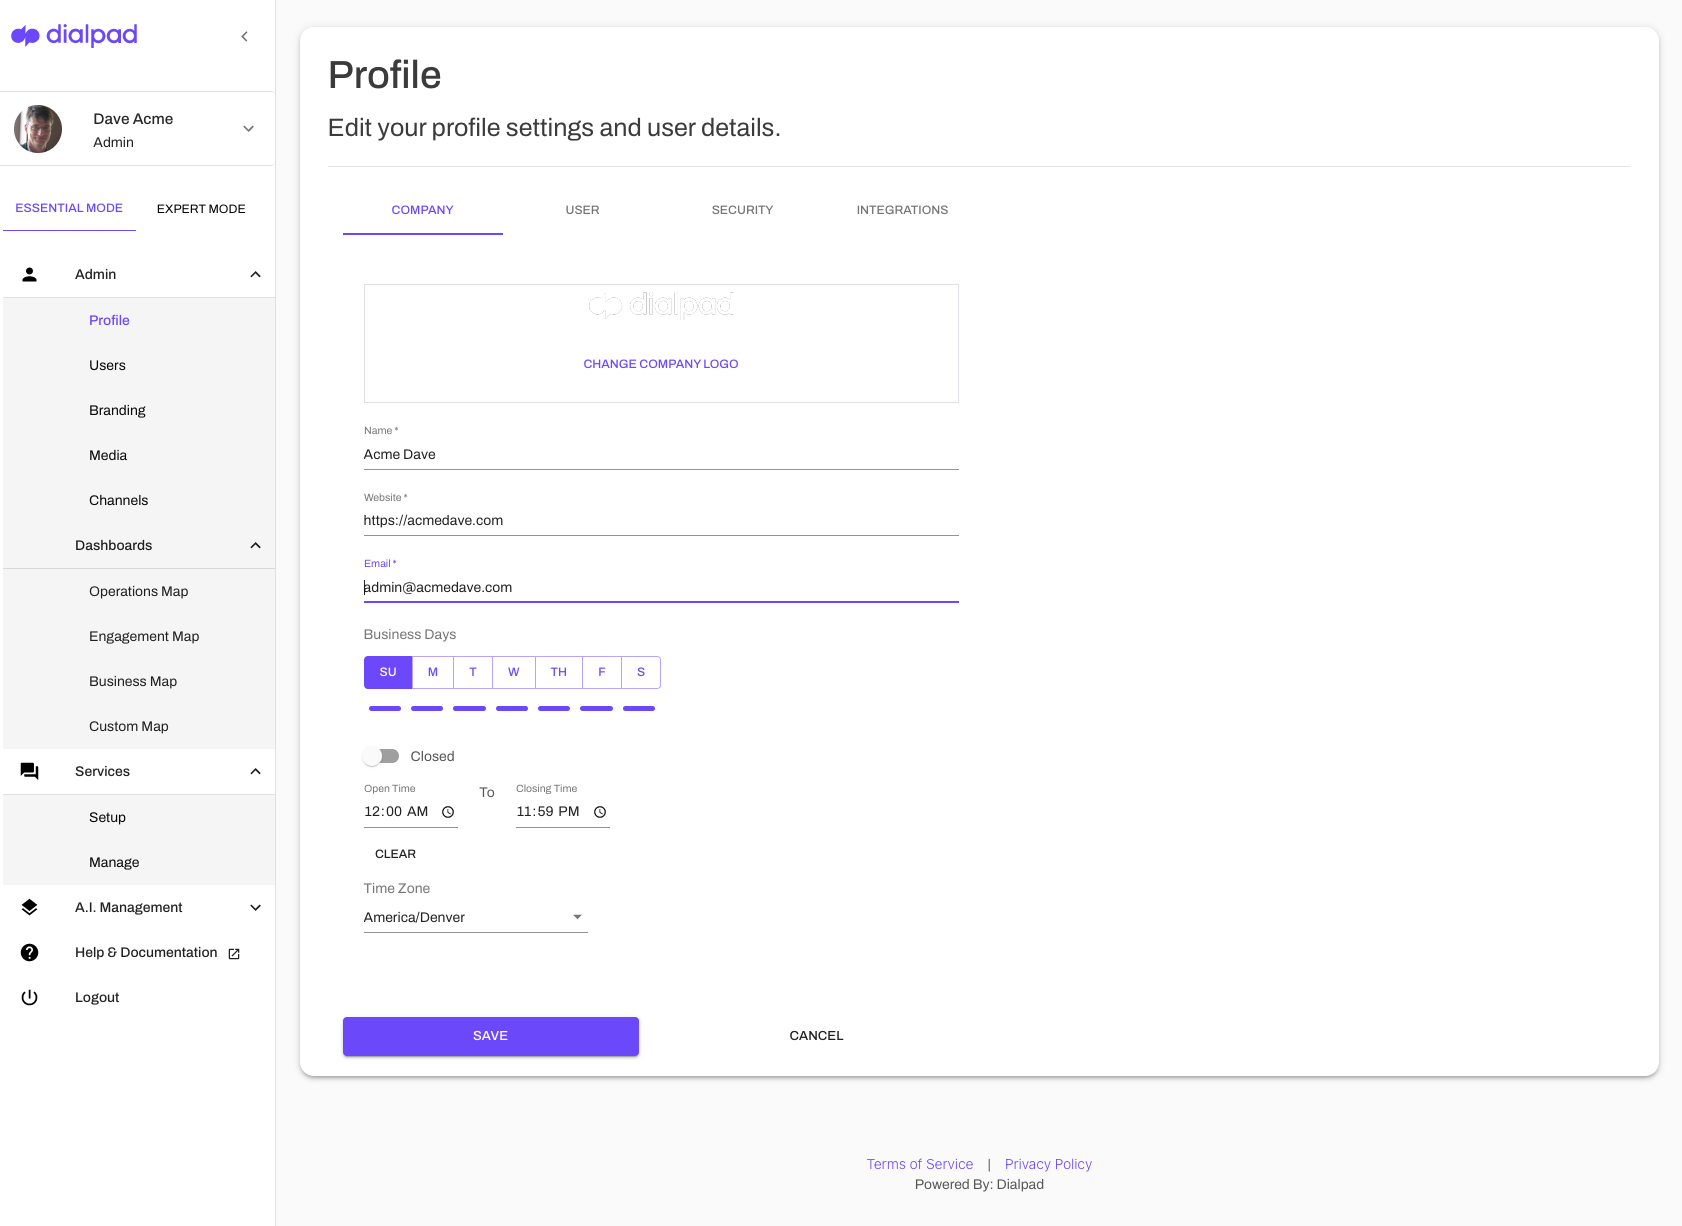
The Profile tab lets you manage your company's profile (it's different from your Dialpad profile).

The profile section contains three unique tabs.
- Company
- User
- Integrations
In the Company section, you can upload a company logo, company details, and set business hours.
The Users section is where you can modify user profiles and their contact details.
The Integrations section is where you'll find your company's API key.
Media
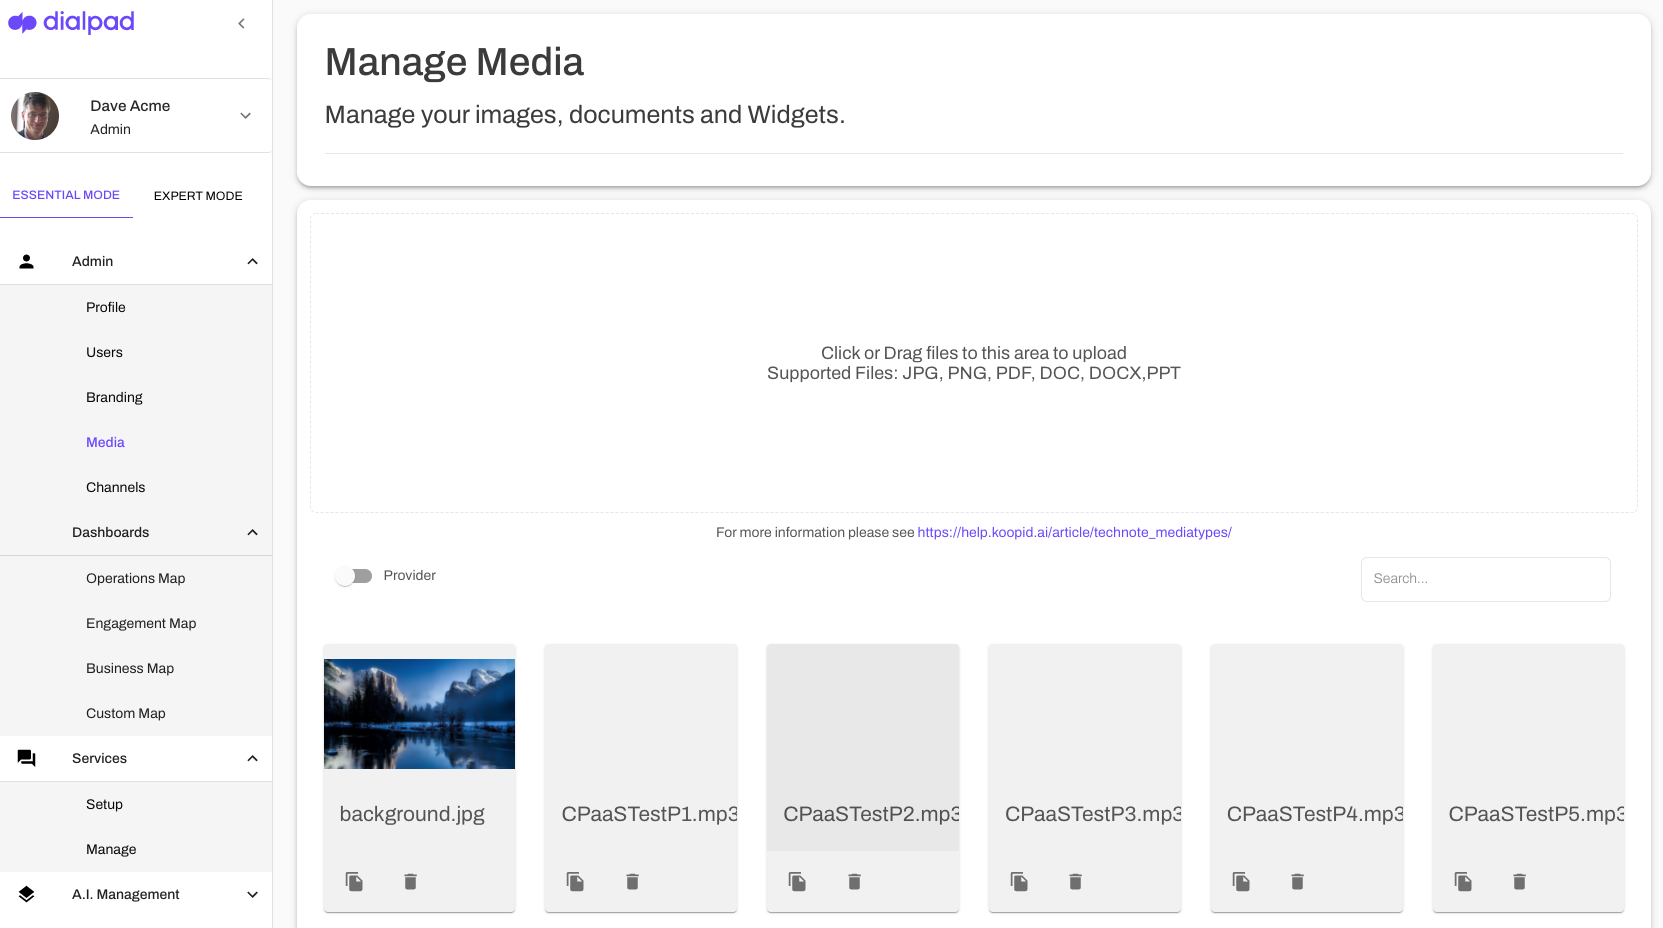
The Media tab is where you can add and delete images that are be used within the Digital Experience channel.

Channels
The Channels tab lets you add and configure your channel connections.
Read our channels Help Center article for more details.